20
TalkSwitch User Manual
2.2
Control Center
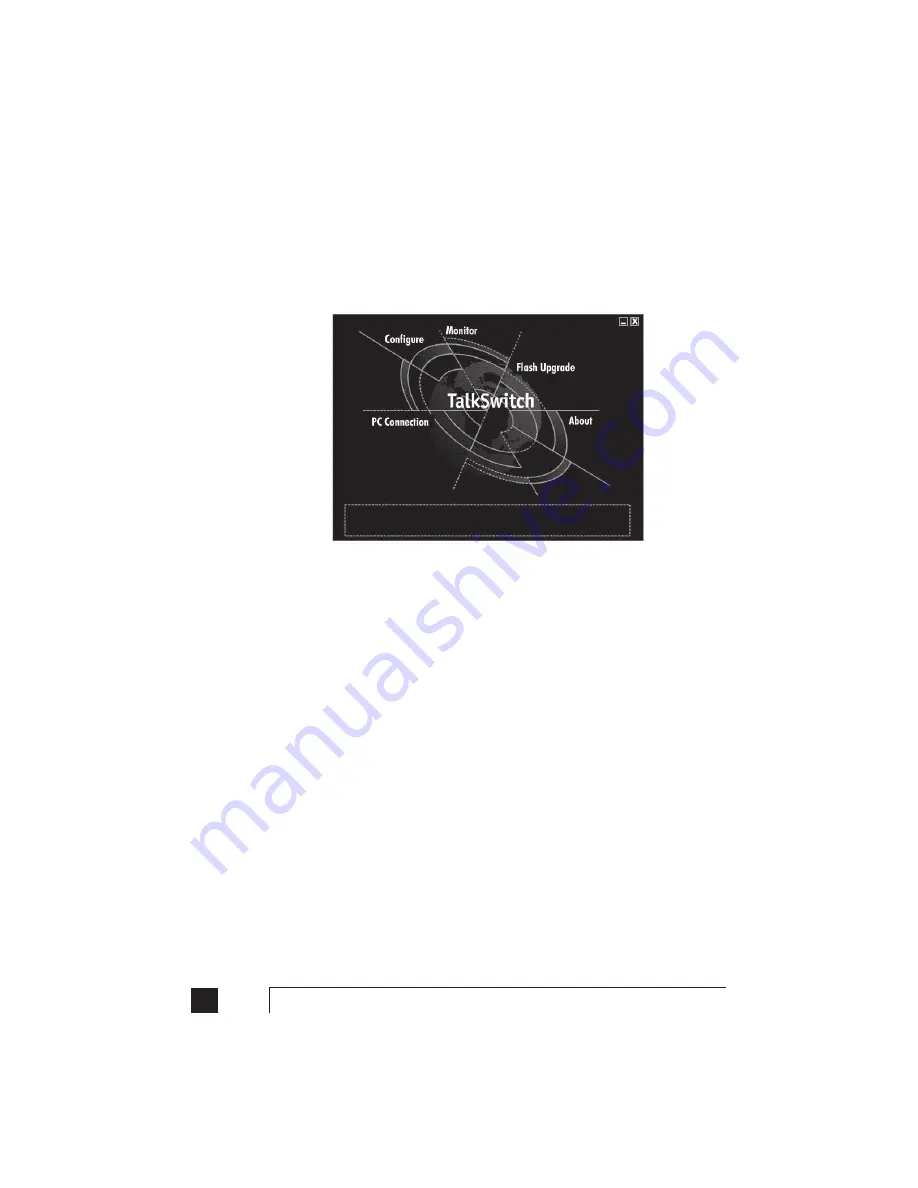
After installation is complete, double-click the TalkSwitch icon. Once the TalkSwitch
software is open, the following screen will appear. This is the Control Center for the
TalkSwitch software.
PC Connection:
This opens up the
PC Connection
dialog which allows you to choose the correct
COM port when connecting TalkSwitch to the PC using Serial or USB. You can
also select to configure using a modem or if you have a TalkSwitch 48, you can
configure using a LAN.
Configure:
Choosing
Configure
brings up the configuration software. (see section 2.3)
Note: You cannot configure TalkSwitch by phone while the software is open.
Monitor:
Choosing
Monitor
brings up the TalkSwitch Monitor window. The Monitor allows
you to 'see' a graphical representation of the calls as they flow to and from
TalkSwitch and its extensions and lines. This feature is useful as a diagnostic tool
when testing your TalkSwitch settings. You should choose ‘Normal’ as the mode
of operation unless you are using TalkSwitch as a Line Simulator for a demo.
Flash Upgrade:
This activates the TalkSwitch Firmware Update procedure. Follow the instructions
accordingly.
About:
Displays useful information including the TalkSwitch software, firmware and
hardware version numbers.
Summary of Contents for TalkSwitch
Page 2: ...User Guide DESKTOP PHONE SYSTEM Software Firmware Version 2 41...
Page 7: ......
Page 25: ......
Page 83: ......
Page 107: ......
Page 109: ......
Page 119: ......
Page 123: ......
Page 135: ......
Page 137: ......
Page 141: ......
Page 149: ......
Page 154: ...147 Index...
Page 155: ...148 TalkSwitch User Manual...


