96
TalkSwitch User Manual
Step # 2 - Download new software and firmware
When you select and click on the appropriate version for download, a screen will
appear asking you what you would like to name the file you are about to download,
and in which folder/directory you would like to save it. We suggest leaving the file
name 'as is' (eg. install_v239.exe) and saving it on your Desktop. Once the download
is completed, you can begin your upgrade by double clicking on the install file or use
the 'Run' option on your Windows 'Start' menu. A series of screens will guide you
through the installation process.
This process updates your configuration software to a newer version. You still need to
update the firmware to take advantage of new features. The new firmware file will
have been placed in the TalkSwitch directory after running the install program.
Step # 3 - Performing the Flash Upgrade (updating the firmware)
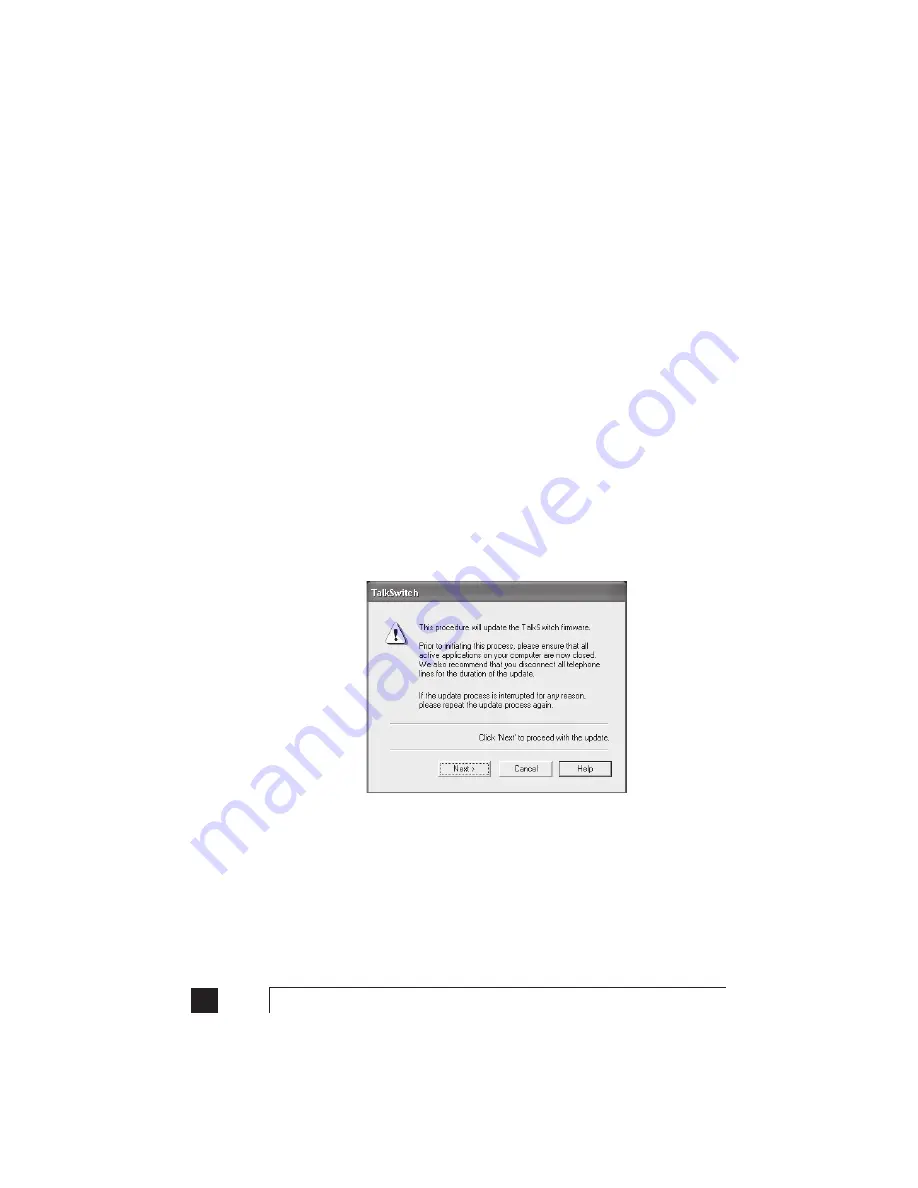
The final step in the upgrade process is to open the TalkSwitch software and select
'Flash Upgrade' from the main splash screen. A screen will appear with instructions
to disconnect the telephone lines. Click on the "Next" button to proceed.
A second screen will then appear with the appropriate file already selected. If this is
not the file you want to update with, then select the appropriate update (.bin) file. If
you see more than one .bin file, select the most recent file (the one with the highest
number in the first 4 digits of the file name and if there are 2 files of the same version,
then check the last 2 digits).
Summary of Contents for TalkSwitch
Page 2: ...User Guide DESKTOP PHONE SYSTEM Software Firmware Version 2 41...
Page 7: ......
Page 25: ......
Page 83: ......
Page 107: ......
Page 109: ......
Page 119: ......
Page 123: ......
Page 135: ......
Page 137: ......
Page 141: ......
Page 149: ......
Page 154: ...147 Index...
Page 155: ...148 TalkSwitch User Manual...


