


Chapter 12
12-1
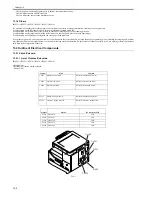
12.1 Scanning System
12.1.1 Procedure after Replacing the CIS (LCD type)
0017-5978
iR2018 / iR2022
After replacing the contact image sensor (CIS), go through the following
steps to perform inter-channel output correction:
1) Enter the service mode.
Sequentially press the User Mode key "
", 2 key, 8 key, and User Mode
key "
" on the operation panel.
2) Using the arrow keys on the operation panel, display "TEST MODE".
3) Press the OK key.
4) Press the 2 key. "SCAN TEST" appears.
5) Press the 1 key.
After completion of the above steps, contact sensor output correction will be
performed and parameters will be set automatically.
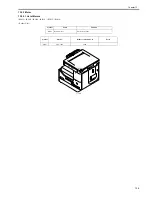
12.1.2 Procedure after Replacing the CIS (Touch panel
type)
0017-5980
iR2022i / iR2025 / iR2030 / iR2018i
After replacing the contact image sensor (CIS), go through the following
steps to perform inter-channel output correction:
1) Enter the service mode.
Sequentially press the Additional functions key, 2 key, 8 key, and Additional
functions key on the operation panel.
2) Press the arrow key on the touch panel to display "TEST MODE".
3) Press [OK].
4) Press the [2] key to display "SCAN TEST".
5) Press the [1] key to display "SHADING".
6) Press [OK].
After completion of the above procedure, the contact sensor output is com-
pensated and parameters are set automatically.
After completion of automatic adjustment, "OK" is displayed.
12.1.3 Procedure after Replacing the Copyboard Glass
(With ADF)
0017-5981
iR2022i / iR2025 / iR2030 / iR2018 / iR2022 / iR2018i
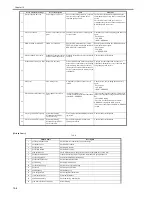
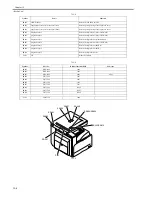
After replacing the copyboard glass, enter the correction values (X, Y, Z) of
the standard white plate which are indicated on the back of the new copy-
board glass in the service mode.
Correction value (X): Service mode>#SCAN>#SCAN NUMERIC>No.213
Correction value (Y): Service mode>#SCAN>#SCAN NUMERIC>No.214
Correction value (Z): Service mode>#SCAN>#SCAN NUMERIC>No.215
Also, rewrite the values on the service label.
F-12-1
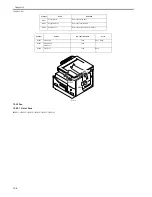
12.2 Image Formation System
12.2.1 Procedure after Replacing the Developing
Assembly
0017-5982
iR2022i / iR2025 / iR2030 / iR2018 / iR2022 / iR2018i
<Going through the Developer Idling Mode>
1) Plug the power cord into the outlet.
2) Open the front cover.
3) With the front cover open, turn on the main power switch.
4) When a message appears on the operation panel display, press the fol-
lowing keys to enter the service mode:
Additional Functions key > 2 key > 8 key > Additional Functions key
5) Select "#PRINT" using the + or - key, and then press the OK key.
6) Select "#PRINT SW" using the + or - key, and hen press the OK key.
Confirm that the following message is displayed:
Message: #PRINT SW 001 00000000
7) Press the following keys and confirm the message:
# key > 1 key > 1 key
Message: #PRINT SW 011 00000000
8) Position the cursor to Bit-1 (second from right) using the + or - key, and
press the 1 key, and then confirm the following message:
Message: #PRINT SW 011 00000010
9) Press the OK key. Confirm that "SW 011" changes to "SW 012".
Message: #PRINT SW 012 00000000
10) Press the Reset key to exit the service mode.
11) Close the front cover. The machine will run in the developer idling
mode for about 1 minute.
12) When the machine stops, the idling mode ends.
Install, the toner cartridge following the above-mentioned procedure.
12.3 Electrical Components
12.3.1 Procedure after Replacing the Image Processor
PCB (LCD type)
0017-5983
iR2018 / iR2022
If you have replaced the image processor PCB with a new one, perform the
following operations:
- Using the service support tool, download the latest firmware (System/
Boot).
- Input the all value printed on the service label affixed to the rear cover.
Make the following adjustments:
- Correction of output between CIS channels
1) Enter the service mode.
Sequentially press the User Mode key "
", 2 key, 8 key, and User Mode
key "
" on the operation panel.
2) Using the arrow keys on the operation panel, display "TEST MODE".
3) Press the OK key.
4) Press the 2 key. "SCAN TEST" appears.
5) Press the 1 key.
After completion of the above steps, contact sensor output correction will be
performed and parameters will be set automatically.
- Read position adjustment (Stream reading: Only when the ADF is installed)
1) Enter the service mode.
Press the User Mode key "
", 2 key, 8 key, User Mode key "
" on the
operation panel of the host machine.
2) Using the arrow keys on the operation panel, display "TEST MODE".
3) Press the OK key.
4) Press the 2 key. "SCAN TEST" appears.
5) Press the 3 key. "SHEET POS ADJ" appears.
The optical system starts scanning. Several seconds later, automatic adjust-
ment of the reading position finishes and "OK" appears.
12.3.2 Procedure after Replacing the Image Processor
PCB (Touch panel type)
0017-5984
iR2022i / iR2025 / iR2030 / iR2018i
If you have replaced the image processor PCB with a new one, perform the
following operations:
- Using the service support tool, download the latest firmware (System/Boot)
and language files.
- Delete the languages not used at the destination (Service mode > CLEAR
> FILE SYSTEM).
- Input the all value printed on the service label affixed to the rear cover.
Make the following adjustments:
- Correction of output between CIS channels
1) Enter the service mode.
Sequentially press the Additional functions key, 2 key, 8 key, and Additional
functions key on the operation panel.
2) Press the arrow key on the touch panel to display "TEST MODE".
3) Press [OK].
4) Press the [2] key to display "SCAN TEST".
5) Press the [1] key to display "SHADING".
6) Press [OK].
After completion of the above procedure, the contact sensor output is com-
pensated and parameters are set automatically.
After completion of automatic adjustment, "OK" is displayed.
After replacing the developing assembly, go through the following steps in
the developing assembly idle rotation mode before installing the toner
cartridge.
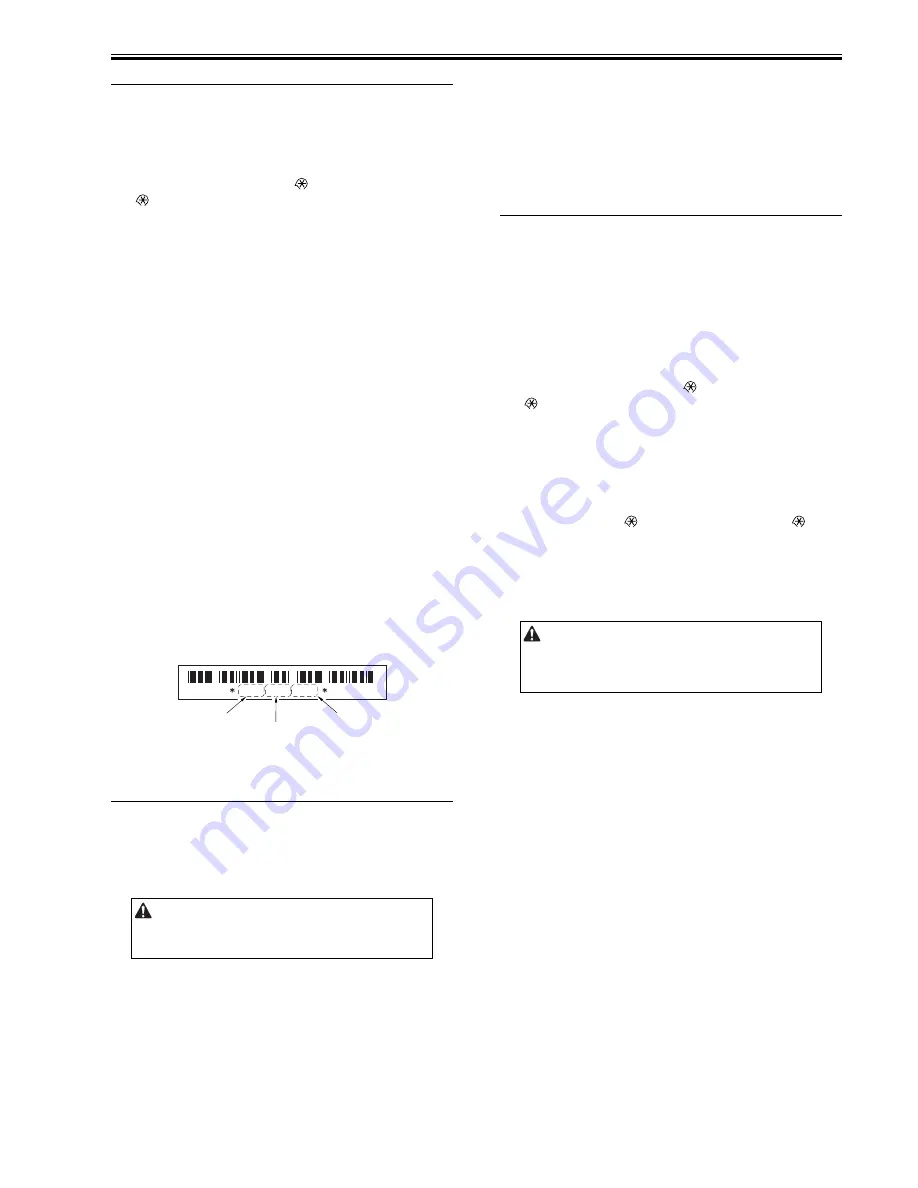
8 2 0 6 8 6 6 7 9 3 4 9
c o r r e c t o n
va l u e ( X )
c o r r e c t o n
va l u e ( Y )
c o r r e c t o n
va l u e ( Z )
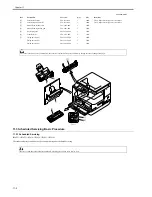
If automatic adjustment fails, "NG" appears. Perform the following
procedure:
Clean the white roller of the DADF and the document glass of the host
machine, and then retry auto adjustment.
Summary of Contents for imageRunner 2022
Page 1: ...Aug 8 2007 Service Manual iR2030 2025 2022 2018 Series ...
Page 2: ......
Page 6: ......
Page 20: ...Contents ...
Page 21: ...Chapter 1 Introduction ...
Page 22: ......
Page 57: ...Chapter 1 1 33 ...
Page 60: ......
Page 61: ...T 1 11 ...
Page 64: ......
Page 65: ...T 1 12 ...
Page 68: ......
Page 69: ...Chapter 2 Installation ...
Page 70: ......
Page 72: ......
Page 125: ...Chapter 2 2 53 ...
Page 126: ......
Page 127: ...Chapter 3 Main Controller ...
Page 128: ......
Page 130: ......
Page 142: ......
Page 143: ...Chapter 4 Original Exposure System ...
Page 144: ......
Page 170: ......
Page 171: ...Chapter 5 Laser Exposure ...
Page 172: ......
Page 174: ......
Page 181: ...Chapter 6 Image Formation ...
Page 182: ......
Page 184: ......
Page 196: ......
Page 197: ...Chapter 7 Pickup Feeding System ...
Page 198: ......
Page 217: ...Chapter 8 Fixing System ...
Page 218: ......
Page 220: ......
Page 234: ......
Page 235: ...Chapter 9 External and Controls ...
Page 236: ......
Page 255: ...Chapter 10 RDS ...
Page 256: ......
Page 258: ......
Page 268: ......
Page 269: ...Chapter 11 Maintenance and Inspection ...
Page 270: ......
Page 272: ......
Page 275: ...Chapter 12 Standards and Adjustments ...
Page 276: ......
Page 278: ......
Page 281: ...Chapter 12 12 3 ...
Page 282: ......
Page 283: ...Chapter 13 Correcting Faulty Images ...
Page 284: ......
Page 286: ......
Page 299: ...F 13 11 F 13 12 1 2 3 4 5 6 7 8 9 10 11 12 13 14 15 16 17 ...
Page 300: ......
Page 301: ...Chapter 14 Self Diagnosis ...
Page 302: ......
Page 304: ......
Page 317: ...Chapter 15 Service Mode ...
Page 318: ......
Page 381: ...Chapter 16 Upgrading ...
Page 382: ......
Page 384: ......
Page 411: ...Chapter 17 Service Tools ...
Page 412: ......
Page 414: ......
Page 417: ...Aug 8 2007 ...
Page 418: ......


