4-9
4.6.2
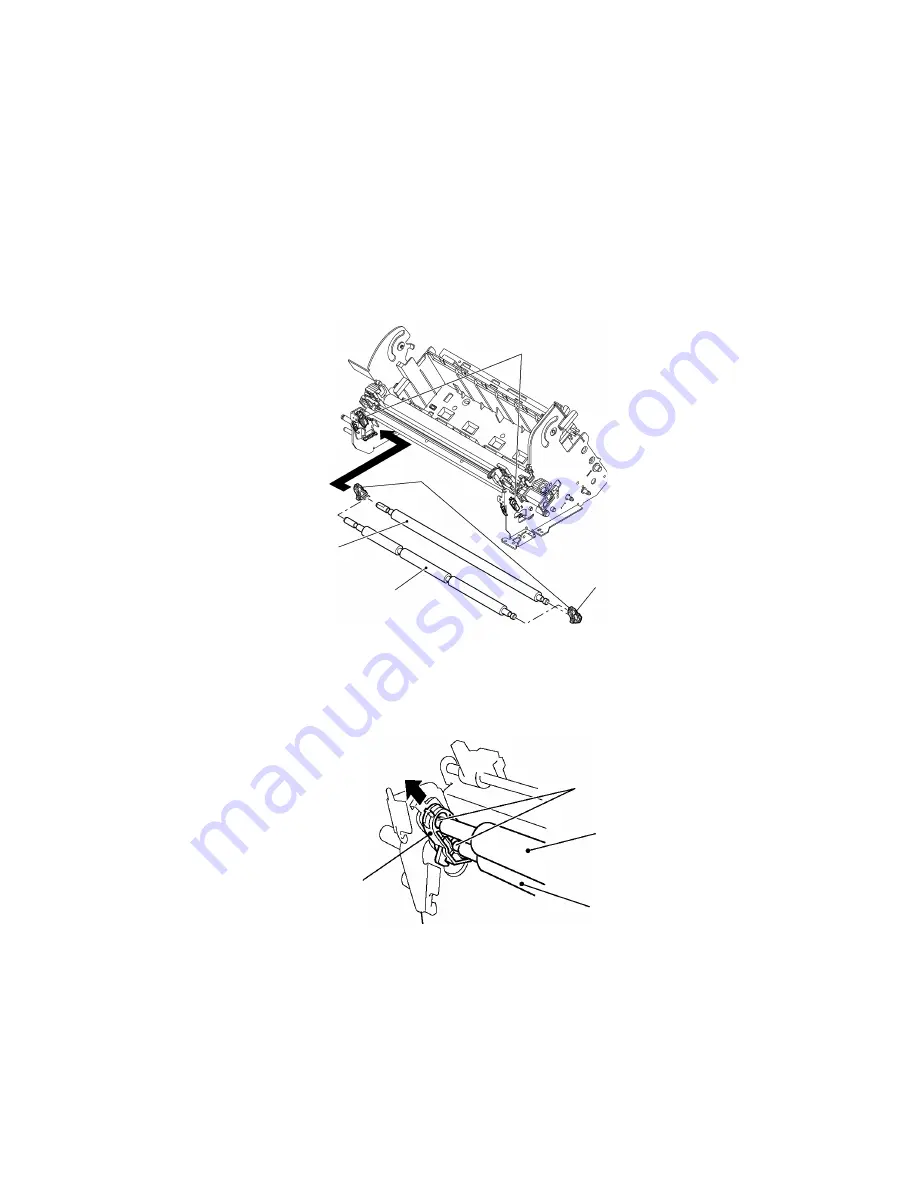
Installing the Paper Eject Roller
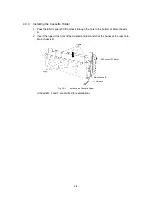
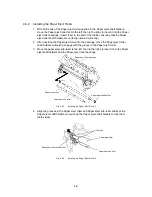
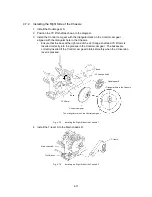
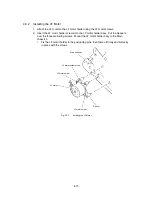
1. With both ends of the Paper eject roller inserted in the Paper eject shaft holders,
move the Paper eject roller first to the left, then to the right, to insert it into the Paper
eject roller bearings. (Insert them to the end of the rubber, ensuring that the Paper
eject roller shaft holders are correctly oriented vertically.)
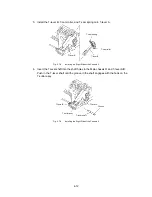
2. After inserting the Paper eject roller into the bearings, move the Paper eject roller
shaft holders outward to engage with the groove in the Paper eject roller.
3. Move the paper eject sub-roller to the left, then to the right, to insert it into the Paper
eject shaft holders and the Paper eject roller bearings.
Paper eject roller
Paper eject shaft holder
Paper eject roller bearings
Paper eject sub roller
Fig. 4.6-3
Installing the Paper Eject Roller 1
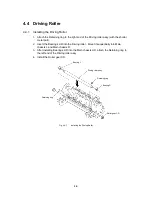
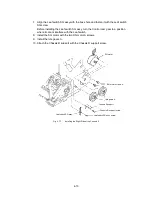
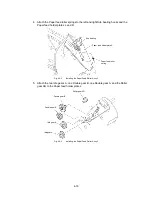
4. Align the grooves in the Paper eject roller and Paper eject sub-roller shafts at the
Paper eject shaft holders and push up the Paper eject shaft holders to lock them
(both sides).
Paper eject roller shaft holder
Paper eject roller
Grooves
Paper eject sub roller
Fig. 4.6-4
Installing the Paper Eject Roller 2
Summary of Contents for LX-1200
Page 1: ...SERVICE MANUAL MODEL LX 1200 LX 300 ...
Page 2: ...COOL LAMINATOR SERVICE MANUAL MODEL LX 1200 LX 300 ...
Page 5: ...Chapter 1 SPECIFICATIONS ...
Page 9: ...Chapter 2 MECHANISMS ...
Page 20: ...Chapter 3 DISASSEMBLY PROCEDURES ...
Page 58: ...Chapter 4 ASSEMBLY PROCEDURES ...
Page 105: ...Chapter 5 ELECTRONIC CONTROLLERS ...
Page 127: ...Chapter 6 MAINTENANCE ...
Page 149: ...Chapter 7 TROUBLESHOOTING ...

