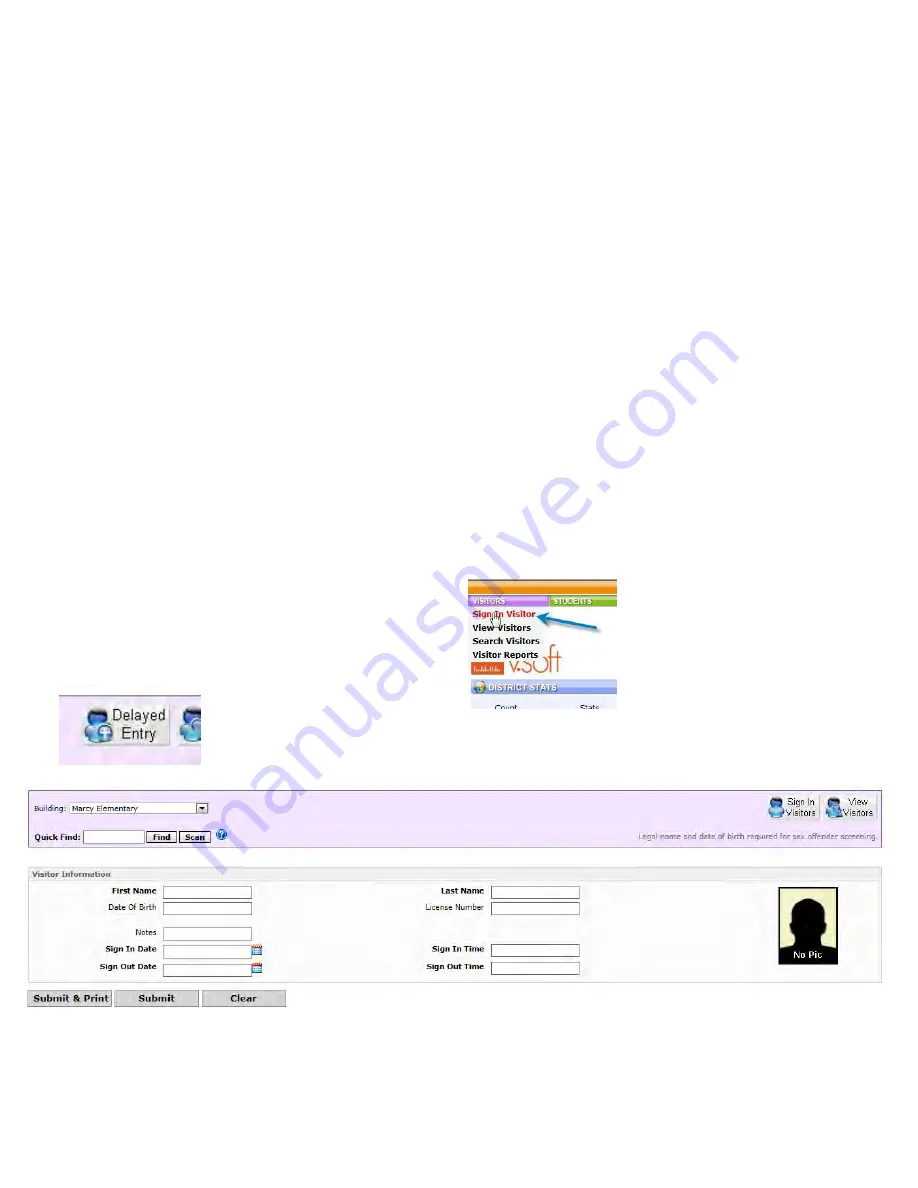
Manual Entry
In the event your visitor does not have a scannable license, or passport, a manual entry may be
needed
. VISITORS MUST PRESENT A VALID PICTURE ID IN ORDER TO ENTER THE
BUILDING
, even if it won’t scan.
Carefully type the first, last name and date of birth of your visitor as it appears on the ID in the
corresponding boxes, and fill in the notes field.
Click Submit to continue or Submit and Print to print a badge.
Note:
Since a license was not scanned, this information will not be stored in the quick find. Sex
offender checks will still apply with manual entries.
Delayed Entry
The Delayed Entry button on the right of the screen may be used to enter visitors in the event that
you are unable to scan a visitor in at any time due to things such as equipment issues or internet
connection problems.
Make a copy of the visitor license for your record and issue them a manually created badge upon
entry. Keep the license and return upon exit as normal.
When the system is back up and running, follow these steps:
To use the Visitor features, start by clicking the
Visitor button from the main menu in vSoft.
Click Sign In Visitor.
Click the Delayed Entry button in the upper right hand corner.
Manually enter visitors first and last name, date of birth, and license number from your copy. Fill in
the notes section and sign in/out date and time.
Click the Submit button to record visitor data. Repeat for all missed visitors.
Summary of Contents for F30
Page 1: ...PROCEDURE MANUAL BIG SPRING ISD TECHNOLOGY 3600 11TH PLACE 432 264 4155 ...
Page 6: ...You will need to set your profile the first time you login by clicking on my profile ...
Page 7: ...Choose the correct campus that you are assigned to and then choose Save Changes ...
Page 8: ...You will need to click Request New Ticket ...
Page 9: ...Please select the problem type you are having from this list ...
Page 10: ...Click on yes to start your ticket Once you start your ticket there is no way to quit ...
Page 12: ...Click on the home button when you are done to see your open ticket ...
Page 65: ...Email Certificate Installation 3 Click Next 4 Click Next again ...
Page 66: ...Email Certificate Installation 5 Select Finish 6 Select Yes on the Security Warning screen ...
Page 68: ...Email Certificate Installation 9 Click Yes in the Security Alert box ...
Page 77: ......
Page 141: ...19 Click Next 20 Click Next 21 Click Install ...
Page 170: ......
Page 190: ......


