


32
A
BOUT
T
HIS
G
UIDE
Conventions
Table 1
and
Table 2
list conventions that are used throughout this guide.
Table 1
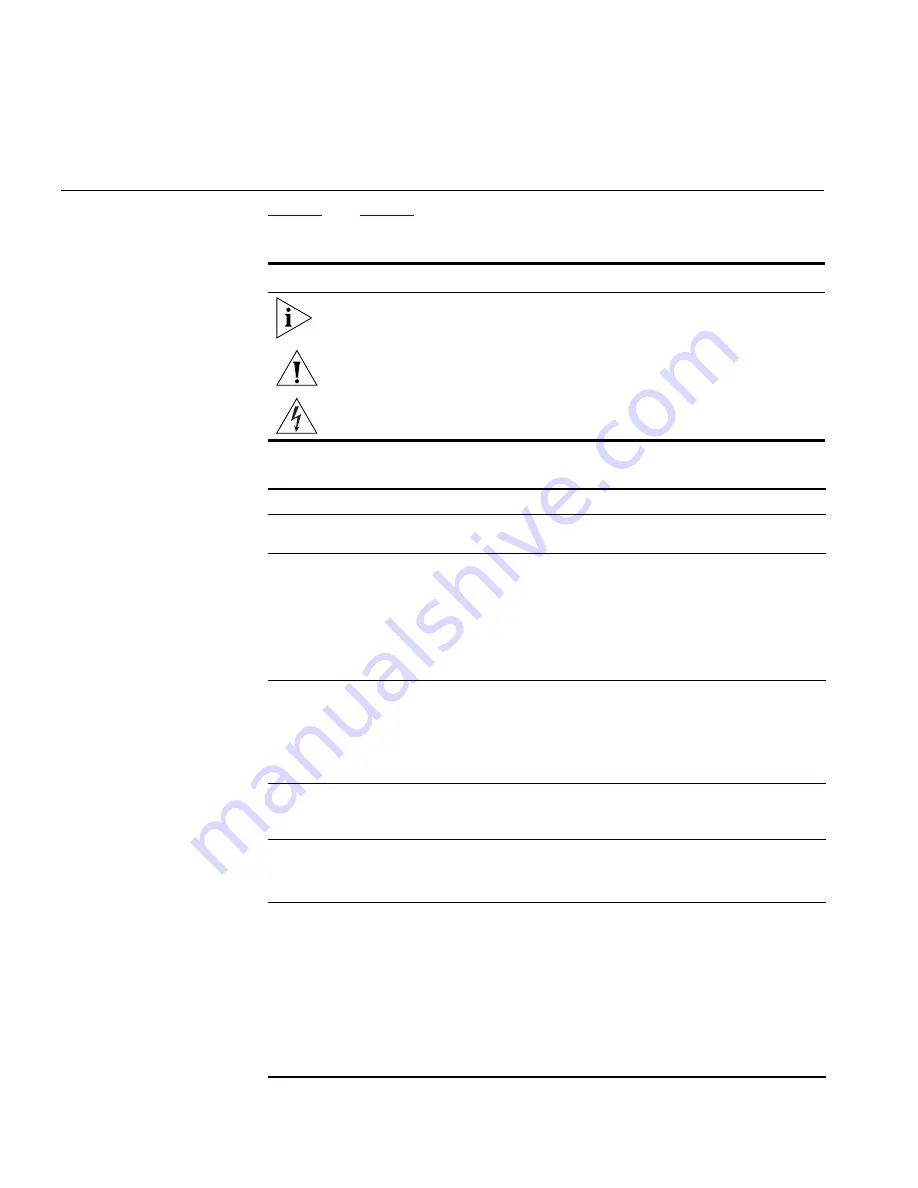
Notice Icons
Icon
Notice Type
Description
Information note
Information that describes important features or
instructions.
Caution
Information that alerts you to potential loss of data or
potential damage to an application, system, or device.
Warning
Information that alerts you to potential personal
injury.
Table 2
Text Conventions
Convention
Description
Screen displays
This typeface represents information as it appears on the
screen.
Syntax
The word “syntax” means that you must evaluate the syntax
provided and then supply the appropriate values for the
placeholders that appear in angle brackets. Example:
To change your password, use the following syntax:
system password <password>
In this example, you must supply a password for <password>.
Commands
The word “command” means that you must enter the
command exactly as shown and then press Return or Enter.
Commands appear in bold. Example:
To display port information, enter the following command:
bridge port detail
The words “enter”
and “type”
When you see the word “enter” in this guide, you must type
something, and then press Return or Enter. Do not press
Return or Enter when an instruction simply says “type.”
Keyboard key names
If you must press two or more keys simultaneously, the key
names are linked with a plus sign (+). Example:
Press Ctrl+Alt+Del
Words in
italics
Italics are used to:
■
Emphasize a point.
■
Denote a new term at the place where it is defined in the
text.
■
Identify menu names, menu commands, and software
button names. Examples:
From the
Help
menu, select
Contents
.
Click
OK
.
Summary of Contents for 3C15500 - Network Director - PC
Page 4: ......
Page 34: ......
Page 38: ...34 ABOUT THIS GUIDE ...
Page 50: ...46 CHAPTER 1 GETTING STARTED ...
Page 64: ...60 CHAPTER 2 PRODUCT ACTIVATION ...
Page 213: ...Components 209 Figure 75 Export to Visio Dialog Box ...
Page 220: ...216 CHAPTER 5 WORKING WITH THE MAP Figure 84 Double Clicking on a Router in the Tree ...
Page 264: ...260 CHAPTER 6 VIEWING DEVICE DETAILS Figure 117 Security Tab for a Device ...
Page 276: ...272 CHAPTER 6 VIEWING DEVICE DETAILS ...
Page 322: ...318 CHAPTER 7 MONITORING THE NETWORK ...
Page 385: ...Examples 381 Figure 189 Attach Alerts Dialog Box ...
Page 406: ...402 CHAPTER 9 PERFORMANCE REPORTING ...
Page 431: ...Components 427 History View dialog box Figure 210 History View Dialog Box ...
Page 440: ...436 CHAPTER 10 RMON Host View dialog box Figure 219 Host View Dialog Box ...
Page 476: ...472 CHAPTER 11 CREATING REPORTS ...
Page 502: ...498 CHAPTER 12 CONFIGURING SINGLE DEVICES ...
Page 526: ...522 CHAPTER 13 VLAN MANAGEMENT Figure 272 Options Dialog Box VLANs Tab ...
Page 567: ...Components 563 Figure 305 Selecting the Link to the End Station on the Map ...
Page 626: ...622 CHAPTER 14 BULK CONFIGURATION ...
Page 684: ...680 CHAPTER 16 UPGRADING DEVICE SOFTWARE ...
Page 814: ...810 CHAPTER 19 BACKING UP DEVICE CONFIGURATIONS ...
Page 838: ...834 CHAPTER 20 LIVE UPDATE ...
Page 894: ...890 APPENDIX G ADDING MAC ADDRESS VENDOR TRANSLATIONS ...