October 2012
4-76
ColorQube 8570/8870 Service Manual
REP 4.8
Revised, 3rd Revision - Xerox Internal Use Only
Repairs and Adjustments
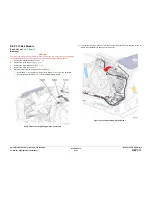
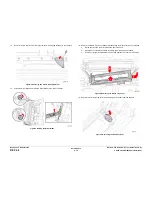
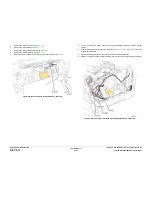
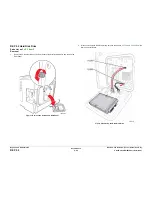
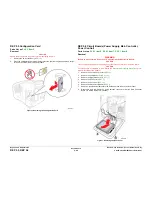
12. Remove 1 screw (metal, T-20) that secures the X-Axis Spring Retainer to the chassis.
Figure 2 Removing the X-Axis Spring Retainer
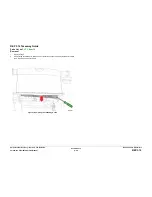
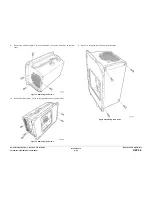
13. Unlock the Wiper Blade and raise the Wiper Blade to the top of its travel.
Figure 3 Raising the Wiper Blade
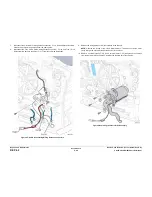
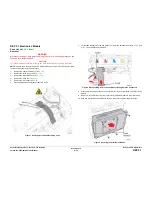
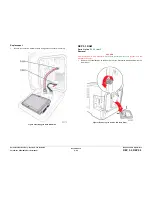
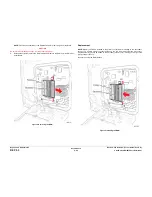
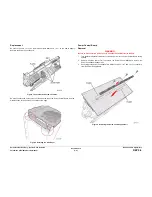
14. Remove the Waste Tray Cover without disconnecting the Waste Tray Sensor harness.
a.
Lift the center of the cover to release the right side hook.
b.
Move the cover towards the back to release the 2 tabs from the chassis.
c.
Pull the cover right to release the left hook and position the cover out of the way.
Figure 4 Removing the Waste Tray Cover
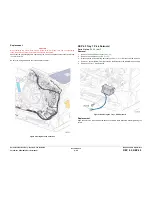
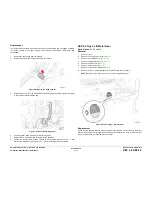
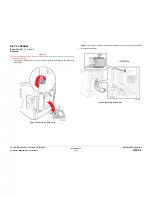
15. Reach into the Waste Tray cavity and pull the gear and shaft from the chassis.
Figure 5 Removing the Head Tilt Gear
Содержание COLORQUBE 8570
Страница 1: ...ColorQube 8570 8870 Printer ColorQube 8570 8870 Service Manual Xerox Internal Use Only...
Страница 2: ......
Страница 152: ...October 2012 3 2 ColorQube 8570 8870 Service Manual Revised 3rd Revision Xerox Internal Use Only Image Quality...
Страница 196: ...October 2012 4 2 ColorQube 8570 8870 Service Manual Revised 3rd Revision Xerox Internal Use Only Repairs and Adjustments...
Страница 304: ...October 2012 5 2 ColorQube 8570 8870 Service Manual Revised 3rd Revision Xerox Internal Use Only Parts List...
Страница 316: ...October 2012 6 2 ColorQube 8570 8870 Service Manual Revised 3rd Revision Xerox Internal Use Only General Troubleshooting...
Страница 372: ...October 2012 7 2 ColorQube 8570 8870 Service Manual Revised 3rd Revision Xerox Internal Use Only Wiring Data...
Страница 392: ...October 2012 8 2 ColorQube 8570 8870 Service Manual Revised 3rd Revision Xerox Internal Use Only Theory of Operation...
Страница 423: ......


