October 2012
4-49
ColorQube 8570/8870 Service Manual
REP 2.20
Repairs and Adjustments
Xerox Internal Use Only - Revised, 3rd Revision
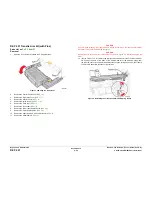
CAUTION
Use care when removing the Preheater. Do not pry the Preheater from the printer to prevent
damaging the Preheater.
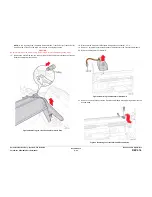
7.
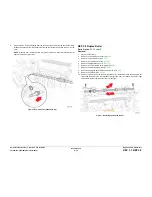
Slide the latches in and forward to release the Preheater as shown in
Figure 2
.
Figure 2 Removing the Preheater
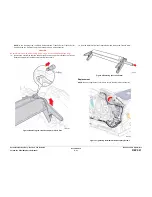
Replacement
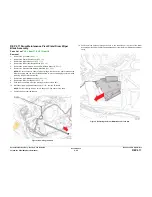
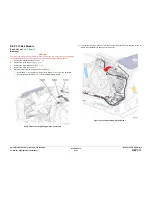
Orient the wiring harness flat in under the Preheater, then gently insert the Preheater into
place. DO NOT force it. Once fully inserted, release the latches to secure the Preheater to the
printer frame.
Figure 3 Installing the Preheater
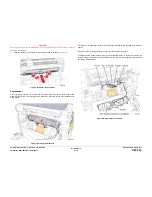
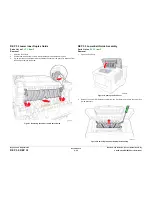
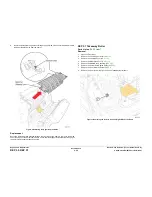
Be careful not to release the spring under the wiring harnesses when dressing the wiring har-
nesses.
Be sure to dress the wiring harnesses under their tabs and routing guides.
The fingers on the Inner Simplex Guide go over the Deskew Roller. To install, first snap the left
retainer in place, followed by the right. Make sure the sensors are properly positioned when
completing the installation.
Figure 4 Wiring Harness Locations
Содержание COLORQUBE 8570
Страница 1: ...ColorQube 8570 8870 Printer ColorQube 8570 8870 Service Manual Xerox Internal Use Only...
Страница 2: ......
Страница 152: ...October 2012 3 2 ColorQube 8570 8870 Service Manual Revised 3rd Revision Xerox Internal Use Only Image Quality...
Страница 196: ...October 2012 4 2 ColorQube 8570 8870 Service Manual Revised 3rd Revision Xerox Internal Use Only Repairs and Adjustments...
Страница 304: ...October 2012 5 2 ColorQube 8570 8870 Service Manual Revised 3rd Revision Xerox Internal Use Only Parts List...
Страница 316: ...October 2012 6 2 ColorQube 8570 8870 Service Manual Revised 3rd Revision Xerox Internal Use Only General Troubleshooting...
Страница 372: ...October 2012 7 2 ColorQube 8570 8870 Service Manual Revised 3rd Revision Xerox Internal Use Only Wiring Data...
Страница 392: ...October 2012 8 2 ColorQube 8570 8870 Service Manual Revised 3rd Revision Xerox Internal Use Only Theory of Operation...
Страница 423: ......


