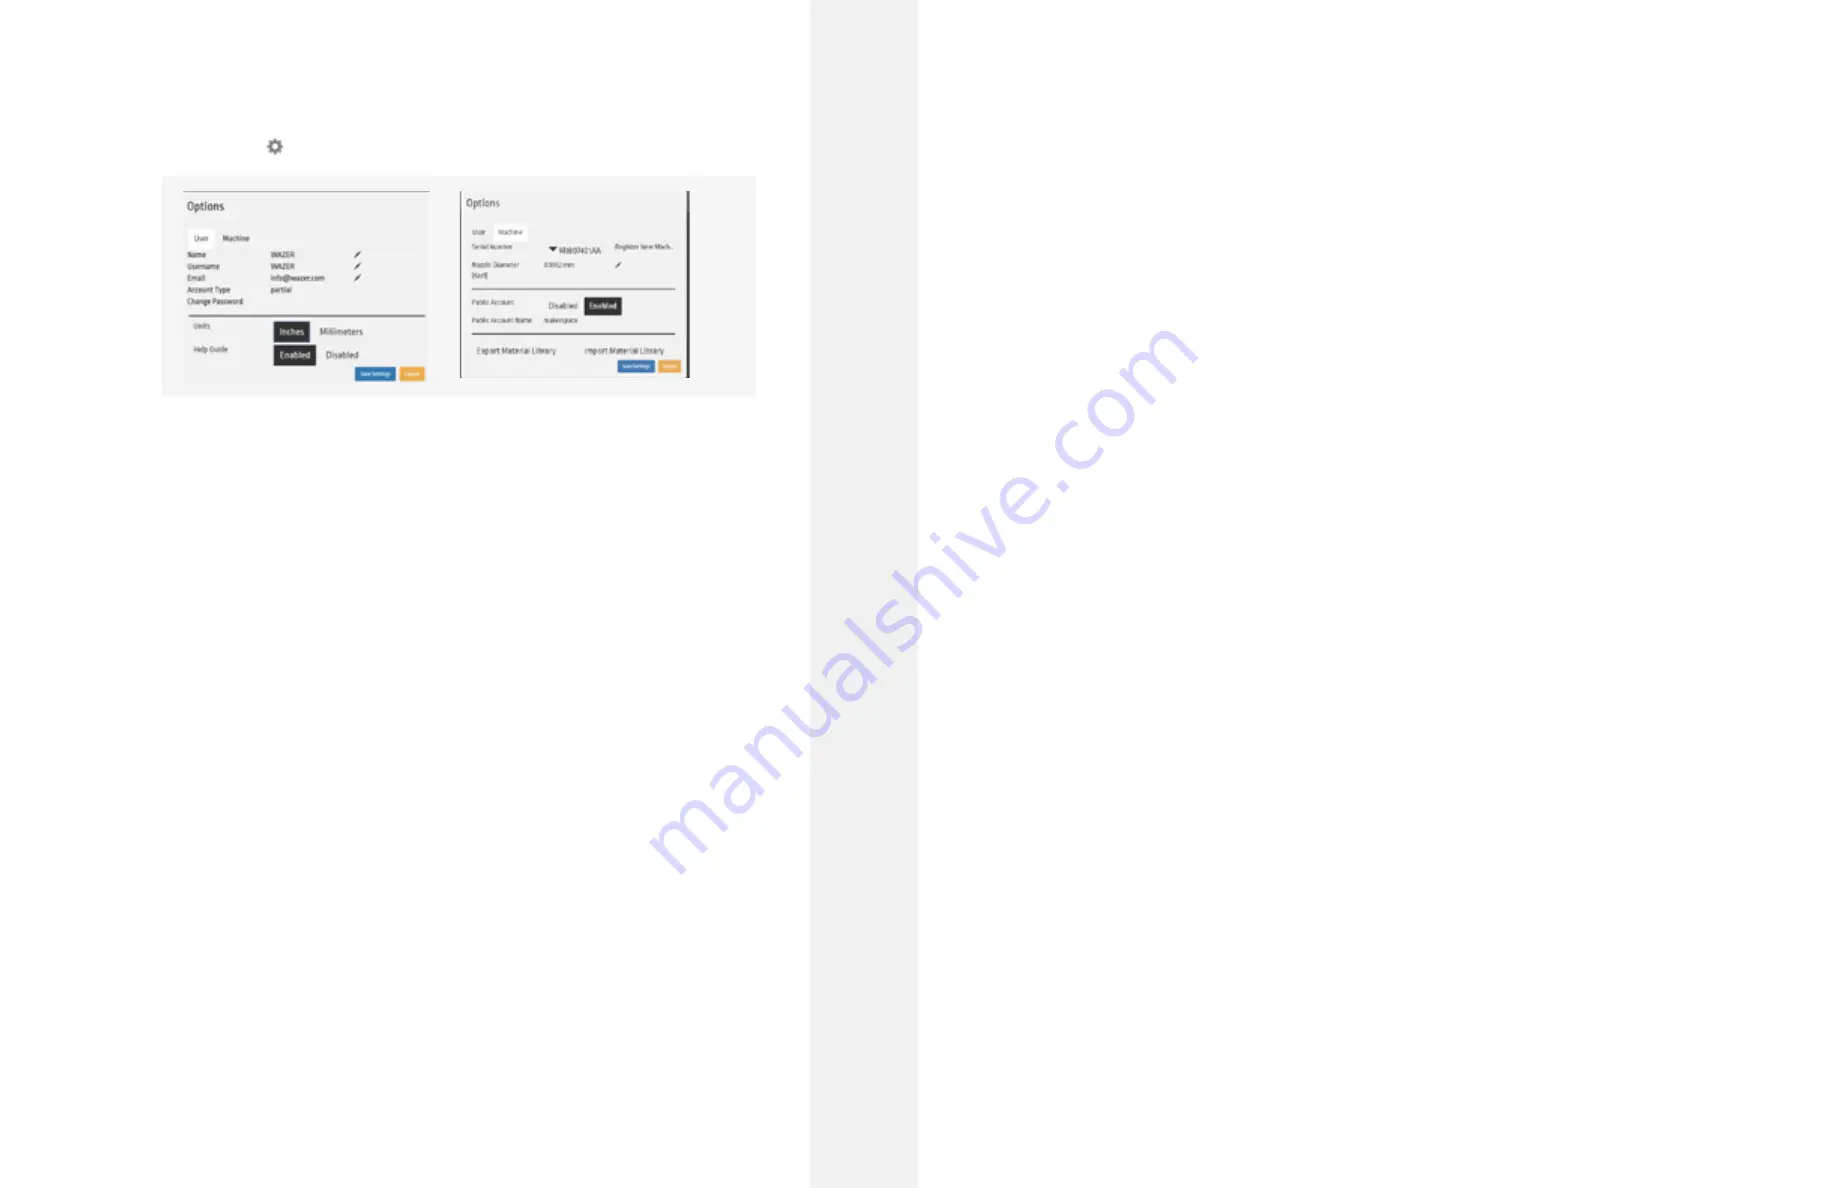
Wam Settings
By clicking on the Icon you will be brought into a two-Tab pop-up menu:
1.
User Tab
2.
Account Preferences
, including:
-
Name
-
Username
-
•
Account Type
-
Partial/Demo Account
- When account is not registered to a valid WAZER with a Serial
Number. Some Wam functionality will not be available to the user.
-
Full/Registered Account
- When account is registered to a valid WAZER. All Wam
functionality is available to the user. For every machine purchase you have a software
license serial number. Registering a software account with this serial number enables that
account to be a full registered account. Each one of these serial numbers can be used
to register three accounts, so be mindful of who you give this serial number to. If your
situation requires more accounts, please contact WAZER customer service.
-
Public Account
– When account is registered to a valid WAZER. All Wam functionality is
available to the user besides editing user/machine options and adding materials. Creating
one of these accounts can be done by a full registered account holder of a machine.
•
Units
- Specify the desired units
•
Help Guide
- Either shows or hides the help icons at every setup step
3.
Machine Tab Serial Number
- This is a list of registered WAZER machines your account is
linked to. Entering additional valid Software serial numbers will register additional machines to
your account
•
Default Jet Diameter
- This is the diameter of the Jet, otherwise known as the Kerf.
•
Export Material Library
- As a registered Wam account holder you can save custom
Materials to your account. You can easily export and import these Materials if you would like
to share these settings with others.
•
Public Account
– As a registered Wam account holder you can enable/disable a public
access account for each of your machines. We have found that this may be a very useful tool
for shared workspaces in particular, as you can share this public account login credentials
with trained users of the machine, but at the same time controlling clutter in your material
database or unwanted machine settings getting changed.
Cut File Steps
Step 1: Import File
Import File Compatibilities:
•
.dxf
- 2D file type that most engineering and design software will export.
-
The .dxf library supports arcs, circles, ellipses, lines, polylines, and splines.
-
All text must be converted to vector paths.
-
.dxf files do not include units – Wam tries to infer the correct units, but if it cannot, the
part will default to inches.
•
.svg
- 2D Vector file that most design software will export.
-
Ensure that the output format for files is set to Plain SVG.
-
All shapes and objects should be simplified as paths.
-
Make sure the document units are set to physical units and not pixels.
-
Pictures and bitmaps will be ignored.
Import File Checklist:
•
Convert all desired cut edges from objects to path.
•
Convert all text to vector paths.
•
Check for gaps.
-
If path fragments are 0.0010 inches apart or less, Wam will merge the fragments into a
single path.
-
If a path start and path end are less than 0.0020 inches apart, Wam will merge the points
and treat the path as closed.
-
Unconnected line segments less than 0.0001 inch long are deleted.
•
Join and trim paths if necessary.
•
Check for overlapping segments.
-
Overlapping Cut Groups may not be visible but may cause issues.
•
Check for dangling or default Cut Groups.
It is possible to import multiple Designs, or the same Design multiple times in one Cut File Manage
these Designs by using the +, -, and X Icons.
Cut Groups
Wam takes every Design and divides it into Cut Groups. A Cut Group includes all elements
contained within a closed curve. The easiest way to understand this is to imagine a Design
consisting of two concentric circles. These circles will be imported as one Cut Group, where the
two circles are locked in reference to one another.
Split
It is also possible to upload multiple independent curves outside of a closed curve from a single
.dxf or .svg file. When these curves import they will maintain their positions and groupings,
and they can be moved about the Virtual Cut Bed as a group. If you would like to manipulate
each curve independently, select the Split option in the File menu. This will break any curves
not contained within a closed curve into independent Cut Groups that can be manipulated
independently.
Cr
eatin
g C
ut F
iles |
SE
C
TION 6
86
87


