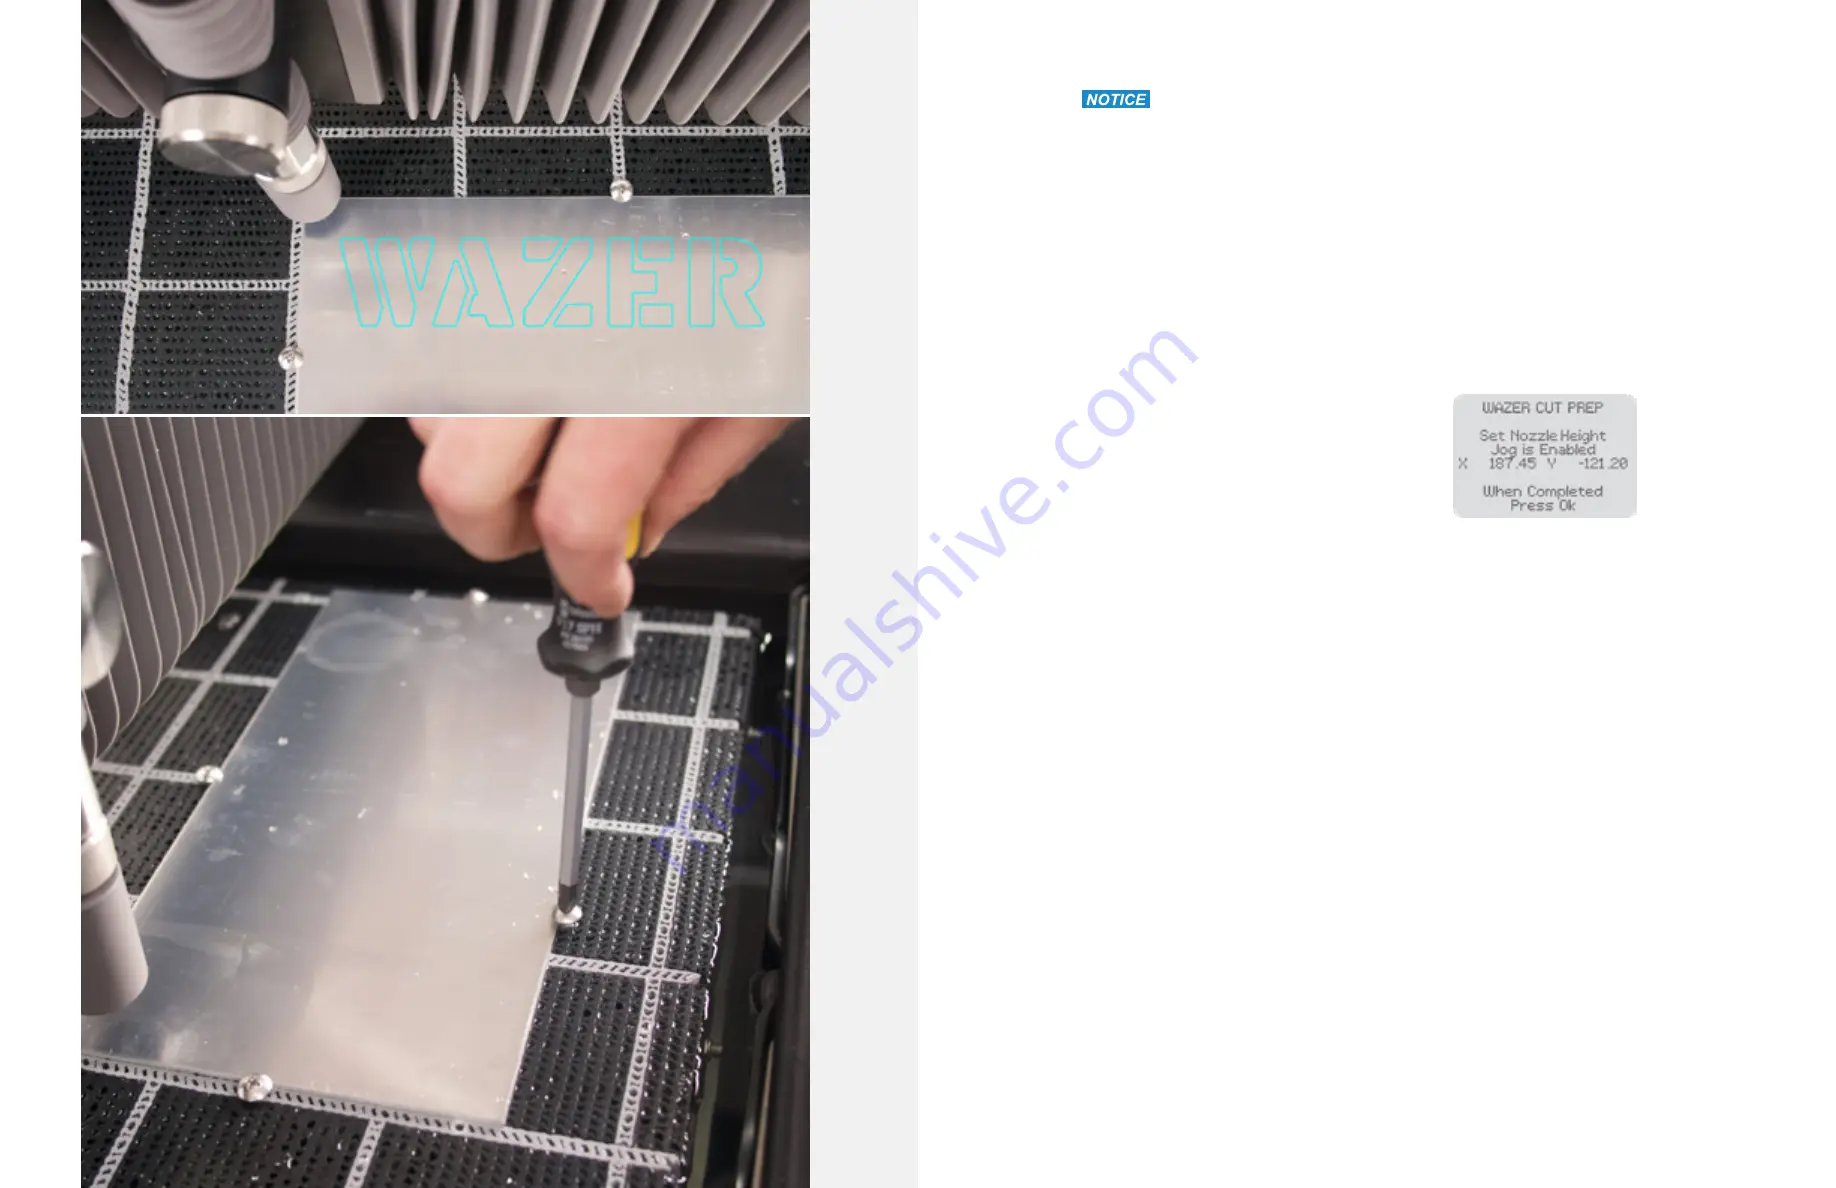
Setting the height of the Nozzle relative to the Material is critical. If the Nozzle Height
is set improperly, WAZER may not cut through the Material or the WAZER cutting head will come in
contact with the material you are trying to cut resulting in a jam, clog, and lost cut.
To set the Nozzle Height:
•
First, the Control Panel will prompt you to set the Nozzle Height.
•
Grab the Nozzle Height Tool, which is the black cap on top of the Nozzle.
•
Place the Nozzle Height Tool on top of your Material and loosen the Nozzle Lock Knob on the
Nozzle.
•
You may Jog the Nozzle over the Material using the keypad. This will not affect the starting
position for the Cut.
•
Slide the Nozzle Height Tool up against the Nozzle Cover, and gently lower the Nozzle onto
it. The flange of the Nozzle Height Tool should now be caught between the Material and the
Nozzle, which is hidden under the gray Nozzle Cover. As long as the Nozzle Height Tool is
between the Nozzle and the Material to be cut, you can trust that it is set properly.
•
Tighten the Nozzle Lock Knob after the height is
set properly. This should be tightly snug by hand to
ensure that it doesn’t vibrate loose while cutting. If it
comes lose it will most certainly result in a jam, clog,
and lost cut.
•
Pull the Nozzle Height Tool out from under the
Nozzle and replace it on top of the Nozzle.
•
Confirm task completion by pressing OK on the
Control Panel.
When setting the Nozzle Height, you should feel some resistance, but the Nozzle should not be
so tight against the Nozzle Height Tool that you cannot easily slide it out. Additionally, when you
pull the nozzle tool out from under your cutting head, be sure that the material hasn’t flexed
away from the Cut Bed. We have noticed, on occasion, thin materials bowing after being fastened
down. Often this was not realized because the setting of the Z-height with the tool would push the
material down. This made it seem like the offset was correct, but after taking the tool out it would
bow up again, sometimes having the material contact the cutting head without us noticing. Be
mindful of this because if this happens you will have a jam, clog, and lost cut. If the Nozzle Height
is set too low, it might crash and ruin your Cut which would require significant maintenance. If
the Nozzle height is set too high, you may notice a small effect on your Cut Quality. It is better to
be slightly too high than to be too low. If you lost your Nozzle Height Tool, simply slide a 0.098”
(roughly 2.5 mm) piece of material between your Material and the Nozzle.
Perform a Final Check
A Cut can be costly. Take advantage of the Control Panel’s preview features to ensure that you
positioned the Material correctly.
We highly recommend that you use one of these features before starting a Cut:
•
Check Cut Extents:
Select this feature and the Nozzle will slowly trace a rectangle that will
designate your Cut Extents (essentially the smallest rectangle that fully encompasses your
Cut). As it moves, the center of the Nozzle should never cross the edge of the Material that you
fastened to the Cut Bed.
•
Dry Run:
Select this feature and the Nozzle will trace the path of the entire Cut File without
releasing water. This is the more time-consuming option, but fully verifies the setup since it
replicates the final Cut Path.
•
Move origin:
Allows you to move the cut to a new location on the cut bed. When this feature is
selected, you can move the nozzle to a new starting location by pressing the arrow keys. Once
the new location is set, the firmware checks the cut extents. If these are outside due to the shift
you will get a prompt. If the cut falls within the cut bed you can go to cut the material menu and
start the cut. Each press of the button moves the gantry by 10 mm.
•
Restart Cut:
Lets you start the cut from any point within a cut file, thereby allowing a restart
from the position the cut failed. When this option is selected, the nozzle moves along the cut
path in dry run mode (without water and abrasive). The user can visually access where the cut
has failed and when the nozzle reaches that location the user can start cutting by pressing start.
The feature pierces at the restart location and completes the cut file as designed.
Set Nozzle Height
C
ut
tin
g W
ith W
AZER |
SE
C
TION 5
64
65


