VIDEO
Startup
This section will guide you through the process of setting up WAZER to cut your Design.
Over time this process will be familiar to you, and the Control Panel prompts will likely be enough
to walk you through the setup. For the first time WAZER user, we strongly recommend to follow
every single step listed in this section. Additionally, at the end of this section you will find two
copies of the “Cutting with WAZER Checklist” printed on water resistant paper. We highly suggest
prominently displaying one of those pages in a highly visible location near your WAZER, for all
users to reference with every cut.
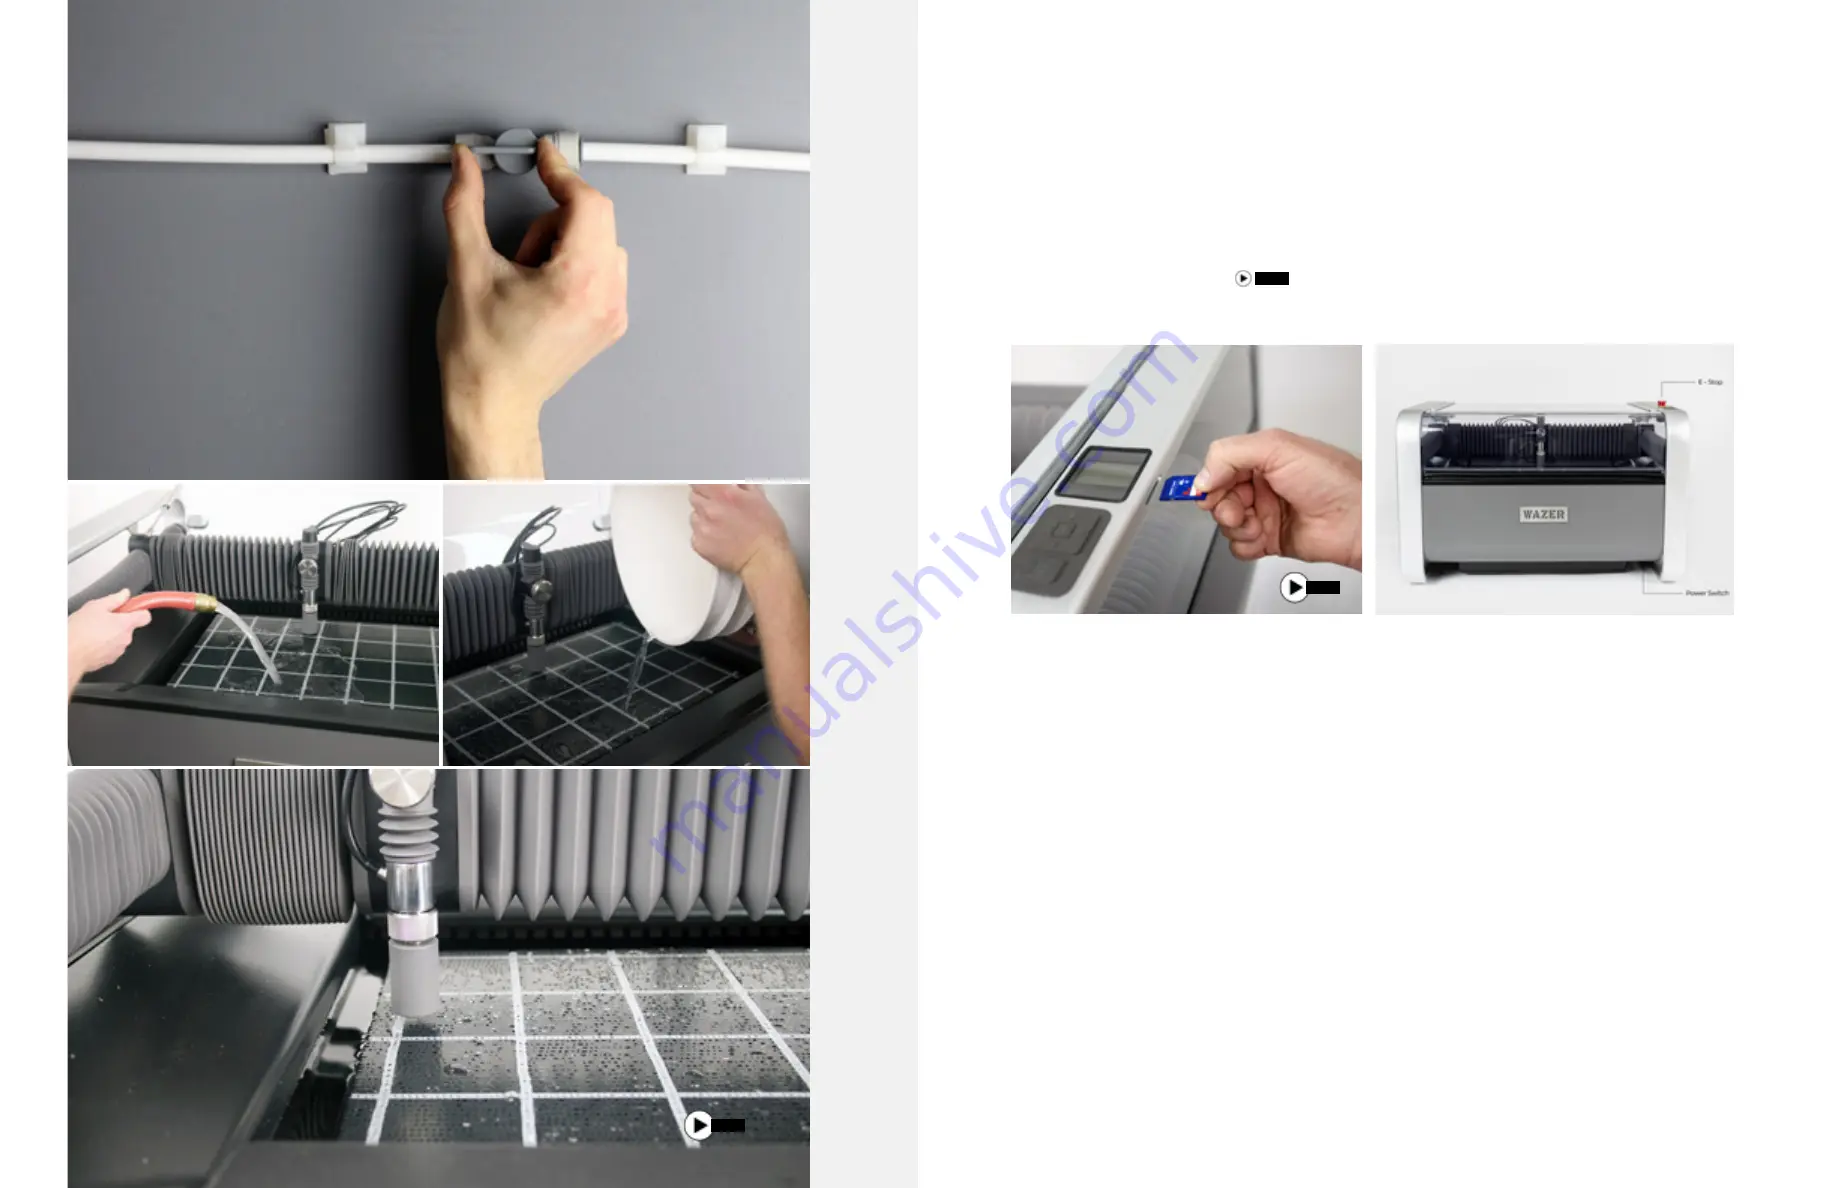
Insert the SD Card
Transferring Cut Files to WAZER is done through an SD Card. To transfer Cut Files onto the SD
Card, connect the card to your computer, and drag-and-drop the Cut Files onto the SD Card.
WAZER has a slot near the Control Panel that accommodates a standard sized SD Card. It is
important that you insert the SD Card before turning WAZER on.
An SD Card is provided with your Setup Kit. This SD Card contains the Cut File for the Welcome
Cut. Place it in WAZER now.
Turn On WAZER
There are 5 things that can prevent your WAZER from turning on:
•
The GFCI/PRCDs cords must be plugged into appropriate outlets as explained in the setup
section of this user manual.
•
The GFCI/PRCDs are reset and have a green light present. This must be done after being
plugged in.
•
Correct water level must be present in the tank. Too low or high of a water level and the
corresponding float sensors will prevent machine turn on.
•
The E-stop must be reset and in the up/disengaged position.
•
The primary power switch that is located at the bottom right corner of the Main Unit and
can be accessed by reaching under the right cover of the machine.
VIDEO
VIDEO
C
ut
tin
g W
ith W
AZER |
SE
C
TION 5
54
55


