Programming
Commander i System User Guide - Issue 2
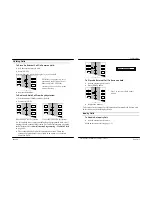
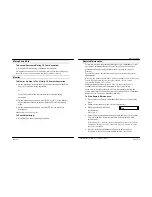
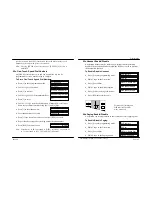
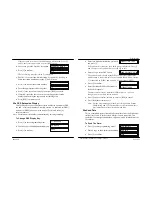
If the password is incorrect, the Admin menu is displayed. Press [i]
and re-enter correct password or press [RLS] to exit.
•
Enter 04 to go to the Station Class option.
•
Press [i] to confirm.
The call barring class for station 1 is displayed.
•
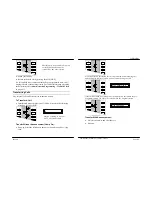
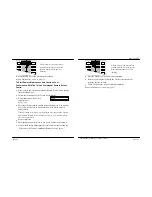
Dial 01 - 12 to select the desired station. Alternatively, scroll up or
down the station numbers using the [*] and [#] keys.
•
Press [i] to confirm the station number.
•
Enter the appropriate call barring class.
•
Press [i] once to confirm, twice to re-enter or [RLS] to cancel.
•
If desired, repeat the above process by selecting another station
number and entering the appropriate call barring class.
•
Press [RLS] four times to exit.
05a DSS Extension Display
This facility allows you to allocate a station number to a particular DSS
key and / or intercom number. Normally, station 1 is allocated to [DSS1],
station 2 to [DSS2] and so on, with station 12 allocated to the [#]
intercom number.
Note: The intercom call number is determined by this programming.
To Change DSS Display Key:
•
Press [i] to enter programming mode.
•
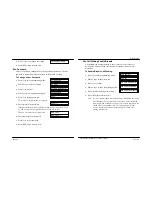
Dial 04 to go to the Administration menu.
•
Press [i] to confirm.
•
Enter four digit administration password
and press [i].
If the password is incorrect, the Admin menu is displayed. Press [i]
and re-enter correct password or press [RLS] to exit.
•
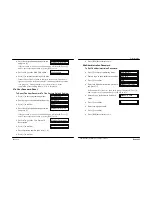
Enter 05 to go to the DSS option.
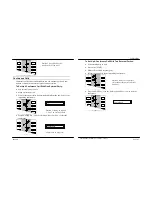
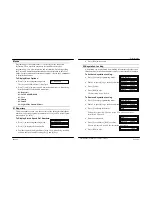
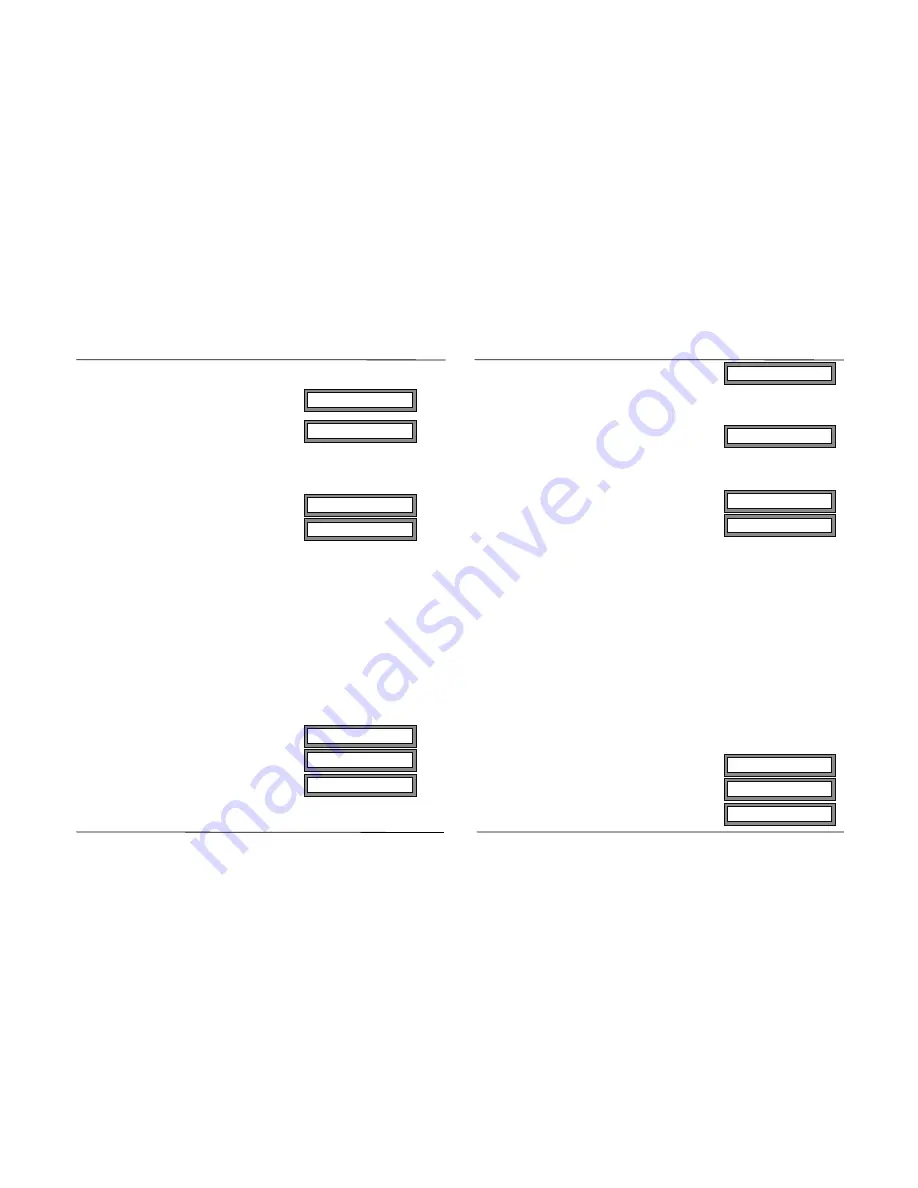
The position in which each of the DSS keys is displayed indicates
which station is connected to it. In the example shown below, station
3 is connected to [DSS6] and station 6 is connected to [DSS3].
•
Press [i] to confirm.
•
Enter the station/DSS key allocations in
the desired sequence.
You must enter all twelve different DSS identifiers (1 - #), even
though you may not have twelve stations.
•
Press [i] once to confirm, twice to re-enter or [RLS] to cancel.
•
Press [RLS] three times to exit.
Note: For the programming of Lines Access, Ring Modes, Station
Call Barring and User Password Reset, the station number is
kept independent of the allocation made here.
06a Send Data
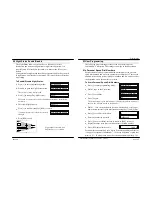
This is a command used to transmit all system data from the first Master
station (lines 1 and 2) to the second Master if one is connected. This
operation is for configuration backup only and must be initiated from the
first Master.
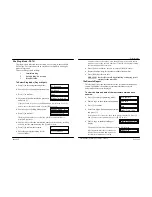
To Send The Data:
•
Press [i] to enter programming mode.
•
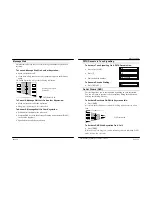
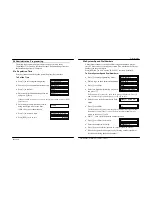
Dial 04 to go to the Administration menu.
•
Press [i] to confirm.
04aStation class D
01:0
>
>3
01: Repertory
04: Admin
Pass:
01aSet Time: 16:24
05aDSS123456789*0#
>
>126453789*0#
01: Repertory
04: Admin
Page 6-13
Pass:
Page 6-14
Содержание Commander i
Страница 11: ...Chapter One Introduction to the Commander i System ...
Страница 19: ...Chapter Two System Description ...
Страница 23: ...Chapter Three Hardware Installation ...
Страница 24: ......
Страница 57: ...Chapter Four Programming ...
Страница 83: ......
Страница 84: ...Chapter Five Commander Customer Training ...
Страница 89: ...Chapter Six Maintenance and Troubleshooting ...
Страница 93: ......
Страница 94: ...Appendix A Installation Summary ...
Страница 102: ...Appendix B Factory Default Values ...
Страница 106: ...Installation Summary Commander i Product Service Manual Issue 2 Page A 5 Appendix C Commander i Serial Item Numbers ...
Страница 109: ...Appendix D Commander i System User Guide ...
Страница 110: ...Telstra Commander i System User Guide Serial Item 749 025 Issue 2 ...
Страница 113: ...1 Getting To Know Your Commander i ...
Страница 117: ...2 Answering Calls ...
Страница 120: ...3 Making Calls ...
Страница 123: ...4 Call Handling ...
Страница 127: ...5 Other Facilities ...
Страница 131: ...6 Programming ...
Страница 142: ...Appendix F Commander i AFU User Guide ...
Страница 143: ...Telstra Commander i Analogue Facilities Unit User Guide Serial Item 749 35 Issue 2 ...
Страница 145: ...1 Introduction ...
Страница 148: ...2 How To Use The AFU ...
Страница 152: ...3 AFU Quick Reference Card ...
Страница 154: ...Installation Summary Commander i Product Service Manual Issue 2 Page A 9 Appendix G Technical Bulletins ...

