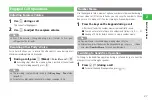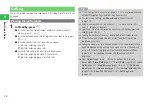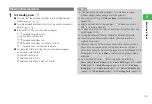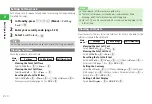
1-18
1
Getting Started
Date & Time
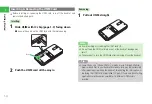
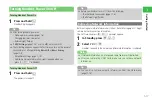
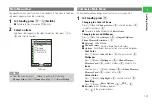
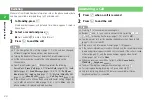
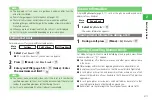
1
In Standby, press
@
→
Settings
→
@
2
Select
Phone Settings
→
@
→
Clock
→
@
3
Select
Date&Time
→
@
→
Enter the year, month,
date and time
→
@
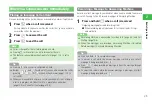
●
To set the date and time, enter the last two digits of the year and
the month, the day, the hour, and the minute in two digits
respectively. Enter the time in accordance with the 24-hour system.
●
While entering the date and time, you can move the cursor by
pressing
F
. You can also increase or decrease the numbers
selected by the cursor by pressing
G
.
●
The day of the week is set automatically.
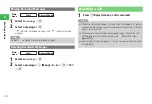
You can:
7
Enter a date from 2000/01/02 to 2099/12/30.
7
Switch the clock to 12-hour system (page 11-9).
7
Change the clock display format (page 11-7).
7
Set DST (Daylight Saving Time) (page 13-37).
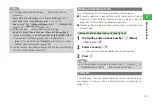
Tip
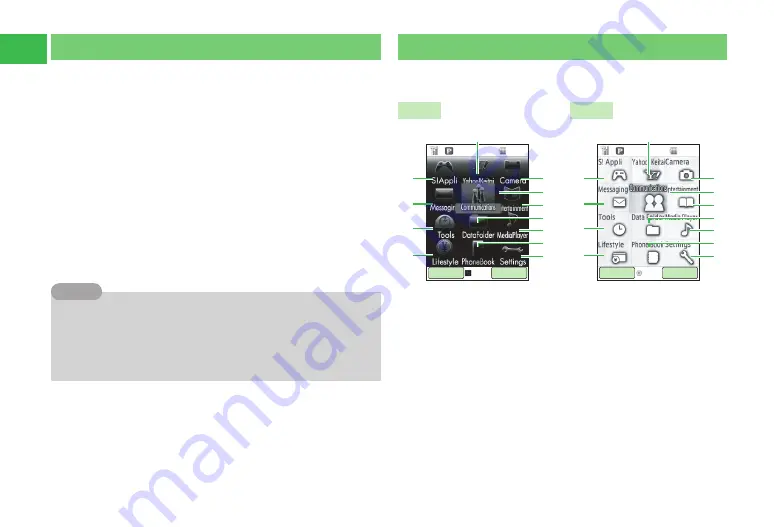
Accessing Functions from Main Menu
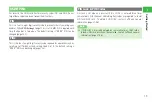
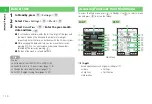
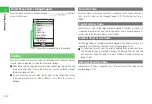
To access the Main menu, press
@
in Standby. Use
E
to select a menu
icon and press
@
to access that menu.
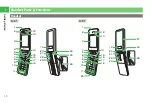
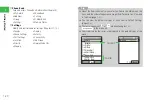
814T
815T
Main Menu
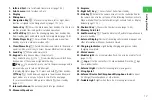
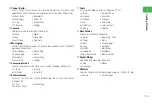
①
S! Appli
Access applications such as games (Chapter 17).
• Library
�• Settings
• Card Sync
�• Certification
• Information
������
������
����
12:30
②
③
⑥
⑤
⑧
⑨
⑪
⑫
①
④
⑦
⑩
������
������ ����
12:30
②
③
⑥
⑤
⑧
⑨
⑪
⑫
①
④
⑦
⑩
Содержание 814T
Страница 3: ...iii...
Страница 32: ...1 2 1 Getting Started...
Страница 66: ...2 14 2 Basic Operations...
Страница 130: ...6 26 6 Camera...
Страница 186: ...11 18 11 Settings...
Страница 196: ...12 10 12 Security Settings...
Страница 254: ...14 10 14 Optional Services...
Страница 320: ...18 18 18 Communications...
Страница 338: ...20 10 20 S FeliCa...
Страница 356: ...21 18 21 Appendix AC Charger Input Voltage 100 to 240 V AC 50 60 Hz Charging Temperature Range 5 to 35 C...

