13-16
13
Convenient Functions
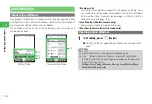
Alarms
An alarm name, alarm time, ring setting, repeat setting, snooze setting can be
set to alarm setting. The " " indicator appears in Standby when Alarm is
set. At the set time, the alarm tone, vibration and image display are activated.
The External Light also flashes.
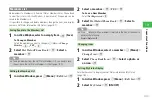
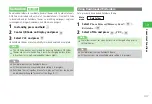
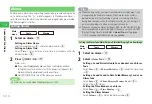
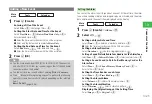
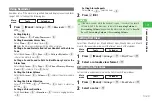
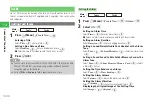
Setting Alarms
Main
menu
E
Tools
E
Alarms
1
Select an alarm
→
@
Setting an Alarm Name
Select an alarm name
→
@
→
Enter an alarm name
→
@
Setting an Alarm Time
Select
Time
→
@
→
Enter an alarm time in accordance with the
24-hour system
→
@
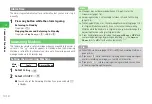
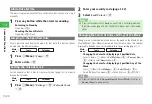
2
Press
J
(OK)
→
OK
→
@
Alarm is set.
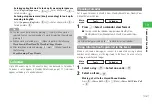
●
If you select
Notify Only Once
when a confirmation window
telling that the alarm will not start if the power is off appears, this
window will not be displayed from the next time.
●
Press
J
(ON/OFF) to turn off the alarm you have set.
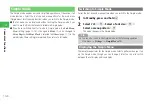
7
Alarms do not sound when the handset power is OFF.
Note
7
When the time set for an alarm is reached, alarm will play even if you
are operating the handset. However, if the time set for an alarm is
reached during a call, while taking a picture or recording a video or
during data communication, the alarm plays after the call, taking of a
picture or recording of a video, or communication ends.
7
When you change the Main City (page 13-38) for the World Clock, the
alarms are updated to match the time of the newly set city. And if DST
(Daylight Saving Time) is turned
ON
or
Date&Time
setting (page
1-18) is changed, then the alarms are also updated.
Tip
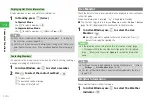
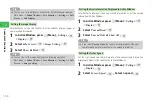
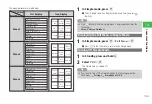
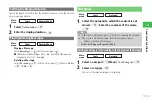
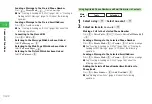
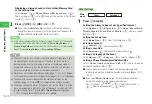
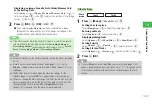
Setting the Alarm Tone/Alarm Volume/Vibration/Ringing Duration/Image
Main
menu
E
Tools
E
Alarms
1
Select an alarm
→
@
2
Select
Alarm Tone
→
@
Setting a Sound Preinstalled in Your Handset as an Alarm
Tone
Select
Tone
→
@
→
Patterns
/
Melodies
→
@
→
Select an alarm tone
→
@
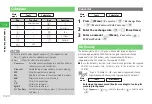
Setting a Sound Saved to Data Folder/Memory Card as an
Alarm Tone
Select
Tone
→
@
→
Phone Memory
/
Memory Card
→
@
→
Select a file
→
@
(twice)
Setting the Time Reader as an Alarm
Select
Tone
→
@
→
Time Reading
→
@
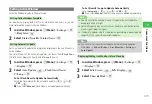
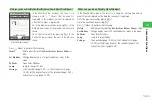
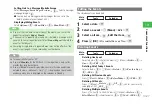
Setting the Alarm Volume
Select
Volume
→
@
→
Adjust the alarm volume
→
@
Содержание 814T
Страница 3: ...iii...
Страница 32: ...1 2 1 Getting Started...
Страница 66: ...2 14 2 Basic Operations...
Страница 130: ...6 26 6 Camera...
Страница 186: ...11 18 11 Settings...
Страница 196: ...12 10 12 Security Settings...
Страница 254: ...14 10 14 Optional Services...
Страница 320: ...18 18 18 Communications...
Страница 338: ...20 10 20 S FeliCa...
Страница 356: ...21 18 21 Appendix AC Charger Input Voltage 100 to 240 V AC 50 60 Hz Charging Temperature Range 5 to 35 C...

