6-14
6
Camer
a
7
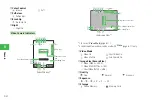
When a QR code has been divided into data areas, you can scan up to
16 data areas consecutively, and they will be saved as a single QR code
data.
Tip
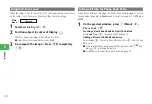
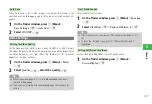
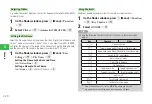
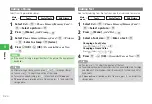
Scanning a QR Code
Main
menu
E
Camera
E
Scan Data
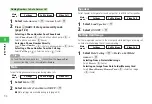
1
Select
Scan
→
@
2
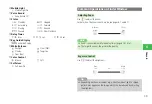
Frame a QR code in the Display
→
@
●
Use
F
to adjust the exposure.
●
When the QR code has been divided into data areas, select
YES
to
scan the other data areas. When all the areas are scanned, the QR
code data is displayed.
3
Press
K
�(Menu)
→
Save
→
@
7
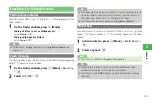
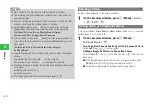
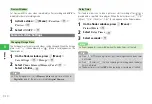
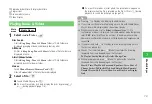
The following step can also activate the barcode reader:
�
Main menu
→
Tools
→
Useful Tools
→
Scan Data
7
If
j
J
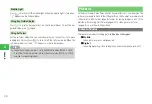
(Mode) is pressed on the scan QR code window, the camera mode
can be changed.
7
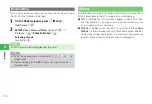
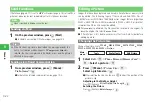
After scanning a code, press
k
K
(Menu) to perform the following
(displayed items differ depending on the QR code data):
To Locations
/
Save
/
Copy
/
To
Message
Tip
7
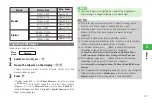
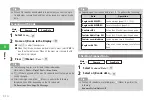
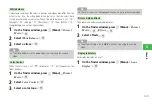
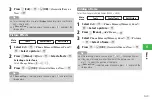
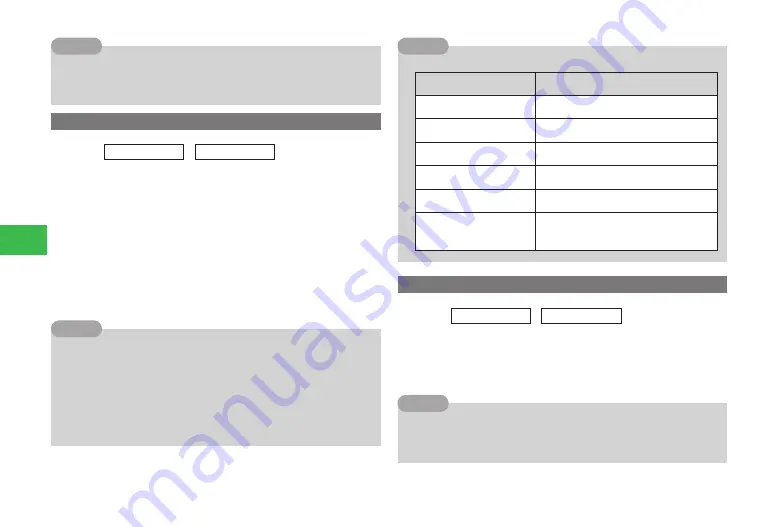
Depending on the scanned data, press
a
@
to perform the following:
Data
Operation
Begins with MAILTO:
Send a message (pages 15-5, 15-10)
Begins with MEMORY:
Save to Phone Book (page 4-3)
Contains URL
Access the URL and display the web page
Contains Media Player URL
Access the URL and display the web page
Contains an email address
Send a message, save to Phone Book
Begins with TEL:
Make a call, send a message, save to Phone
Book
Tip
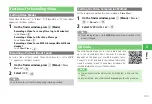
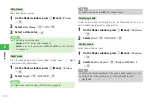
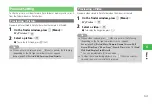
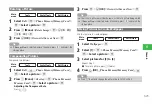
Checking Scanned Data
Main
menu
E
Camera
E
Scan Data
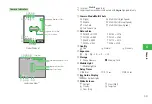
1
Select
Scanned Data
→
@
2
Select a QR code data
→
@
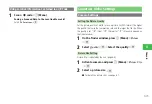
7
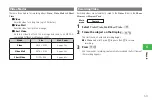
While a QR code data is selected, press
k
K
(Menu) to perform the
following:
Rename
/
Delete
/
Delete All
Tip
Содержание 814T
Страница 3: ...iii...
Страница 32: ...1 2 1 Getting Started...
Страница 66: ...2 14 2 Basic Operations...
Страница 130: ...6 26 6 Camera...
Страница 186: ...11 18 11 Settings...
Страница 196: ...12 10 12 Security Settings...
Страница 254: ...14 10 14 Optional Services...
Страница 320: ...18 18 18 Communications...
Страница 338: ...20 10 20 S FeliCa...
Страница 356: ...21 18 21 Appendix AC Charger Input Voltage 100 to 240 V AC 50 60 Hz Charging Temperature Range 5 to 35 C...

