13-25
13
Convenient Functions
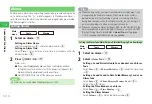
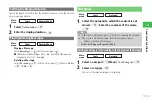
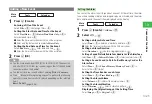
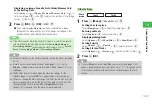
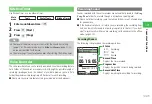
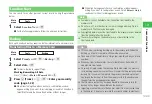
Adding a New Event
Main
menu
E
Tools
E
Calendar
1
Press
J
(Create)
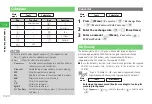
Entering a Title of the Event
Select
Title
→
@
→
Entering a title
→
@
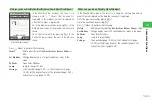
Setting the Start Date and Time for the Event
Select
Start Date
→
@
→
Date&Time
/
Date Only
→
@
→
Enter date and time
→
@
●
Enter the time in accordance with the 24-hour system.
●
Enter only the date, when you selected
Date Only
.
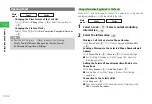
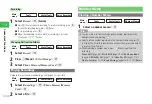
Setting the End Date and Time for the Event
Select
End Date
→
@
→
Enter date and time
→
@
●
Enter the time in accordance with the 24-hour system.
2
Press
J
(OK)
7
You can store events from 2000/01/02 to 2015/12/30. The events on
and after 2015/12/30 that you saved using another SoftBank handset
cannot be used on this handset.
7
You cannot store your events without entering
Title
or
Contents
.
7
Press
k
K
(Menu) while registering an event to perform the following
operations (some items are not displayed depending on the selected
item):
Reset
/
To Call
(page 13-26)
Tip
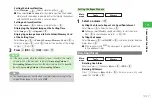
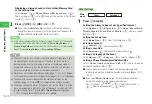
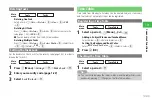
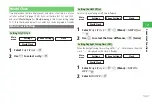
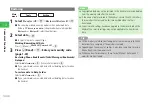
Setting the Alarm
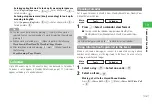
You can set the alarm to notify you about an event. At the set time, the alarm
tone or time reading, vibration and image display are activated, and the alarm
date and time and the event title are displayed on the Display.
Main
menu
E
Tools
E
Calendar
1
Press
J
(Create)
→
Alarm
→
@
2
Select
ON
→
@
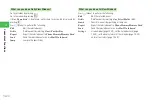
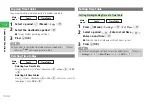
Setting an Alarm Date and Time
Select
Time
→
@
→
Enter an alarm date and time
→
@
●
Enter the time in accordance with the 24-hour system.
Setting an Alarm Duration
Select
Duration
→
@
→
Enter a ringing duration
→
@
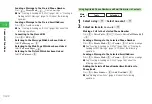
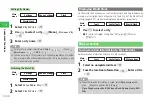
Setting a Sound Preinstalled in Your Handset as the Alarm Tone
Select
Tone
→
@
→
Patterns
/
Melodies
→
@
→
Select an alarm tone
→
@
Setting a Sound Saved to Data Folder/Memory Card as the
Alarm Tone
Select
Tone
→
@
→
Phone Memory
/
Memory Card
→
@
→
Select a file
→
@
(twice)
Setting the Time Reader as an Alarm
Select
Tone
→
@
→
Time Reading
→
@
Setting the Alarm Volume
Select
Volume
→
@
→
Adjust the alarm volume
→
@
Setting the Alarm Vibration
Select
Vibration
→
@
→
Select a vibration pattern
→
@
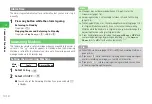
Displaying the Original Image at the Setting Time
Select
Image
→
@
→
Original
→
@
Содержание 814T
Страница 3: ...iii...
Страница 32: ...1 2 1 Getting Started...
Страница 66: ...2 14 2 Basic Operations...
Страница 130: ...6 26 6 Camera...
Страница 186: ...11 18 11 Settings...
Страница 196: ...12 10 12 Security Settings...
Страница 254: ...14 10 14 Optional Services...
Страница 320: ...18 18 18 Communications...
Страница 338: ...20 10 20 S FeliCa...
Страница 356: ...21 18 21 Appendix AC Charger Input Voltage 100 to 240 V AC 50 60 Hz Charging Temperature Range 5 to 35 C...

