6-7
6
Camer
a
������������
������������
������������
�������������
�������������
�
������������
������������
�����������
�����������
�����������
�����������
����������
�������������
������������
�����������
������
�������
������������
����
���������
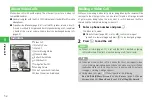
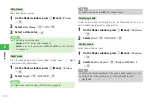
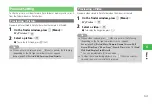
Capturing Still Images
Take pictures using Auto Focus.
Main
menu
E
Camera
1
Select
Mobile
/
Digital
→
@
2
Frame the subject on the display
→
@
/
R
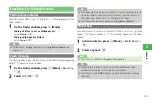
Camera focuses on subject in center of frame, shutter clicks and
preview window appears.
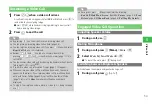
3
Press
@
If Storage (page 6-18) is set to
Phone Memory
, the picture is saved
to
Pictures
in Data Folder (page 9-2), and the finder window
reappears. If it is set to
Memory Card
, a picture taken in
Mobile
is
saved to
Pictures
, one taken in
Digital
to
Digital Camera
, and the
finder window reappears.
7
Capturing images in low-lighting may compromise image quality.
Capture images in adequate lighting or use Mobile Light.
Note
7
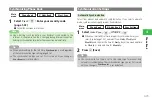
Auto Focus may not properly function if: subject is moving, subject's
distance is out of focus range, or lighting condition is poor.
7
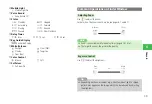
When the subject is not in the center; frame the subject in center of
window, lock focus then move camera to compose the image
(page 6-8).
7
Pressing
r
R
in Standby also displays the finder window.
7
If you do not operate the handset for 90 seconds or so while the finder
window is displayed, the window returns to Standby.
7
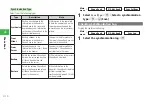
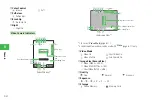
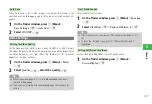
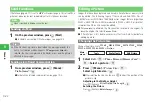
On the finder window, press
k
K
(Menu) to perform the following
(depending on the mode, some items may not appear):
P
icture Size
/
My Pictures
/
Self-view
/
Brush Up
/
Multi Shots
/
Add Frame
/
Icons
Display
/
Save Settings
/
Picture
/
Function
7
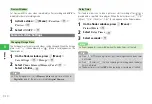
After capturing image, press
k
K
(Menu) to perform the following
(depending on the mode, some items may not appear):
V
ia Infrared
/
ScreenDisplay
/
Zoom
/
To Phone Book
/
Edit Picture
/
Storage
7
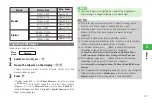
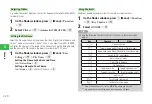
The storage place can be changed (page 6-18). You can also change the
folder for pictures taken in
Mobile
(page 6-6) or pictures taken in
Digital
(page 6-6) whose storage place is set to the handset.
Tip
Содержание 814T
Страница 3: ...iii...
Страница 32: ...1 2 1 Getting Started...
Страница 66: ...2 14 2 Basic Operations...
Страница 130: ...6 26 6 Camera...
Страница 186: ...11 18 11 Settings...
Страница 196: ...12 10 12 Security Settings...
Страница 254: ...14 10 14 Optional Services...
Страница 320: ...18 18 18 Communications...
Страница 338: ...20 10 20 S FeliCa...
Страница 356: ...21 18 21 Appendix AC Charger Input Voltage 100 to 240 V AC 50 60 Hz Charging Temperature Range 5 to 35 C...

