Operating Manual
Page 68 / 116
Copyright © REA Elektronik
REA ScanCheck 3n
V 1.2.0 24/02/2020
REA
VERIFIER
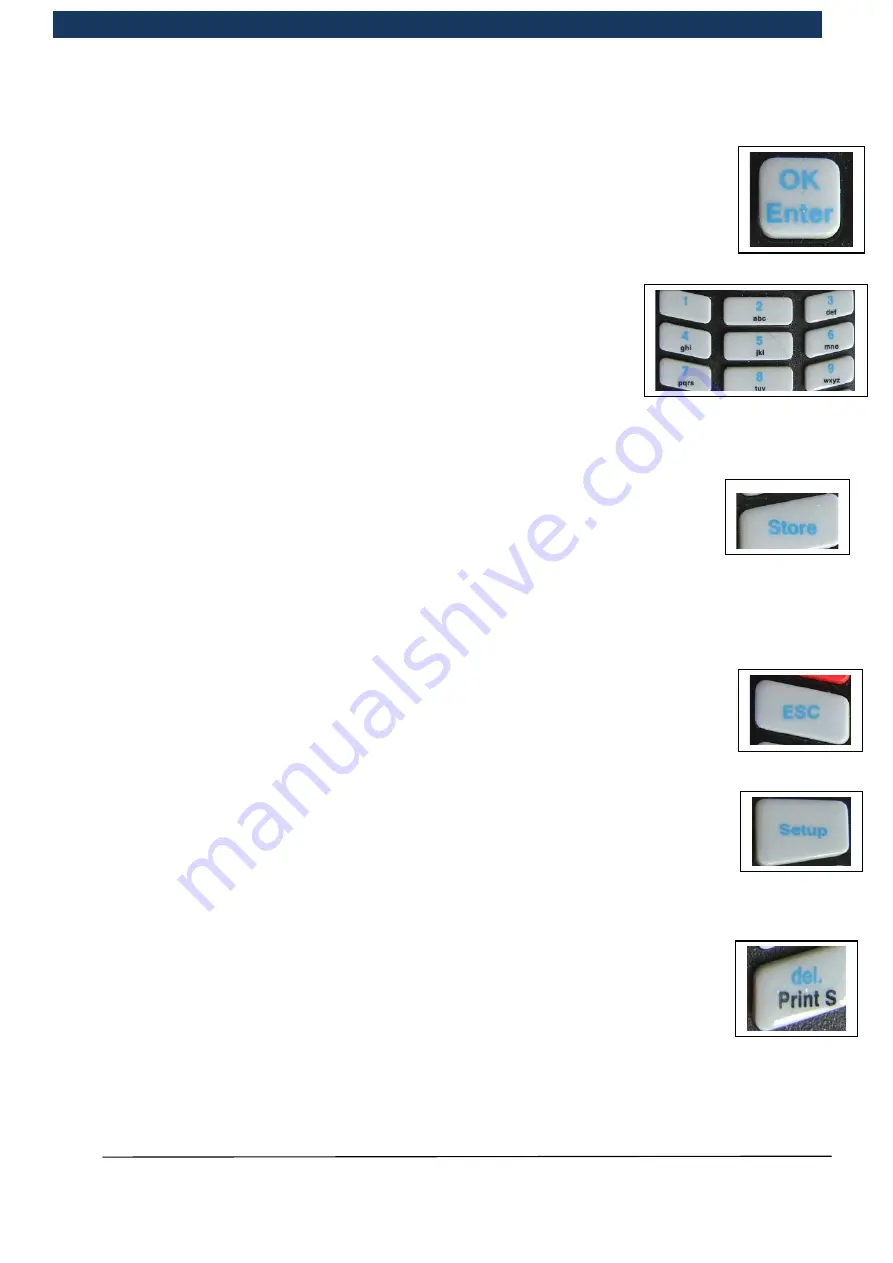
<OK Enter>
button: With this, it is possible to
-
Choose selected menus and the sub-menu items in these
-
Confirm inputs in the input field and jump to the next field
-
Accept and save the inputs from a set-up screen
by selecting the “
OK
” field on
the respective screen page, then press the <
OK Enter
> button to exit
<0> to <9>
number keys enable:
-
The input of the corresponding numbers and letters.
Input of the letters functions in the same way as with a mobile
phone. Repeatedly pressing a button results in the selected
numbers and letters appearing the input field in succession, for
example with the <
2
> button in the sequence 2 a b c A B C. All
other number keys use the same schematic.
-
Some number keys have special functions. For more information, refer to the following chapter.
<
Store
> button: This function depends on the respective context:
-
If a measuring result is displayed, this button is used to store the current
measurement with the pre-set file name format directly in the internal flash
memory.
-
If the user is on the screen pages in the set-up menus, this is used to immediately accept and
save the most recently pressed selection setting, and the program jumps back to the higher
menu level.
<
ESC
> button: With this button
-
it is possible to undo inputs.
-
return to the next highest menu level.
<
Setup
> button:
-
This button is used to call up the menu screens for the device settings (see
chapter 5.6 Setup menu (pre-settings directly in the device))
<
del.
>
button:
-
This function can only be used in the set-up menus and in the respective active input fields
there. It deletes the character in the input field. Every time the button is pressed, the cursor
jumps one position to the left in the activated (red) input field and deletes the last
character.
<
Print S
> button:
-
The function of this button can only be called up if a measuring result is shown in
the display.
If REA ScanCheck 3n is connected with the REA TD-GPT-
U printer, pressing the “Print” button
prints out the test report on this printer.
S
t
o
r
e


