


Chapter 2: Installation and Setup
11
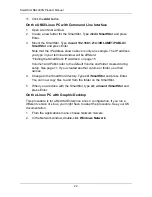
The installer adds a SmartNAVI icon to the:
•
Start menu
•
Application tray
SmartNAVI loads automatically every time your Windows OS starts.
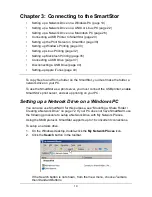
Setting up the SmartStor
The SmartNAVI performs the setup procedures on your SmartStor. After the
procedure is done, you will have a default folder on the SmartStor, set up as a
network drive on your PC.
You can change the network settings, create RAID volumes, add and mount
folders on your SmartStor after initial setup using SmartNAVI. You can also made
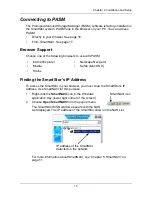
more advanced settings using the PASM software. See “Connecting to PASM”
on page 15.
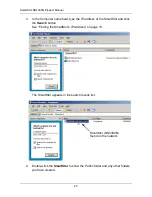
To set up your SmartStor:
1.
Right-click the
SmartNAVI
icon in the Windows
application tray (lower right corner of the screen).
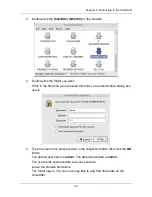
2.
Choose
Open SmartNAVI
from the popup menu.
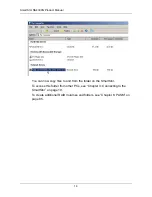
The MSN Window opens.
3.
Optional. From Language dropdown menu, choose the language you prefer.
4.
Double-click the NS4300N in the NAS list.
SmartNAVI icon
Содержание SMARTSTOR NS4300N
Страница 1: ...SMARTSTOR NS4300N Product Manual Version 2 0 SR4 ...
Страница 10: ...SmartStor NS4300N Product Manual x ...
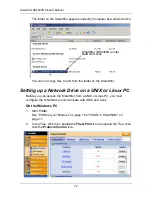
Страница 53: ...Chapter 3 Connecting to the SmartStor 43 Click on the SmartStor to display the items stored there SmartStor ...
Страница 54: ...SmartStor NS4300N Product Manual 44 ...
Страница 176: ...SmartStor NS4300N Product Manual 166 ...


