66
Clip Management: Attaching Metadata to Clips
4
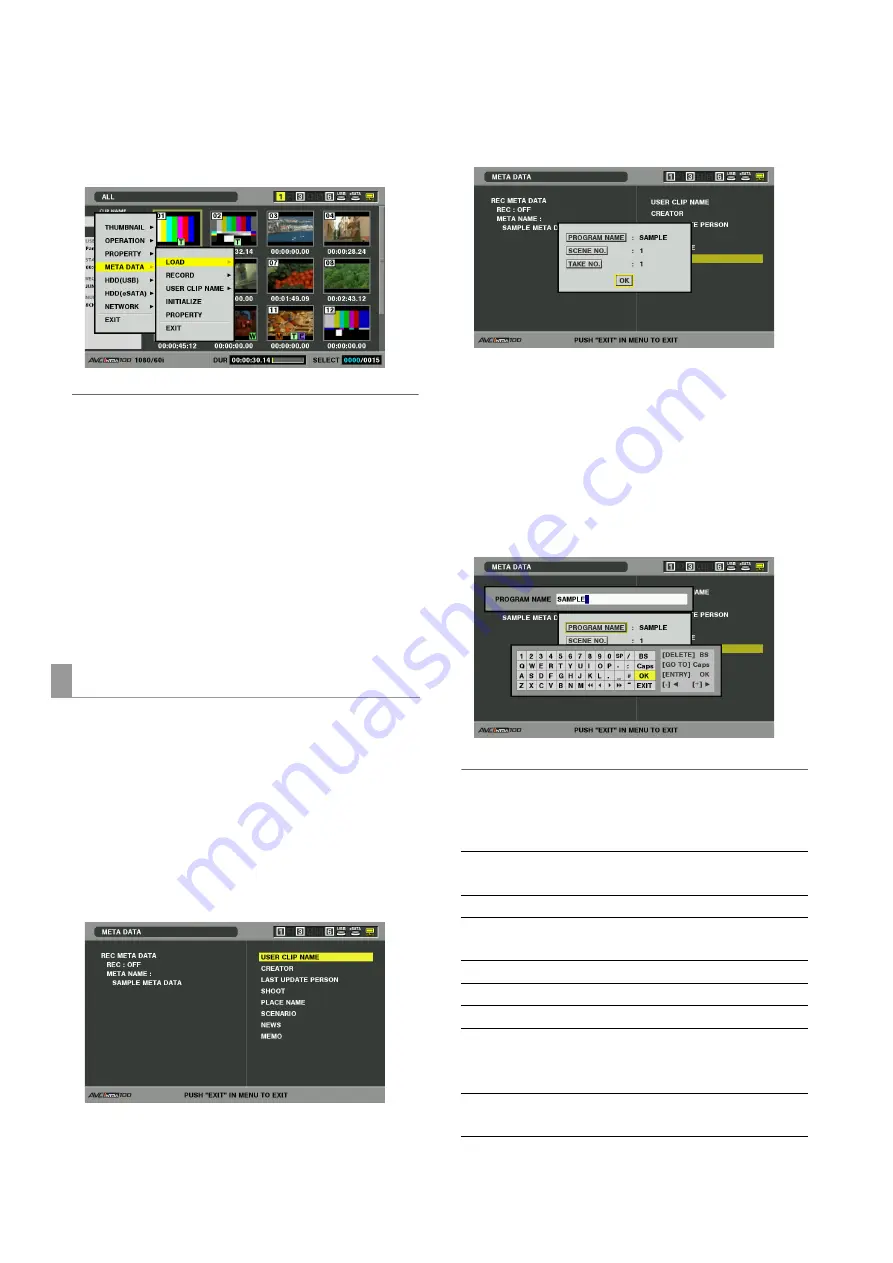
Use the cursor buttons to select [META DATA] –
[LOAD] and press the SET button.
The metadata name of the metadata upload file on the SD
memory card appears.
◆
NOTE:
• When the metatada name is displayed, use the right cursor
button (
a
) to show the file name. Use the left cursor button (
b
)
to show the metadata name.
5
Use the cursor buttons to select the file to load and
press the SET button.
6
Select [YES] and press the SET button.
The file is now loaded.
7
Press the MENU button to end processing.
Use the following steps to check metadata loaded from an SD
memory card.
1
Press the THUMBNAIL button.
The thumbnail screen appears on the LCD monitor.
2
Press the MENU button and select [META DATA] –
[PROPERTY] from the thumbnail menu.
The screen shown below appears.
3
Use the cursor buttons to move the pointer and press
the SET button.
Use this function to check loaded metadata settings.
4
While viewing metadata settings, use the cursor
buttons to move the cursor to the setting you want to
change and press the SET button.
The on-screen keyboard appears. Make the required
changes. The USB keyboard also becomes available.
➝
For details, refer to “Using the On-screen Keyboard”
◆
NOTE:
<Metadata types that can be set>
• Use the cursor buttons to select a metadata item and press the
SET button to view the information.
• Press the EXIT or SET button after confirming to close the window.
• Select [OK] after completing all changes.
Checking and revising loaded metadata
USER CLIP NAME: Loaded USER CLIP NAME, counter
value and recorded data
CREATOR:
Creator
LAST UPDATE
PERSON:
The person who last updated the
data
SHOOT:
The person who shot
PLACE NAME:
Shooting location
SCENARIO:
Program name, scene No., take No.
NEWS:
Name of the reporter, purpose of
data collection, object of data
collection
MEMO:
Name of the person who recorded
the text memo and text memo data


