815
Item Description
NET Payload Type
Field
Configure the value of the NTE payload type for the NTE-compatible switching mode.
This option is configurable only when
NTE Compatible G.711 A-law
or
NTE Compatible
G.711
μ
-law
is selected in the
Codec Type and Switching Mode for SIP Modem
Pass-through
list.
By default, the value of the NTE payload type is 100.
Select the Route(s)
Select the boxes of call routes, and then click the
Apply to Selected Route(s)
button to
apply the above fax and Modem settings to the selected call routes.
Advanced settings
Select
Voice Management
>
Advanced Configuration
>
Batch Configuration
from the navigation tree,
and then click the
Advanced Settings
link in the
Call Route
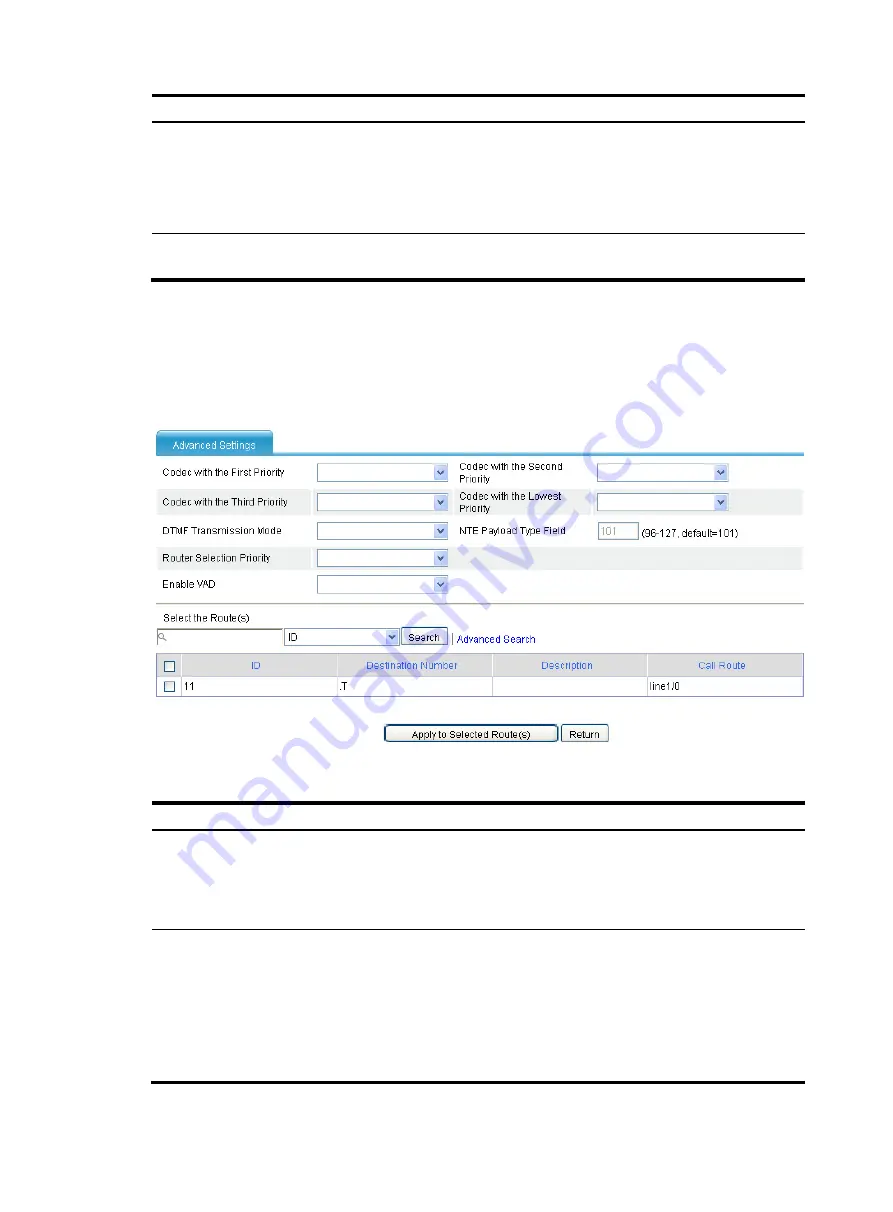
area to access the call route advanced settings
page, as shown in
.
Figure 850
Call route advanced settings page
Table 303
Configuration items
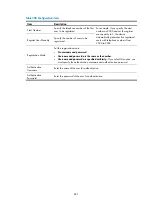
Item Description
Codecs and Priorities
Codec with the First Priority.
Codec with the Second Priority.
Codec with the Third Priority.
Codec with the Lowest Priority.
DTMF Transmission
Mode
Specify DTMF transmission mode:
•
In-band Transmission.
•
Out-of-band Transmission.
•
RFC2833: Adopt DTMF named telephone event (NTE) transmission mode. When
you adopt this transmission mode, you can configure the payload type field in RTP
packets.
By default, the value of the NTE payload type field is 101.
Содержание MSR SERIES
Страница 17: ...xv Documents 835 Websites 835 Conventions 836 Index 838 ...
Страница 20: ...3 Figure 3 Initial page of the Web interface ...
Страница 42: ...25 Figure 13 Firefox Web browser setting ...
Страница 59: ...42 Figure 27 Checking the basic service configuration ...
Страница 73: ...56 Figure 35 Sample interface statistics ...
Страница 156: ...139 Figure 139 Rebooting the 3G modem ...
Страница 168: ...151 Figure 152 Configuring Web server 2 ...
Страница 174: ...157 Figure 158 Configure the URL filtering function ...
Страница 187: ...170 Upon detecting the Land or Smurf attack on Ethernet 0 2 Router outputs an alarm log and drops the attack packet ...
Страница 242: ...225 Figure 233 Enabling the DHCP client on interface Ethernet 0 1 ...
Страница 247: ...230 Figure 236 The page for configuring an advanced IPv4 ACL ...
Страница 255: ...238 Figure 241 Advanced limit setting ...
Страница 298: ...281 e Click Apply 2 Configure Router B in the same way Router A is configured ...
Страница 354: ...337 Figure 339 Configuring a login control rule so Host B cannot access Router through the Web ...
Страница 400: ...383 Figure 387 Verifying the configuration ...
Страница 405: ...388 ...
Страница 523: ...506 Figure 530 Ping configuration page ...
Страница 538: ...521 a Click Device A on the topology diagram b Click Ethernet 0 2 on the panel diagram c Click Port Guard ...
Страница 744: ...727 Verifying the configuration In the case that the IP network is unavailable calls can be made over PSTN ...
Страница 775: ...758 Figure 785 Configuring a jump node ...
Страница 791: ...774 Figure 801 Configuring a jump node ...


