Faxing
181
Sending a Fax Manually
1
Load the document(s) facing up with top edge in first into the ADF or place a single document facing down on
the document glass and close the document cover.
See also:
•
"Loading an Original Document on the ADF" on page 176
•
"Loading an Original Document on the Document Glass" on page 177
2
Press the
(
Services Home
) button.
3
Select
Fax
.
4
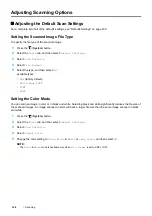
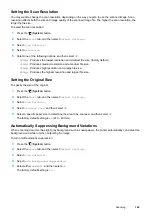
Adjust the document resolution to suit your fax needs.
See also:
•
•
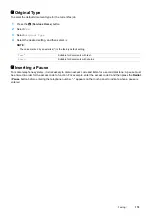
"Inserting a Pause" on page 179
5
Select
OnHook
, and then select
Manual Send
.
6
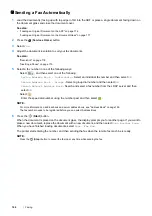
Enter the remote fax machine's fax number using the number pad.
You can also select the recipient by using speed dial number or address book.
See also:
•
"Automatic Redialing" on page 181
NOTE:
•
You can enter a fax number using the ten key, *, and #.
•
Pressing the
Redial / Pause
button enables you to enter a pause in the fax number.
7
Press the
(
Start
) button.
NOTE:
•
Press the
(
Stop
) button to cancel the fax job at any time while sending the fax.
Confirming Transmissions
When the last page of your document has been sent successfully, the printer beeps and returns to the standby
mode.
If something goes wrong while sending your fax, an error message appears on the touch panel.
If you receive an error message, select
OK
to clear the message and try to send the document again.
You can set your printer to print a confirmation report automatically after each fax transmission.
See also:
•
•
Automatic Redialing
If the number you have dialed is busy or there is no answer when you send a fax, the printer will automatically redial
the number every minute based on the number set in the redial settings.
To change the time interval between redials and the number of redial attempts, see "Auto Redial Setup" on
page 225.
NOTE:
•
The printer will not automatically redial a number that was busy when the number was manually entered.
Содержание DocuPrint CM225FW
Страница 1: ...DocuPrint CM225 fw User Guide ...
Страница 10: ...10 Contents Technical Support 338 Online Services 339 Index 340 ...
Страница 157: ...Scanning 157 5 Select any unused number and click Add The Add Network Scan Address page appears 9 8 7 6 5 4 3 2 1 ...
Страница 260: ...260 Digital Certificates 11 Digital Certificates Using Digital Certificates on page 261 ...
Страница 272: ...272 Troubleshooting 4 Lower the levers to their original position 5 Close the rear cover ...
Страница 337: ...Contacting Fuji Xerox 337 14 Contacting Fuji Xerox Technical Support on page 338 Online Services on page 339 ...
Страница 344: ...DocuPrint CM225 fw User Guide ME6939E2 1 Edition 1 July 2014 Fuji Xerox Co Ltd Copyright 2014 by Fuji Xerox Co Ltd ...


