4-2
●
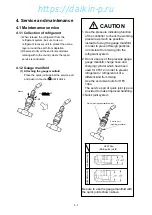
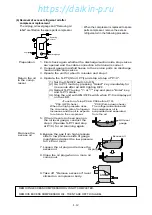
Caution on the service work
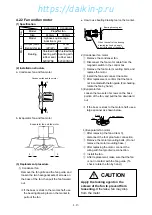
q
Be sure not to bend the refrigerant pipe
when pushing the quick joint during
connection work.
w
If the installation fails due to movement of
the sleeve, try it again after returning the
sleeve to the original position.
e
Set the discharge and suction stop valve
handle at the half open (neutral position).
r
The remaining pressure in the charge hose
may cause installation failure. In this case,
try it again after relieving the pressure in
the hose.
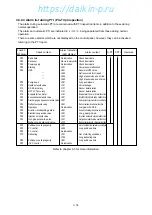
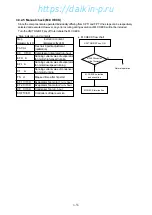
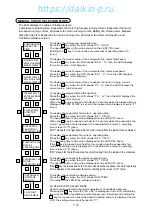
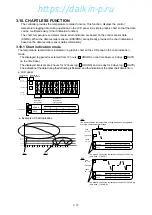
CAUTION
Be sure to attach the cap to the
service port after the removal of the
manifold.
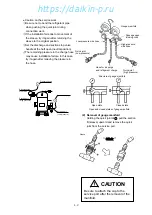
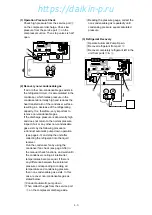
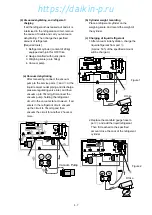
(2) Removal of gauge manifold
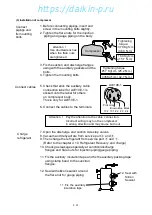
Holding the quick joint at A , pull the section
B (sleeve) upward and remove the quick
joint from the service port.
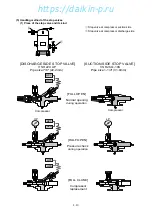
Gauge manifold
Passage open-
/closing cock
High-pressure
side hose
Low-pressure side hose
Quick joint
(Low pressure)
Hose for air purge
and refrigerant charge
Structure of gauge manifold
Open state
Closed state
Open and closed states of gauge manifold
Quick joint
(high pressure)
Sleeve
Click
Pressure gauge
Compound gauge
Service port
(Low pressure)
Discharge side
stop valve
Service port
(High pressure)
https://daikin-p.ru
Содержание LXE10E-1
Страница 161: ...7 9 https daikin p ru ...
Страница 162: ...7 14 Schematic wiring diagram LXE10E 1 7 10 https daikin p ru ...
Страница 163: ...7 15 Stereoscopic wiring diagram LXE10E 1 7 11 https daikin p ru ...


