4
4
4-24
4-24
Parts Replacement and Cleaning > Main Units/Parts > Removing the Right Cover Unit
Parts Replacement and Cleaning > Main Units/Parts > Removing the Right Cover Unit
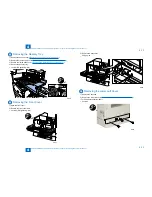
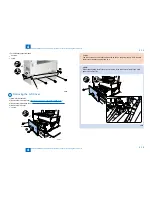
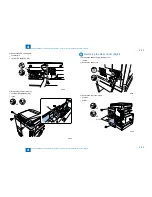
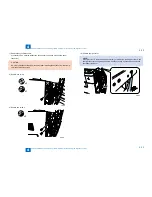
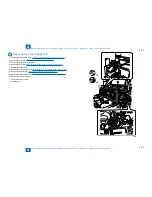
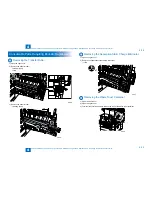
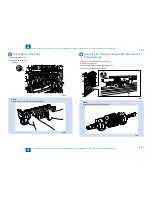
7) Remove the connection cable.
2 connectors (The machine without the No.2 delivery unit does not have the upper
connector.)
CAUTION:
Be sure to disconnect the upper connector after releasing the harness from the clamp
to prevent breaking of wire.
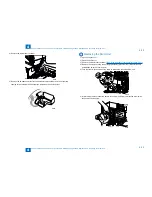
8)Remove one screw.
x1
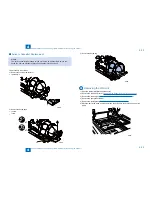
x2
9)Remove two screws.
x2
F-4-45
F-4-45
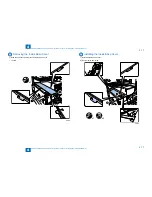
F-4-46
F-4-46
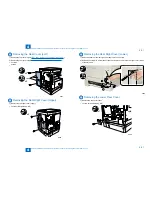
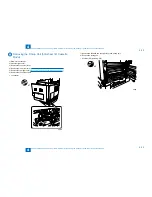
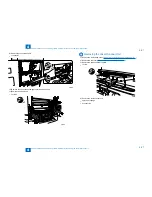
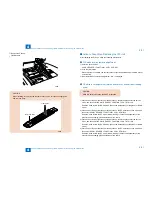
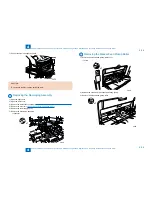
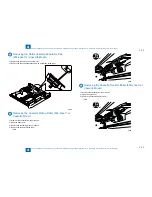
10)Remove the right cover.
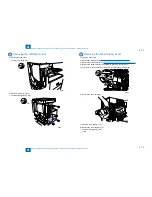
MEMO:
If the right cover is removed with it open widely, it touches the reader right cover. Open
the right cover to the angle shown below, and then remove it so that it does not touch
the reader right cover.
F-4-47
F-4-47
Содержание IMAGERUNNER 2530
Страница 1: ...9 8 7 6 5 4 3 2 1 imageRUNNER 2530 2525 2520 Series Service Manual...
Страница 4: ...Blank Page...
Страница 16: ...1 1 Product Overview Product Overview Product Lineup Feature Specifications Name of Parts...
Страница 111: ...3 3 Periodical Service Periodical Service Consumable Parts and Cleaning Parts...
Страница 159: ...5 5 Adjustment Adjustment Outline Adjustment when replacing parts Image position adjustment...
Страница 166: ...6 6 Troubleshooting Troubleshooting Upgrading Targets and Procedure...
Страница 171: ...7 7 Error Code Error Code Overview Error Code Jam Code Alarm Code...
Страница 186: ...8 8 Service Mode Service Mode Outline Details of Service Mode...
Страница 321: ...Service Tools General Circuit Diagram Appendix...


