Chapter 5: Installation
260
3
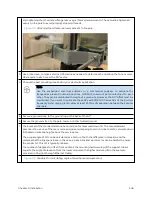
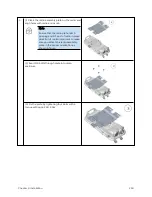
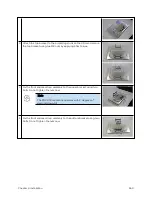
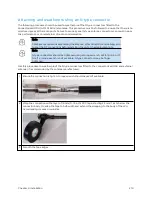
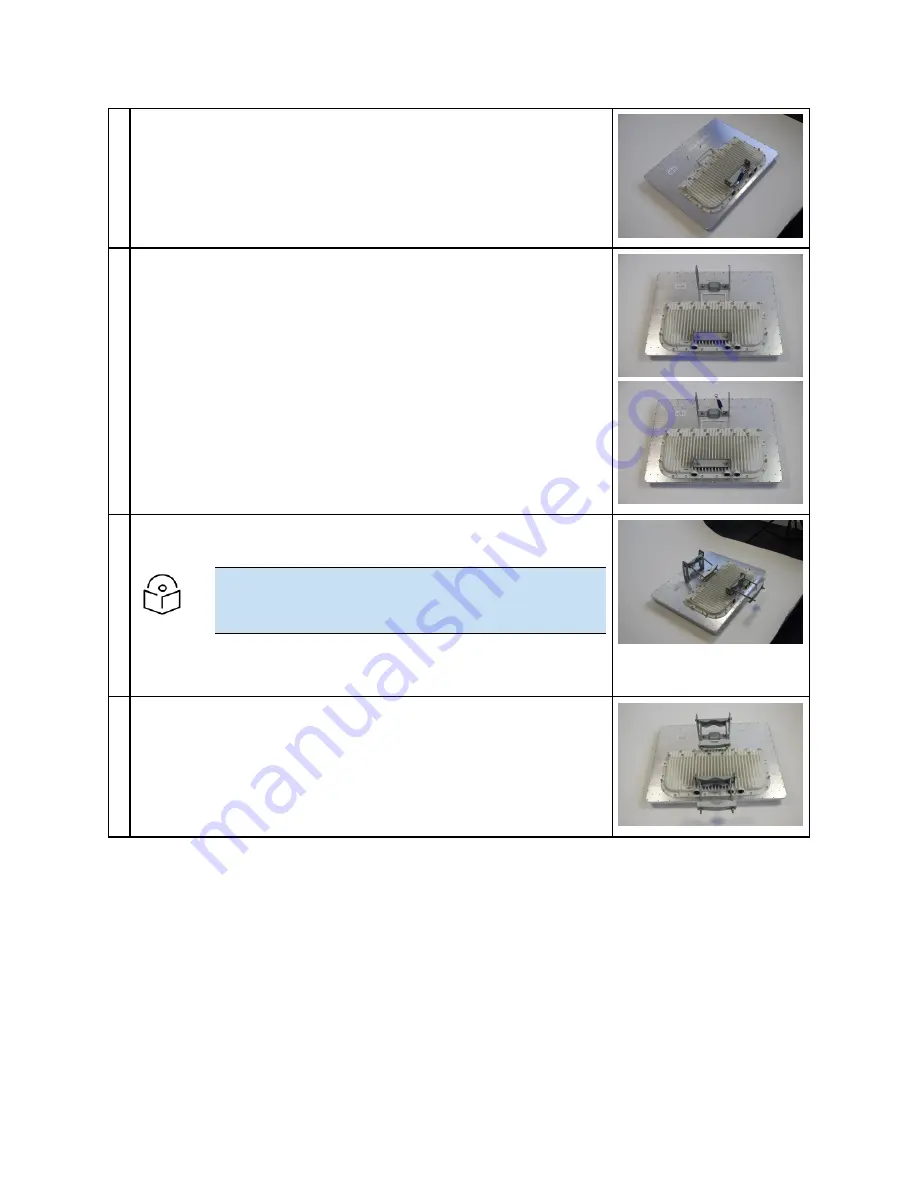
Attach the top bracket to the projecting studs on the ODU and secure
the top bracket using two M8 nuts by applying 5 Nm torque.
4
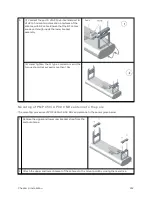
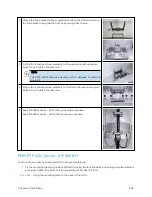
Fix the front and rear strap assembly to the upper bracket using two
bolts. Do not tighten the nuts now.
Note
The PMP 450m antenna operates with 2 degrees of
electrical down-tilt.
5
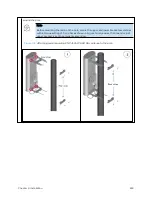
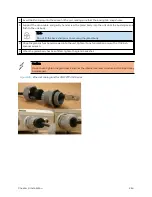
Fix the front and rear strap assembly to the bottom bracket using two
bolts. Do not tighten the nuts now.
Содержание PMP 450 Series
Страница 92: ...Chapter 2 System hardware 92 Figure 29 MicroPoP Omni antenna implementation pattern Vertical...
Страница 134: ...Chapter 3 System planning 134 Figure 51 Mast or tower installation...
Страница 135: ...Chapter 3 System planning 135 Figure 52 Wall installation...
Страница 136: ...Chapter 3 System planning 136 Figure 53 Roof installation...
Страница 137: ...Chapter 3 System planning 137 Figure 54 GPS receiver wall installation...
Страница 158: ...Chapter 3 System planning 158 Figure 61 cnMedusa Antenna...
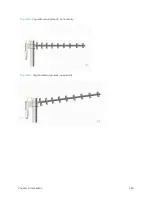
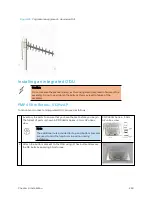
Страница 258: ...Chapter 5 Installation 258 Figure 123 Yagi antenna alignment horizontally Figure 124 Yagi antenna alignment upward tilt...

