Chapter 5: Installation
245
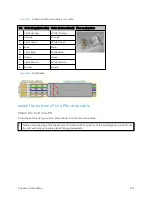
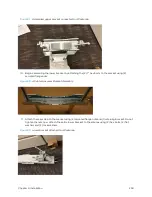
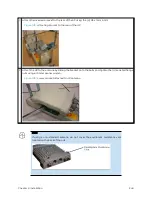
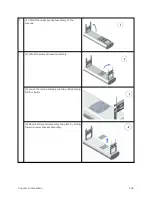
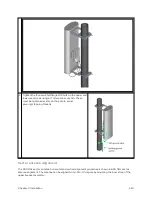
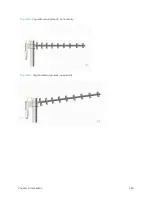
Figure 110 :
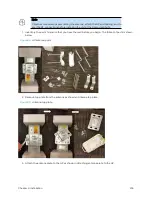
Mounted PMP 450 AP and antenna assembly, viewed from back and back
At t aching t he PMP 4 50 Series AP and ant enna t o t he mount point
1
Attach the upper bracket of the antenna to the mount point by closing the rear strap around the pole
and tightening the (2) serrated flange nuts using a 13mm spanner wrench. These must be tightened
evenly on the pol to avoid jumping/stripping threads.
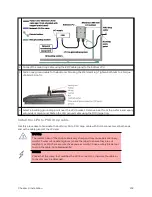
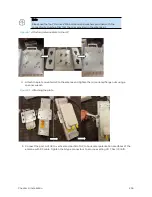
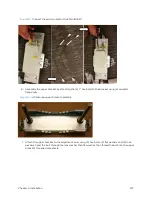
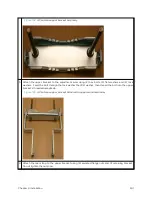
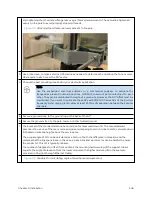
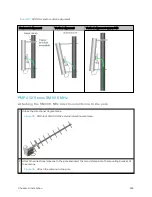
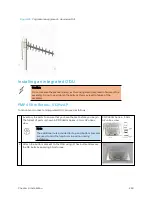
Figure 111 :
Attaching the AP antenna upper bracket to the pole
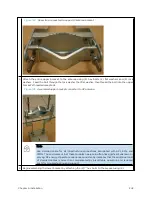
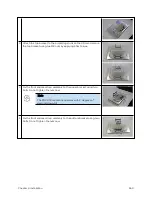
2
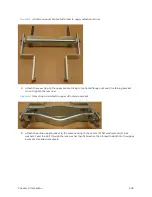
Attach the lower bracket of the antenna to the mount point by closing the rear strap around the pole
Содержание PMP 450 Series
Страница 92: ...Chapter 2 System hardware 92 Figure 29 MicroPoP Omni antenna implementation pattern Vertical...
Страница 134: ...Chapter 3 System planning 134 Figure 51 Mast or tower installation...
Страница 135: ...Chapter 3 System planning 135 Figure 52 Wall installation...
Страница 136: ...Chapter 3 System planning 136 Figure 53 Roof installation...
Страница 137: ...Chapter 3 System planning 137 Figure 54 GPS receiver wall installation...
Страница 158: ...Chapter 3 System planning 158 Figure 61 cnMedusa Antenna...
Страница 258: ...Chapter 5 Installation 258 Figure 123 Yagi antenna alignment horizontally Figure 124 Yagi antenna alignment upward tilt...

