Chapter 5: Installation
250
3
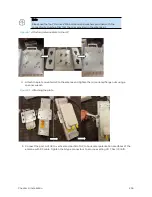
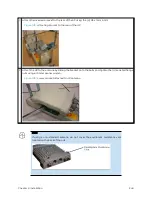
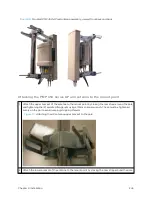
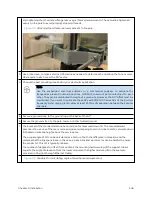
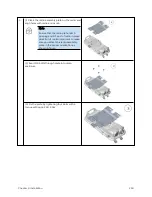
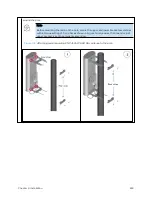
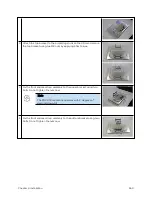
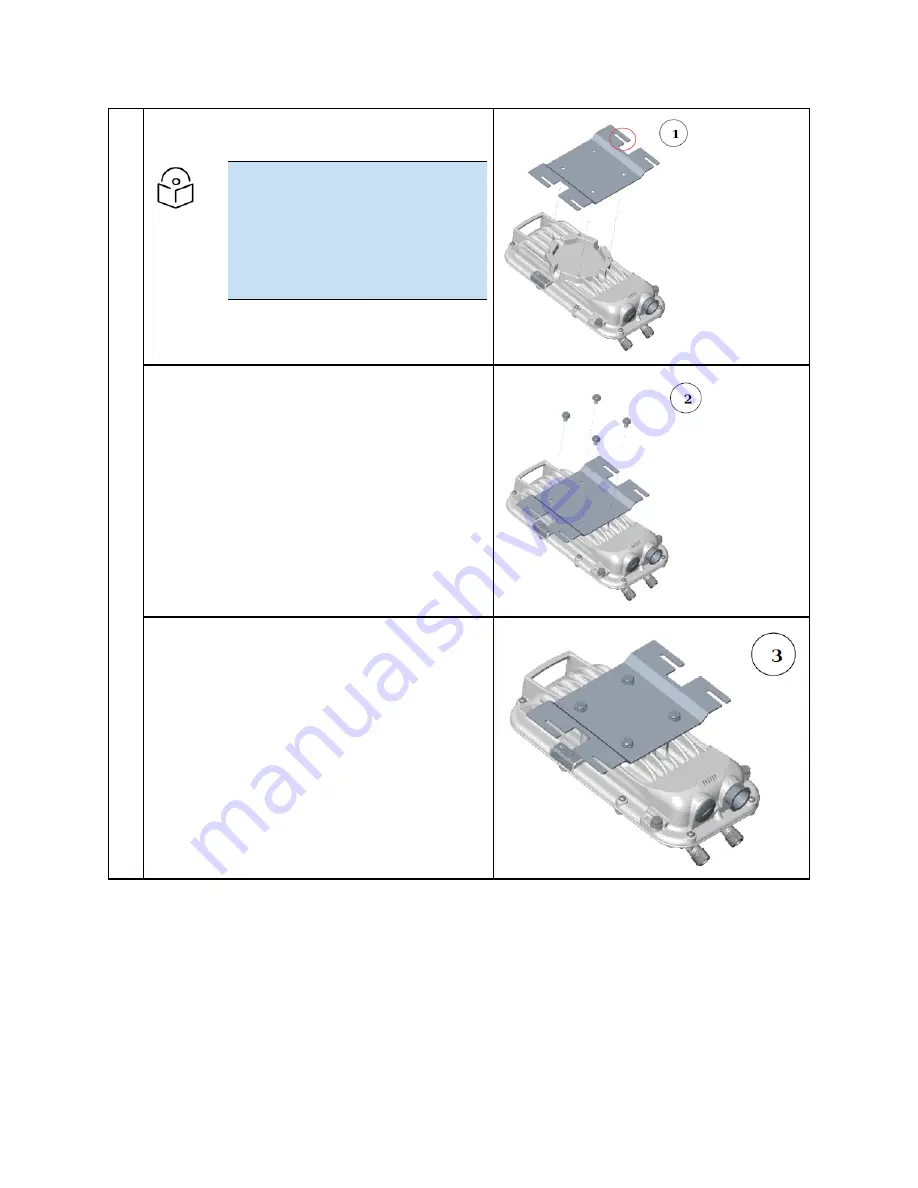
(1) Place the radio assembly plate on the radio and
align holes with radio enclosure.
Note
Ensure that the radio plate notch
opening and RF port of radio in same
direction. It is also important to make
sure you attach the radio assembly
plate in the proper orientation as
shown in figure.
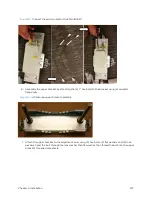
(2) Insert M6 bolts through plate into radio
enclosure
(3) Fix the plate by tightening four bolts with a
torque setting on 2 ±0.5 Nm
Содержание PMP 450 Series
Страница 92: ...Chapter 2 System hardware 92 Figure 29 MicroPoP Omni antenna implementation pattern Vertical...
Страница 134: ...Chapter 3 System planning 134 Figure 51 Mast or tower installation...
Страница 135: ...Chapter 3 System planning 135 Figure 52 Wall installation...
Страница 136: ...Chapter 3 System planning 136 Figure 53 Roof installation...
Страница 137: ...Chapter 3 System planning 137 Figure 54 GPS receiver wall installation...
Страница 158: ...Chapter 3 System planning 158 Figure 61 cnMedusa Antenna...
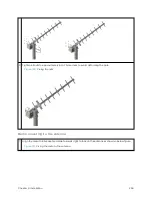
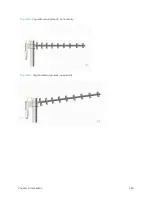
Страница 258: ...Chapter 5 Installation 258 Figure 123 Yagi antenna alignment horizontally Figure 124 Yagi antenna alignment upward tilt...

