Chapter 5: Installation
219
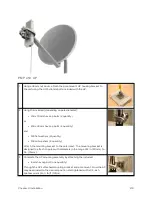
PMP 4 50 AP
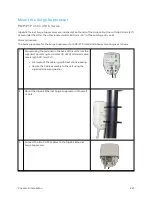
1
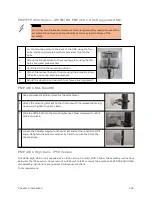
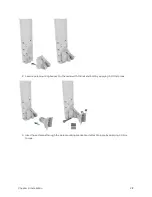
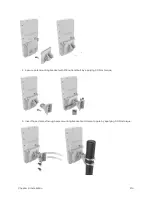
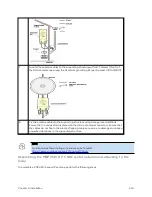
Using an 8mm nut driver, attach the pole mount’s AP housing bracket to
the unit using the 4 M5 x 16mm bolts included with the AP.
2
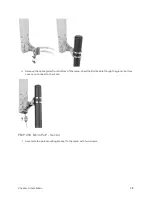
Using the included (depending on pole diameter):
l
M8 x 70mm hex cap bolts (2 quantity)
or
l
M8 x 40mm hex cap bolts (2 quantity)
and
l
M8 flat washers (2 quantity)
l
M8 coil washers (2 quantity)
Attach the mounting bracket to the pole/mast. The mounting bracket is
designed to attach to poles with diameters in the range of 2 in. (50mm) to
3in. (75mm).
3
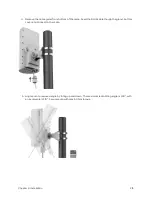
Complete the AP mounting assembly by attaching the included:
l
8mm hex cap bolt (one quantity)
Through the AP’s attached mounting bracket and pole mount. Now the AP
may be adjusted to the desired position and tightened with a 1/2-inch
spanner wrench to 11 lb/ft (14Nm).
Содержание PMP 450 Series
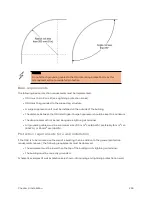
Страница 92: ...Chapter 2 System hardware 92 Figure 29 MicroPoP Omni antenna implementation pattern Vertical...
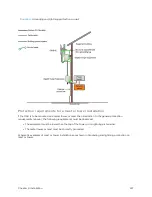
Страница 134: ...Chapter 3 System planning 134 Figure 51 Mast or tower installation...
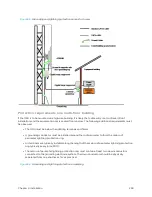
Страница 135: ...Chapter 3 System planning 135 Figure 52 Wall installation...
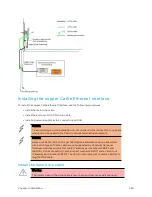
Страница 136: ...Chapter 3 System planning 136 Figure 53 Roof installation...
Страница 137: ...Chapter 3 System planning 137 Figure 54 GPS receiver wall installation...
Страница 158: ...Chapter 3 System planning 158 Figure 61 cnMedusa Antenna...
Страница 258: ...Chapter 5 Installation 258 Figure 123 Yagi antenna alignment horizontally Figure 124 Yagi antenna alignment upward tilt...

