59
Chapter 4 Storage Management
3
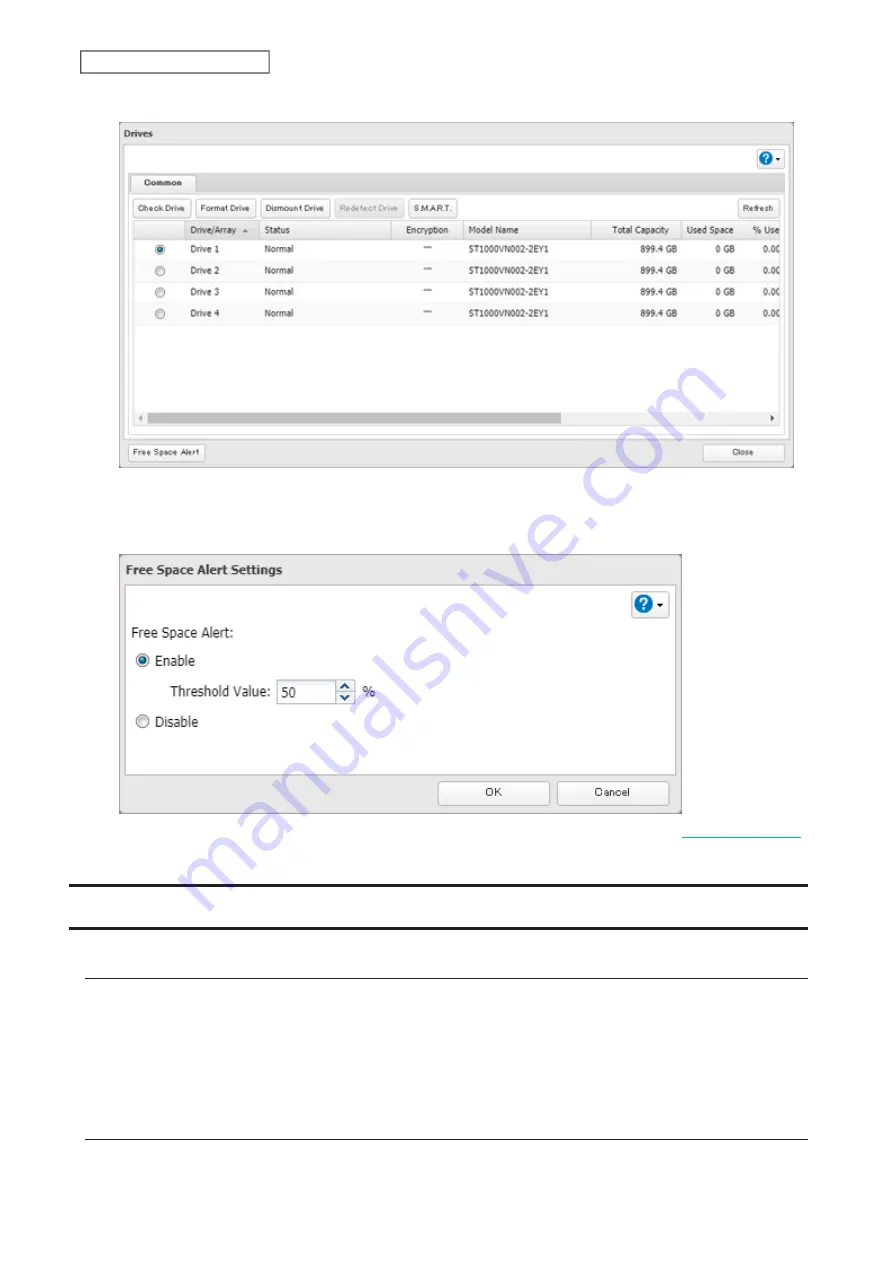
Click
Free Space Alert
.
4
Change the “Free Space Alert” option to “Enable” and enter the threshold value, then click
OK
. If the percentage
of remaining free space on the TeraStation decreases past the threshold percentage, a notification will appear
on the Dashboard in Settings.
The free space alert will be enabled. To configure free space alert email notifications, refer to the
section in chapter 7.
Adding an External Drive
Connecting an External Drive
Your TeraStation features USB ports (the number of available ports will depend on your model), and you can
connect external drives to these ports. Once connected, they appear as shared folders on the TeraStation. Formatted
drives are detected automatically. Unformatted drives should be formatted in Settings.
After a USB drive is recognized, the TeraStation adds “usbdisk
x
” to the shared folder list, where “x” is the USB port to
which the drive is connected.
Compatibility
Supported file systems for external USB drives are below:
Содержание TeraStation 3010
Страница 29: ...28 Chapter 3 File Sharing 3 Click Create User...
Страница 32: ...31 Chapter 3 File Sharing 3 Click Add Group...
Страница 71: ...70 Chapter 4 Storage Management 6 Click Edit under NAS Volume 7 Click Create Volume...
Страница 88: ...87 Chapter 5 Backup 4 Enter the backup device access key and click OK 5 Click Add...
Страница 107: ...106 Chapter 5 Backup 2 Click the settings icon to the right of Failover 3 Click the Periodic Sync tab 4 Click Edit...
Страница 111: ...110 Chapter 5 Backup 3 Click Select Backup Disk 4 Select the shared folder then click Use Disk...
Страница 113: ...112 Chapter 5 Backup 7 Time Machine will count down from 120 seconds then backup will begin...
Страница 125: ...124 Chapter 6 Cloud Services and Remote Access 5 Click Edit...
Страница 137: ...136 Chapter 6 Cloud Services and Remote Access 4 Click the Options tab 5 Click Edit...
Страница 146: ...145 Chapter 6 Cloud Services and Remote Access 3 From the job list click the job whose settings you want to change...
Страница 147: ...146 Chapter 6 Cloud Services and Remote Access 4 Click the Options tab...
Страница 148: ...147 Chapter 6 Cloud Services and Remote Access 5 Click Edit...
Страница 176: ...175 Chapter 7 Advanced Features 11Click the NFS Rules tab 12Click Add...
Страница 201: ...200 Chapter 7 Advanced Features 3 Click Edit 4 Select or enter the desired MTU size and click OK...
Страница 205: ...204 Chapter 7 Advanced Features 3 Click FQDN Mapping 4 Click Add...


