203
Chapter 7 Advanced Features
5
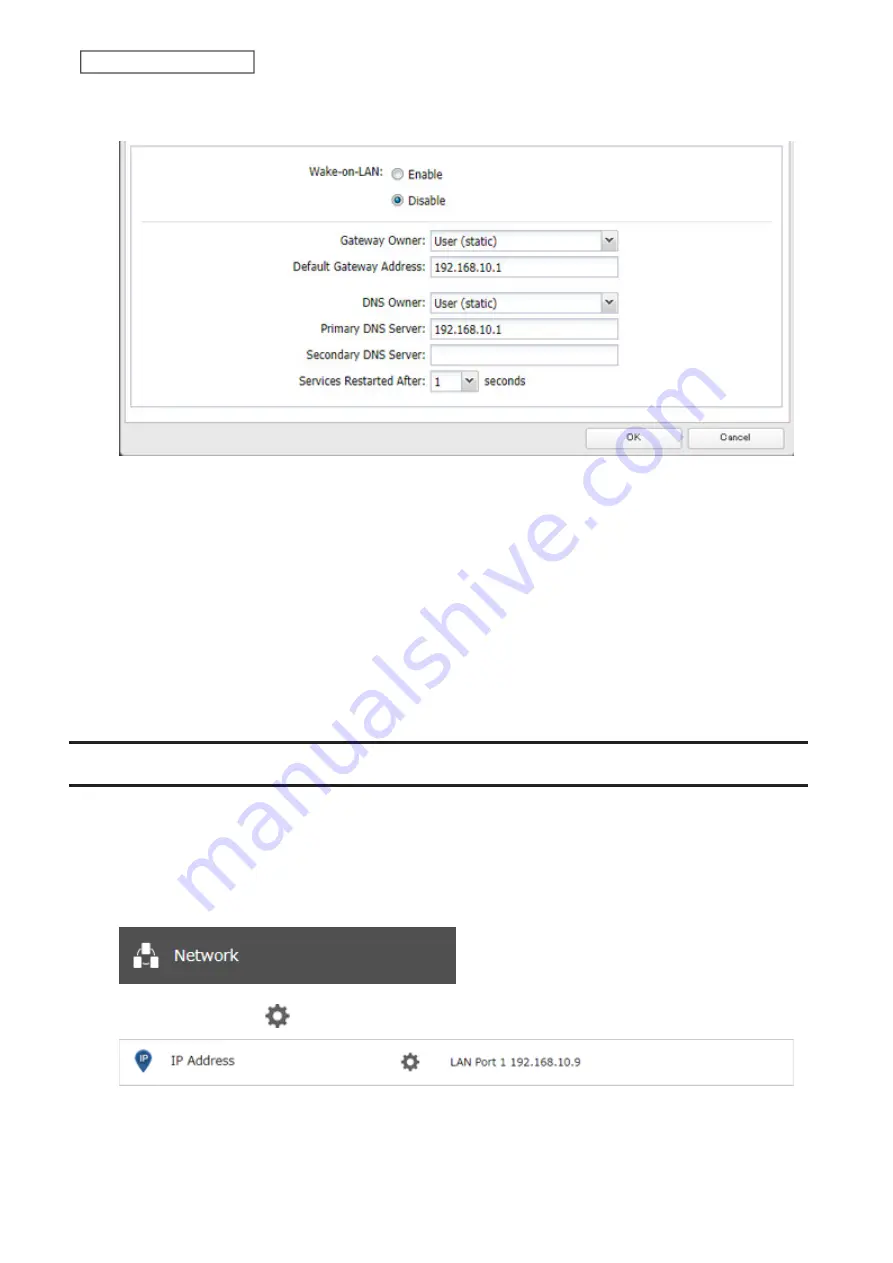
Select “User (static)” for both “Gateway Owner” and “DNS Owner” options from the drop-down list, then enter
the desired default gateway address and DNS server addresses.
6
Click
OK
.
Notes:
• Only one default gateway and DNS address can be configured for all LAN ports. Different network addresses
cannot be assigned to the LAN ports.
• Do not set the IP address of the same segment for all LAN ports. This may cause unstable network
communication.
• Network services such as SMB or AFP will restart when the Ethernet cable is disconnected/reconnected or if a
network issue occurs. You can specify the time to delay the restart at the “Services Restarted After” option.
• When you disable DHCP, all addresses including default gateway and DHCP server addresses cannot be assigned
automatically, even if you can select the “Assign automatically” options for them.
Mapping IP Address and Hostname
The TeraStation allows you to map an IP address and a hostname (FQDN) of another host you would like the
TeraStation to communicate with, such as the domain controller. If you configure the mapping pair, the TeraStation
can be accessed using the configured pair when name resolution is needed. Follow the procedure below to
configure FQDN mapping.
1
From Settings, click
Network
.
2
Click the settings icon (
) to the right of “IP Address”.
Содержание TeraStation 3010
Страница 29: ...28 Chapter 3 File Sharing 3 Click Create User...
Страница 32: ...31 Chapter 3 File Sharing 3 Click Add Group...
Страница 71: ...70 Chapter 4 Storage Management 6 Click Edit under NAS Volume 7 Click Create Volume...
Страница 88: ...87 Chapter 5 Backup 4 Enter the backup device access key and click OK 5 Click Add...
Страница 107: ...106 Chapter 5 Backup 2 Click the settings icon to the right of Failover 3 Click the Periodic Sync tab 4 Click Edit...
Страница 111: ...110 Chapter 5 Backup 3 Click Select Backup Disk 4 Select the shared folder then click Use Disk...
Страница 113: ...112 Chapter 5 Backup 7 Time Machine will count down from 120 seconds then backup will begin...
Страница 125: ...124 Chapter 6 Cloud Services and Remote Access 5 Click Edit...
Страница 137: ...136 Chapter 6 Cloud Services and Remote Access 4 Click the Options tab 5 Click Edit...
Страница 146: ...145 Chapter 6 Cloud Services and Remote Access 3 From the job list click the job whose settings you want to change...
Страница 147: ...146 Chapter 6 Cloud Services and Remote Access 4 Click the Options tab...
Страница 148: ...147 Chapter 6 Cloud Services and Remote Access 5 Click Edit...
Страница 176: ...175 Chapter 7 Advanced Features 11Click the NFS Rules tab 12Click Add...
Страница 201: ...200 Chapter 7 Advanced Features 3 Click Edit 4 Select or enter the desired MTU size and click OK...
Страница 205: ...204 Chapter 7 Advanced Features 3 Click FQDN Mapping 4 Click Add...


