42
Chapter 3 File Sharing
4
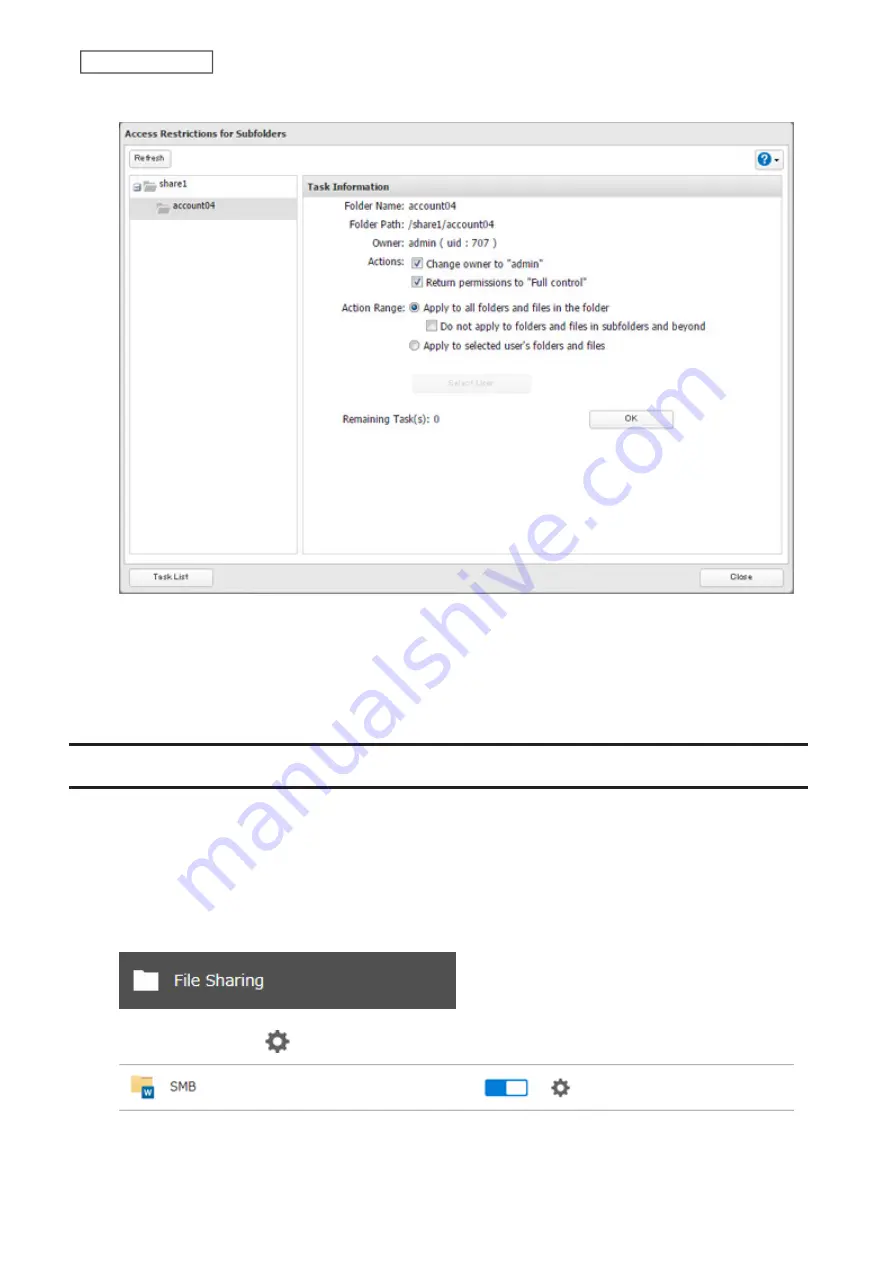
Select a folder to restore permissions from the tree.
Note:
If you select a root shared folder from the tree, the action will not be run to the recycle bin. To run the
action, select the recycle bin instead.
5
Select the actions and action range to run, then click
OK
.
6
The “Confirm Operation” screen will open. Enter the confirmation number, then click
OK
.
If a Shared Folder Cannot Be Accessed
Due to the security reasons, you may be unable to access shared folders from computers running certain Windows
versions. In such a case, try either of the following corrective actions:
• Adding a Windows credential
• Configuring the TeraStation to allow you to enter a Windows credential when a shared folder cannot be accessed
Follow the procedure below to change the TeraStation settings so you can enter a Windows credential.
1
From Settings, click
File Sharing
.
2
Click the settings icon (
) to the right of “SMB”.
Содержание TeraStation 3010
Страница 29: ...28 Chapter 3 File Sharing 3 Click Create User...
Страница 32: ...31 Chapter 3 File Sharing 3 Click Add Group...
Страница 71: ...70 Chapter 4 Storage Management 6 Click Edit under NAS Volume 7 Click Create Volume...
Страница 88: ...87 Chapter 5 Backup 4 Enter the backup device access key and click OK 5 Click Add...
Страница 107: ...106 Chapter 5 Backup 2 Click the settings icon to the right of Failover 3 Click the Periodic Sync tab 4 Click Edit...
Страница 111: ...110 Chapter 5 Backup 3 Click Select Backup Disk 4 Select the shared folder then click Use Disk...
Страница 113: ...112 Chapter 5 Backup 7 Time Machine will count down from 120 seconds then backup will begin...
Страница 125: ...124 Chapter 6 Cloud Services and Remote Access 5 Click Edit...
Страница 137: ...136 Chapter 6 Cloud Services and Remote Access 4 Click the Options tab 5 Click Edit...
Страница 146: ...145 Chapter 6 Cloud Services and Remote Access 3 From the job list click the job whose settings you want to change...
Страница 147: ...146 Chapter 6 Cloud Services and Remote Access 4 Click the Options tab...
Страница 148: ...147 Chapter 6 Cloud Services and Remote Access 5 Click Edit...
Страница 176: ...175 Chapter 7 Advanced Features 11Click the NFS Rules tab 12Click Add...
Страница 201: ...200 Chapter 7 Advanced Features 3 Click Edit 4 Select or enter the desired MTU size and click OK...
Страница 205: ...204 Chapter 7 Advanced Features 3 Click FQDN Mapping 4 Click Add...


