72
Chapter 4 Storage Management
Network Configuration
Use gigabit or faster network equipment with iSCSI. For best results, a dedicated network for iSCSI is recommended,
separate from the regular network. By default, the IP address of the TeraStation is automatically assigned from a
DHCP server. However, in this case, if you turn off and restart the TeraStation, the IP address may be changed and
the volumes on the TeraStation may not be accessible. To avoid changing the IP address unexpectedly, using a static
IP address for the TeraStation is recommended.
Connection Tool
The Microsoft iSCSI Software Initiator is already installed on your computer. You don’t need to download and install
it.
Creating an iSCSI Volume
To use the TeraStation as an iSCSI drive, create a volume first. Configure the TeraStation as described below.
Notes:
• If the volume settings are changed, all data on the volume will be erased. Before changing any settings, back up
any important data.
• The TeraStation can have up to 255 volumes, but we recommend creating no more than 32. Exceeding this
volume amount may cause irreparable damage to the unit.
• Do not use any of the following words for the name of a volume as these words are reserved for internal use by
the TeraStation: array
x
, authtest, disk
x
, global, homes, info, lost+found, lp, mediacartridge
x
, msdfs_root, mt-
daapd, printers, ram, spool, usbdisk
x
. Any instances of “x” denote a number (for example: array1 or disk3)
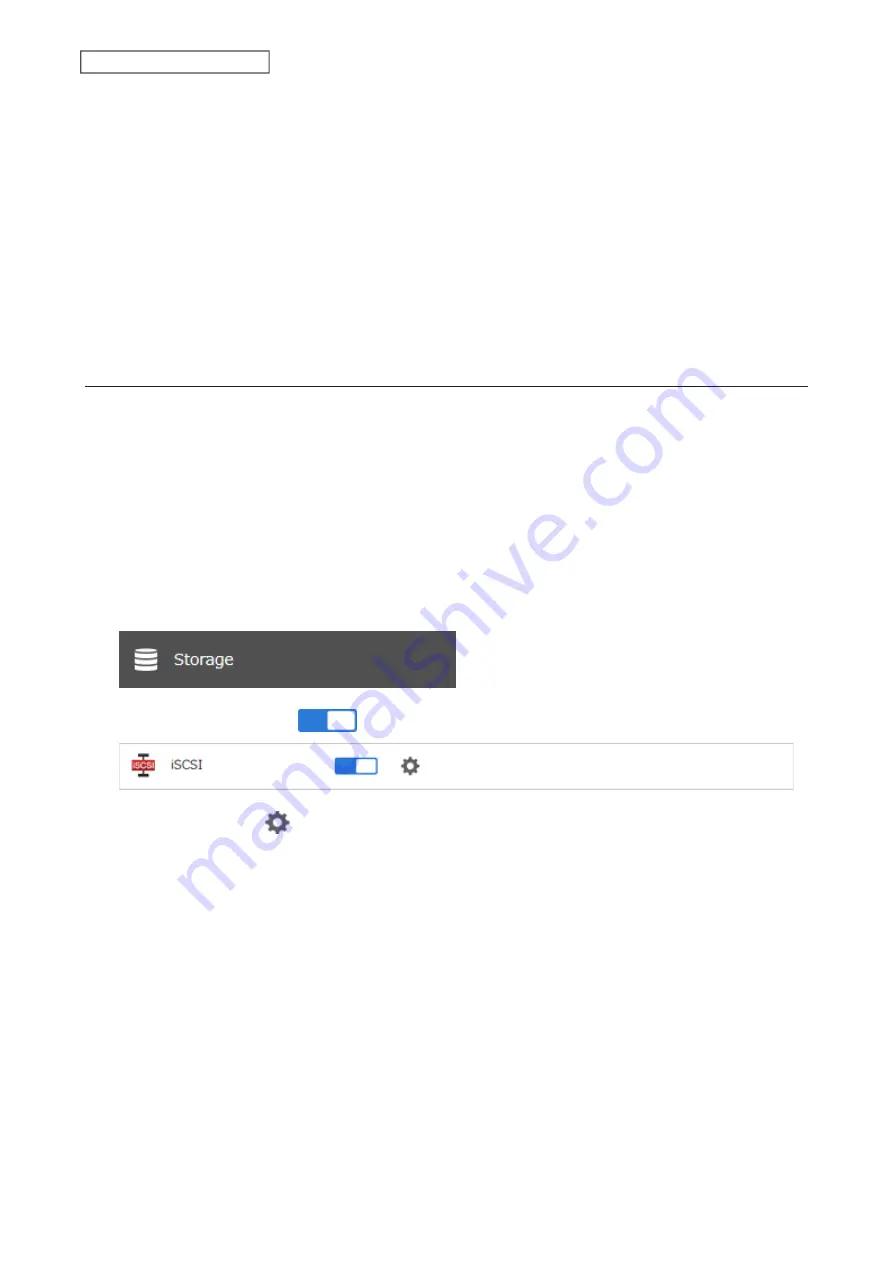
1
From Settings, click
Storage
.
2
Move the iSCSI switch to the
position to enable iSCSI.
3
Click the settings icon (
) to the right of “iSCSI”.
Содержание TeraStation 3010
Страница 29: ...28 Chapter 3 File Sharing 3 Click Create User...
Страница 32: ...31 Chapter 3 File Sharing 3 Click Add Group...
Страница 71: ...70 Chapter 4 Storage Management 6 Click Edit under NAS Volume 7 Click Create Volume...
Страница 88: ...87 Chapter 5 Backup 4 Enter the backup device access key and click OK 5 Click Add...
Страница 107: ...106 Chapter 5 Backup 2 Click the settings icon to the right of Failover 3 Click the Periodic Sync tab 4 Click Edit...
Страница 111: ...110 Chapter 5 Backup 3 Click Select Backup Disk 4 Select the shared folder then click Use Disk...
Страница 113: ...112 Chapter 5 Backup 7 Time Machine will count down from 120 seconds then backup will begin...
Страница 125: ...124 Chapter 6 Cloud Services and Remote Access 5 Click Edit...
Страница 137: ...136 Chapter 6 Cloud Services and Remote Access 4 Click the Options tab 5 Click Edit...
Страница 146: ...145 Chapter 6 Cloud Services and Remote Access 3 From the job list click the job whose settings you want to change...
Страница 147: ...146 Chapter 6 Cloud Services and Remote Access 4 Click the Options tab...
Страница 148: ...147 Chapter 6 Cloud Services and Remote Access 5 Click Edit...
Страница 176: ...175 Chapter 7 Advanced Features 11Click the NFS Rules tab 12Click Add...
Страница 201: ...200 Chapter 7 Advanced Features 3 Click Edit 4 Select or enter the desired MTU size and click OK...
Страница 205: ...204 Chapter 7 Advanced Features 3 Click FQDN Mapping 4 Click Add...


