206
Chapter 7 Advanced Features
Setting Up the Authentication Server on a Windows PC
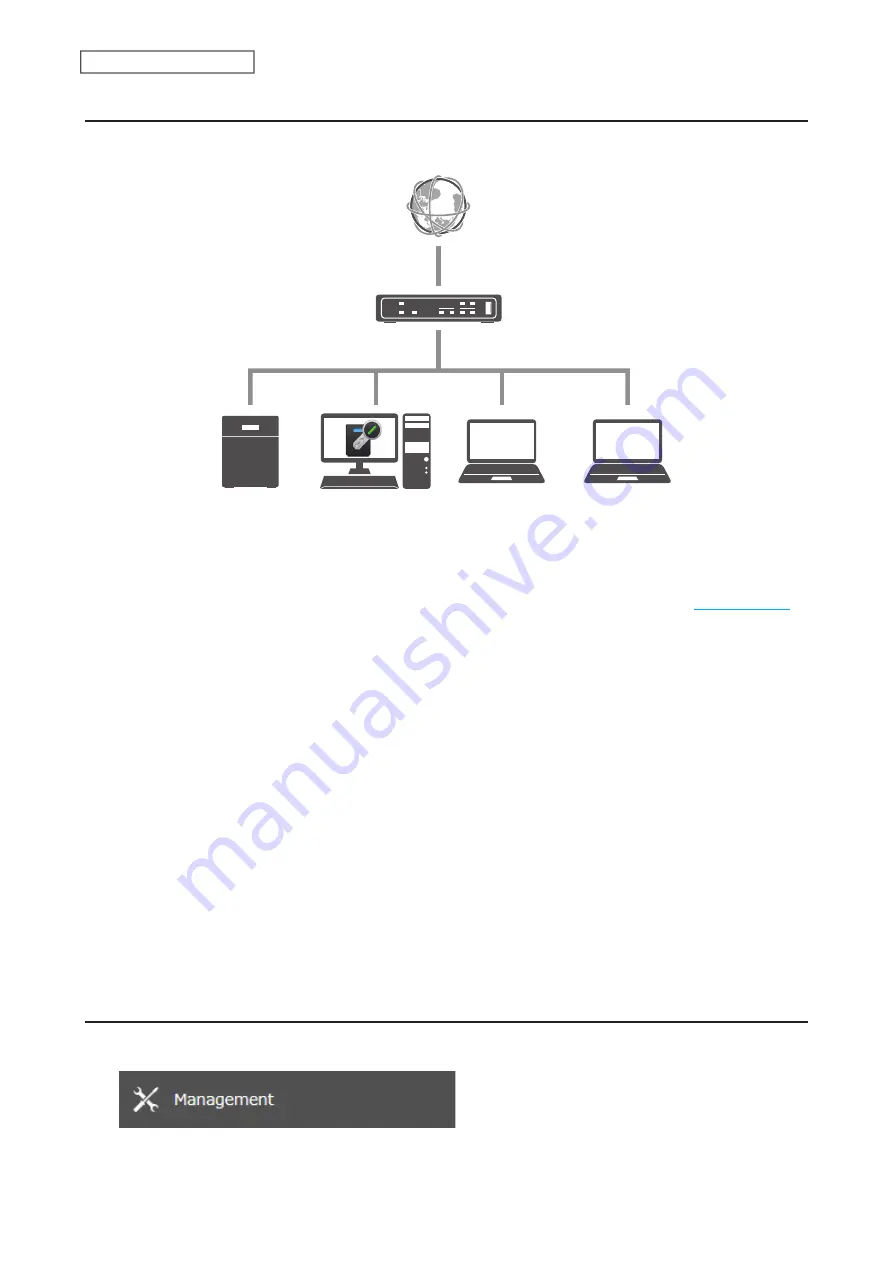
To set up the authentication server, follow the procedure below. The authentication server must be placed on the
local network or VPN.
Note:
For proper operation, make sure that the TeraStation and the authentication server are on a network with only
one router. If there are two or more routers on the network, the authentication server may not acquire the correct
TeraStation status. For example, if the TeraStation’s IP address has been changed, its status does not change to
“Warning”.
1
Download the application for the authentication server, “Boot Authentication Tool”, from the
and install it onto the Windows PC.
2
Register the specific port number that is used on the application as a firewall exception rule. Navigate to
Control Panel
>
System and Security
>
Windows Firewall
on the authentication server.
3
Click
Advanced settings
.
4
Click and right-click
Inbound Rules
, then click
New Rule
.
5
Select “Port” and click
Next
.
6
Select “TCP”, enter the port number that is used on the application to the right of “Specific local ports”, and click
Next
. The default port number on the application is “7010”. The port number can be confirmed on the
Options
tab of the application.
7
Click
Next
, then click
Next
again.
8
Enter a desired name for the setting and click
Finish
to complete.
Configuring Boot Authentication on the TeraStation
1
From Settings, click
Management
.
Содержание TeraStation 3010
Страница 29: ...28 Chapter 3 File Sharing 3 Click Create User...
Страница 32: ...31 Chapter 3 File Sharing 3 Click Add Group...
Страница 71: ...70 Chapter 4 Storage Management 6 Click Edit under NAS Volume 7 Click Create Volume...
Страница 88: ...87 Chapter 5 Backup 4 Enter the backup device access key and click OK 5 Click Add...
Страница 107: ...106 Chapter 5 Backup 2 Click the settings icon to the right of Failover 3 Click the Periodic Sync tab 4 Click Edit...
Страница 111: ...110 Chapter 5 Backup 3 Click Select Backup Disk 4 Select the shared folder then click Use Disk...
Страница 113: ...112 Chapter 5 Backup 7 Time Machine will count down from 120 seconds then backup will begin...
Страница 125: ...124 Chapter 6 Cloud Services and Remote Access 5 Click Edit...
Страница 137: ...136 Chapter 6 Cloud Services and Remote Access 4 Click the Options tab 5 Click Edit...
Страница 146: ...145 Chapter 6 Cloud Services and Remote Access 3 From the job list click the job whose settings you want to change...
Страница 147: ...146 Chapter 6 Cloud Services and Remote Access 4 Click the Options tab...
Страница 148: ...147 Chapter 6 Cloud Services and Remote Access 5 Click Edit...
Страница 176: ...175 Chapter 7 Advanced Features 11Click the NFS Rules tab 12Click Add...
Страница 201: ...200 Chapter 7 Advanced Features 3 Click Edit 4 Select or enter the desired MTU size and click OK...
Страница 205: ...204 Chapter 7 Advanced Features 3 Click FQDN Mapping 4 Click Add...


