Chapter 10 Appendix
TeraStation Does Not Work Properly
If an error occurs that prevents the TeraStation from booting up properly, one or more of the following symptoms
may occur. In such a case, try the corresponding corrective action to recover from the error, described in each
section below. If the error is still not resolved, contact Buffalo technical support for assistance.
• The power LED keeps blinking instead of turning into a solid glow; follow the procedure at the
section below.
• An “i” symbol is displayed with the TeraStation icon and the
I61
message appears on NAS Navigator2; follow
step 3 and after at the
section below.
• An “i” symbol is displayed with the TeraStation icon and “EM” is added to your TeraStation’s hostname on NAS
Navigator2; follow the procedure at the
“Booting the TeraStation in Emergency Mode”
section below.
Power LED Keeps Blinking
While the TeraStation’s power LED keeps blinking, you may see the
I61
message on NAS Navigator2. In such a case,
follow the procedure below to recover from drive setup mode.
1
Press and hold down the power button for three seconds to turn off the TeraStation.
2
Turn it on while holding down the function button. You should hold down the function button for at least 10
seconds after pressing the power button.
3
When the power LED changes from blinking to glowing, let go of the function button and open Settings from
NAS Navigator2.
4
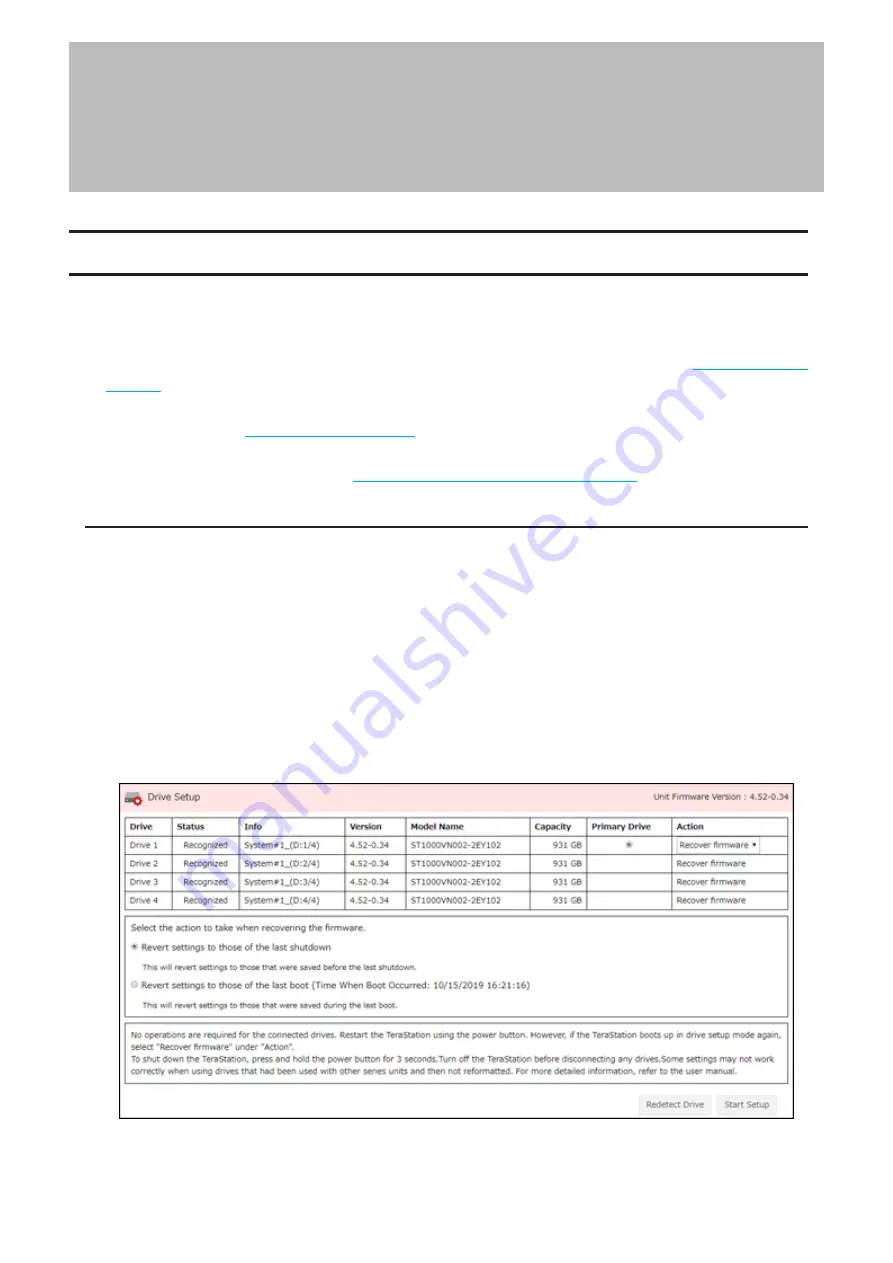
Make sure that “Recover firmware” is selected from the drop-down list under “Action”, then click
Start Setup
.
Note:
There are two more options for “Action” other than “Recover firmware”. The details for all options are
below:
219
Chapter 10 Appendix
Содержание TeraStation 3010
Страница 29: ...28 Chapter 3 File Sharing 3 Click Create User...
Страница 32: ...31 Chapter 3 File Sharing 3 Click Add Group...
Страница 71: ...70 Chapter 4 Storage Management 6 Click Edit under NAS Volume 7 Click Create Volume...
Страница 88: ...87 Chapter 5 Backup 4 Enter the backup device access key and click OK 5 Click Add...
Страница 107: ...106 Chapter 5 Backup 2 Click the settings icon to the right of Failover 3 Click the Periodic Sync tab 4 Click Edit...
Страница 111: ...110 Chapter 5 Backup 3 Click Select Backup Disk 4 Select the shared folder then click Use Disk...
Страница 113: ...112 Chapter 5 Backup 7 Time Machine will count down from 120 seconds then backup will begin...
Страница 125: ...124 Chapter 6 Cloud Services and Remote Access 5 Click Edit...
Страница 137: ...136 Chapter 6 Cloud Services and Remote Access 4 Click the Options tab 5 Click Edit...
Страница 146: ...145 Chapter 6 Cloud Services and Remote Access 3 From the job list click the job whose settings you want to change...
Страница 147: ...146 Chapter 6 Cloud Services and Remote Access 4 Click the Options tab...
Страница 148: ...147 Chapter 6 Cloud Services and Remote Access 5 Click Edit...
Страница 176: ...175 Chapter 7 Advanced Features 11Click the NFS Rules tab 12Click Add...
Страница 201: ...200 Chapter 7 Advanced Features 3 Click Edit 4 Select or enter the desired MTU size and click OK...
Страница 205: ...204 Chapter 7 Advanced Features 3 Click FQDN Mapping 4 Click Add...


