144
Chapter 6 Cloud Services and Remote Access
15
Confirm that all settings are properly configured and click
OK
.
Notes:
• Files whose filename contains the symbols " # % & * / : > < ? \ } { ~ may fail to be synchronized. This symbol
limitation is based on “Normalization Form Canonical Composition (NFC)”. If synchronization fails, check whether
these symbols are not included in the filename.
If you copy files that contain these symbols to a TeraStation folder from macOS, the filenames may be converted
to different ones that don’t contain these symbols.
• Depending on your network environment, you may fail to download larger files. To prevent this issue, divide a
larger file into smaller files or compress the files to a smaller size before uploading them to OneDrive.
• When files are uploaded from the TeraStation folder using OneDrive Sync and then downloaded onto a computer
from OneDrive, time stamps for files may be changed to the download date.
• If there are nine or more jobs created, the TeraStation will re-arrange the number of concurrently-running jobs to
reduce the load when synchronizing files.
• Do not copy 100,000 or more files to the TeraStation folder at once. If you do and synchronization fails, try again
with fewer files.
• 4 or more jobs will make the TeraStation unstable. Especially if you antivirus is enabled, it will use much more
system resources than other functions. In such a case, it is recommended to configure only one job.
• If a file’s size is zero bytes, a sync error occurs and the file will not be synchronized. The
I64
message will appear
on the Dashboard in Settings and NAS Navigator2.
Changing Job Settings
Follow the procedure below to change any job settings you have already configured.
1
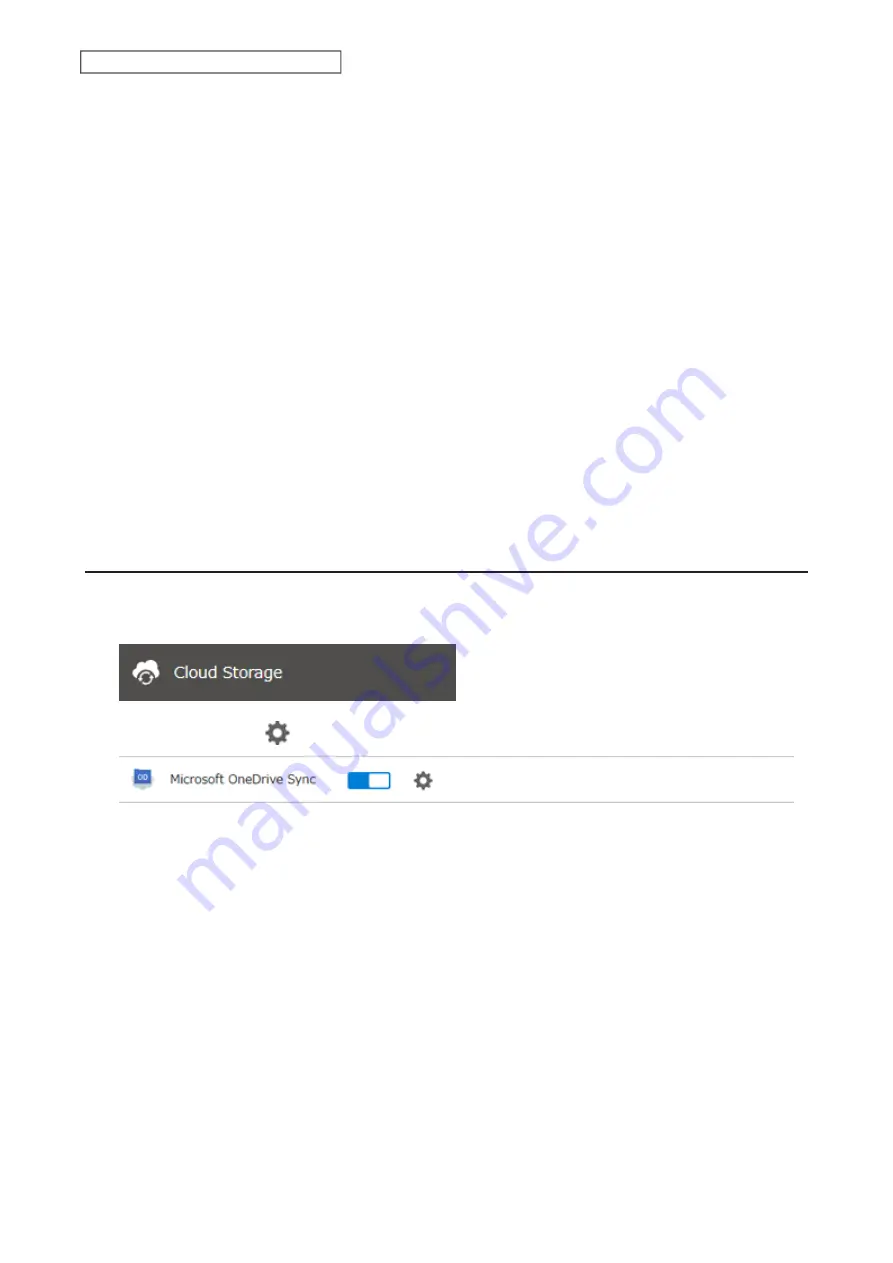
From Settings, click
Cloud Storage
.
2
Click the settings icon (
) to the right of “Microsoft OneDrive Sync”.
Содержание TeraStation 3010
Страница 29: ...28 Chapter 3 File Sharing 3 Click Create User...
Страница 32: ...31 Chapter 3 File Sharing 3 Click Add Group...
Страница 71: ...70 Chapter 4 Storage Management 6 Click Edit under NAS Volume 7 Click Create Volume...
Страница 88: ...87 Chapter 5 Backup 4 Enter the backup device access key and click OK 5 Click Add...
Страница 107: ...106 Chapter 5 Backup 2 Click the settings icon to the right of Failover 3 Click the Periodic Sync tab 4 Click Edit...
Страница 111: ...110 Chapter 5 Backup 3 Click Select Backup Disk 4 Select the shared folder then click Use Disk...
Страница 113: ...112 Chapter 5 Backup 7 Time Machine will count down from 120 seconds then backup will begin...
Страница 125: ...124 Chapter 6 Cloud Services and Remote Access 5 Click Edit...
Страница 137: ...136 Chapter 6 Cloud Services and Remote Access 4 Click the Options tab 5 Click Edit...
Страница 146: ...145 Chapter 6 Cloud Services and Remote Access 3 From the job list click the job whose settings you want to change...
Страница 147: ...146 Chapter 6 Cloud Services and Remote Access 4 Click the Options tab...
Страница 148: ...147 Chapter 6 Cloud Services and Remote Access 5 Click Edit...
Страница 176: ...175 Chapter 7 Advanced Features 11Click the NFS Rules tab 12Click Add...
Страница 201: ...200 Chapter 7 Advanced Features 3 Click Edit 4 Select or enter the desired MTU size and click OK...
Страница 205: ...204 Chapter 7 Advanced Features 3 Click FQDN Mapping 4 Click Add...


