148
Maintenance & Troubleshooting
Upgrading the Multiviewer Using a USB Key
8 Click
OK
.
9 Click
EXIT
on the startup screen.
10 Click the
Safely Remove Hardware
icon
in your desktop’s notification area, and
then click the USB key on the menu. When a message informs you that it is safe to
remove the key, do so.
Upgrading the Kaleido Software and Firmware
At this point, you are ready to upgrade the Kaleido system software and firmware. The
multiviewer should be powered up, with an active monitor wall display. You will need
access to the monitor wall to observe the progress of the upgrade, and you will use a
mouse to trigger a system restart from the monitor wall, once the upgrade has completed:
• If you have a Kaleido-RCP2, make sure that it is connected, and that you can use the
mouse to move the pointer on the monitor wall. If the mouse is unresponsive, try
rebooting the Kaleido-RCP2 by pressing ENTER+ESC+DEL on the Kaleido-RCP2’s
keypad.
• If your system does not include a Kaleido-RCP2, connect the mouse directly to a
USB port on the multiviewer, and then make sure you can move the pointer on the
monitor wall. See
Troubleshooting with the card's front edge USB connector
page 153 for more information about using the USB port on the multiviewer.
To upgrade the Kaleido system software and firmware
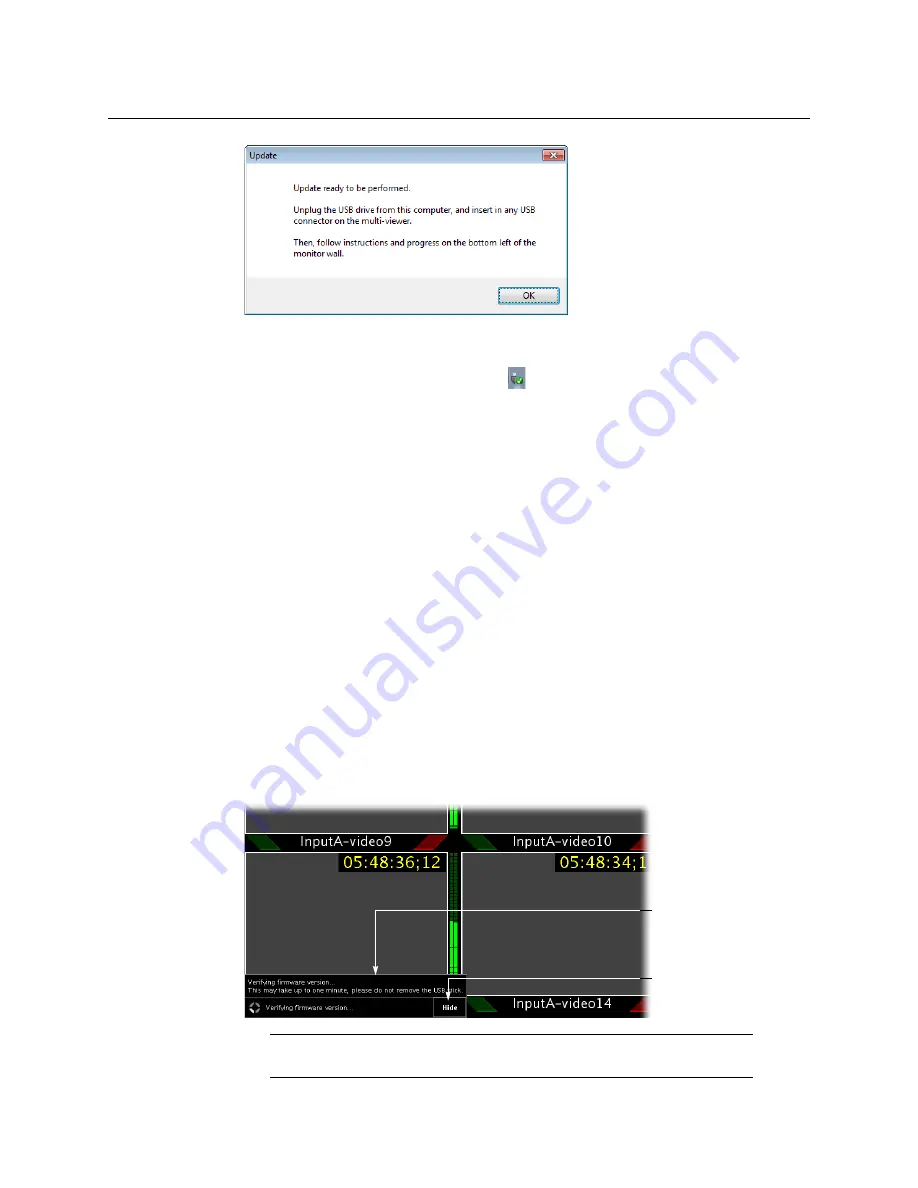
1 Insert the USB key into any USB port on the multiviewer. After a while, a message
appears at the bottom left corner of the monitor wall, reporting that the Upgrade
Manager is verifying Kaleido Software, firmware, and safe mode versions.
Note:
You can click the
Details
button to view more information. The
button label alternates between
Details
and
Hide
.
Click here to
show or hide
details
Upgrade
dashboard


