Chapter 23 IP Setup
XGS2220 Series User’s Guide
168
The following table describes the labels in this
screen.
23.4 Network Proxy Configuration
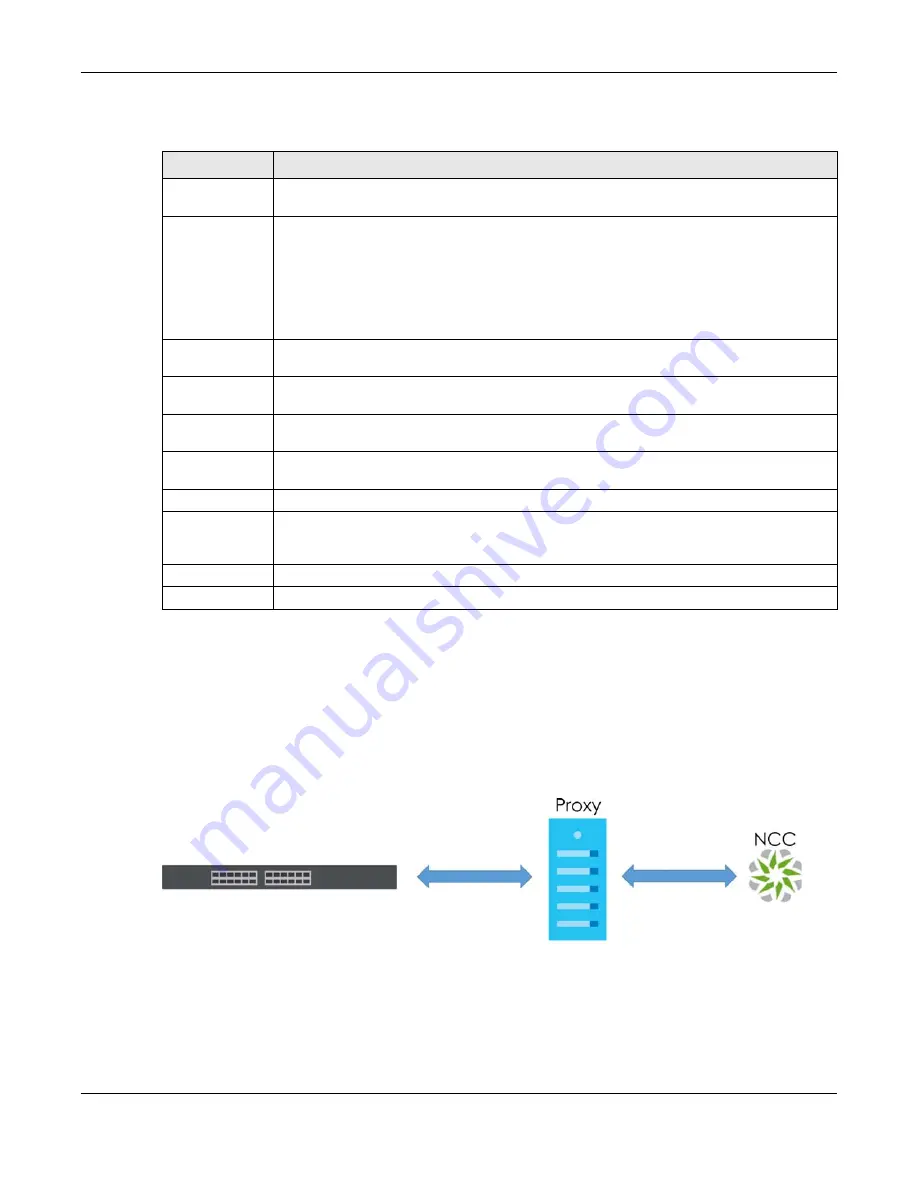
The proxy server of an organization may prohibit communication between the Switch and NCC (Nebula
Control Center) (See
). Use this
screen to enable communication between the
Switch and NCC through the proxy server.
Figure 116
Network Proxy Configuration Application
As of this writing, this setting only allows communication between the Switch and the NCC.
Table 58 SYSTEM > IP Setup > IP Setup > Add/Edit
LABEL
DESCRIPTION
DHCP Client
Select this option if you have a DHCP server that can assign the Switch an IP address, subnet
mask, a default gateway IP address and a domain name server IP address automatically.
Option-60
DHCP Option 60 is used by the Switch for identification to the DHCP server using the VCI
(Vendor Class Identifier) on the DHCP server. The Switch adds it in the initial DHCP discovery
message that a DHCP client broadcasts in search of an IP address. The DHCP server can assign
different IP addresses or options to clients with the specific VCI or reject the request from clients
without the specific VCI.
Select this and enter the device identity you want the Switch to add in the DHCP discovery
frames that go to the DHCP server. This allows the Switch to identify itself to the DHCP server.
Class-ID
Enter a string of up to 32 printable ASCII characters to identify this Switch to the DHCP server. For
example, Zyxel-TW. The string should not contain [ ? ], [ | ], [ ' ], [ " ], or [ , ].
Static IP Address
Select this option if you do not have a DHCP server or if you wish to assign static IP address
information to the Switch. You need to fill in the following fields when you select this option.
IP Address
Enter the IP address of your Switch in dotted decimal notation, for example, 192.168.1.1. This is
the IP address of the Switch in an IP routing domain.
IP Subnet
Mask
Enter the IP subnet mask of an IP routing domain in dotted decimal notation, for example,
255.255.255.0.
VID
Enter the VLAN identification number to which an IP routing domain belongs.
Apply
Click
Apply
to save your changes to the Switch’s run-time memory. The Switch loses these
changes if it is turned off or loses power, so use the
Save
link on the top navigation panel to save
your changes to the non-volatile memory when you are done configuring.
Clear
Click
Clear
to clear the fields to the factory defaults.
Cancel
Click
Cancel
to not save the configuration you make and return to the last screen.


