Instructions for Use
7 Operation
OPMI LUMERA 700
7.5 Daily operation
G-30-1673-en - 14.0 - 2018-07-12
167 / 236
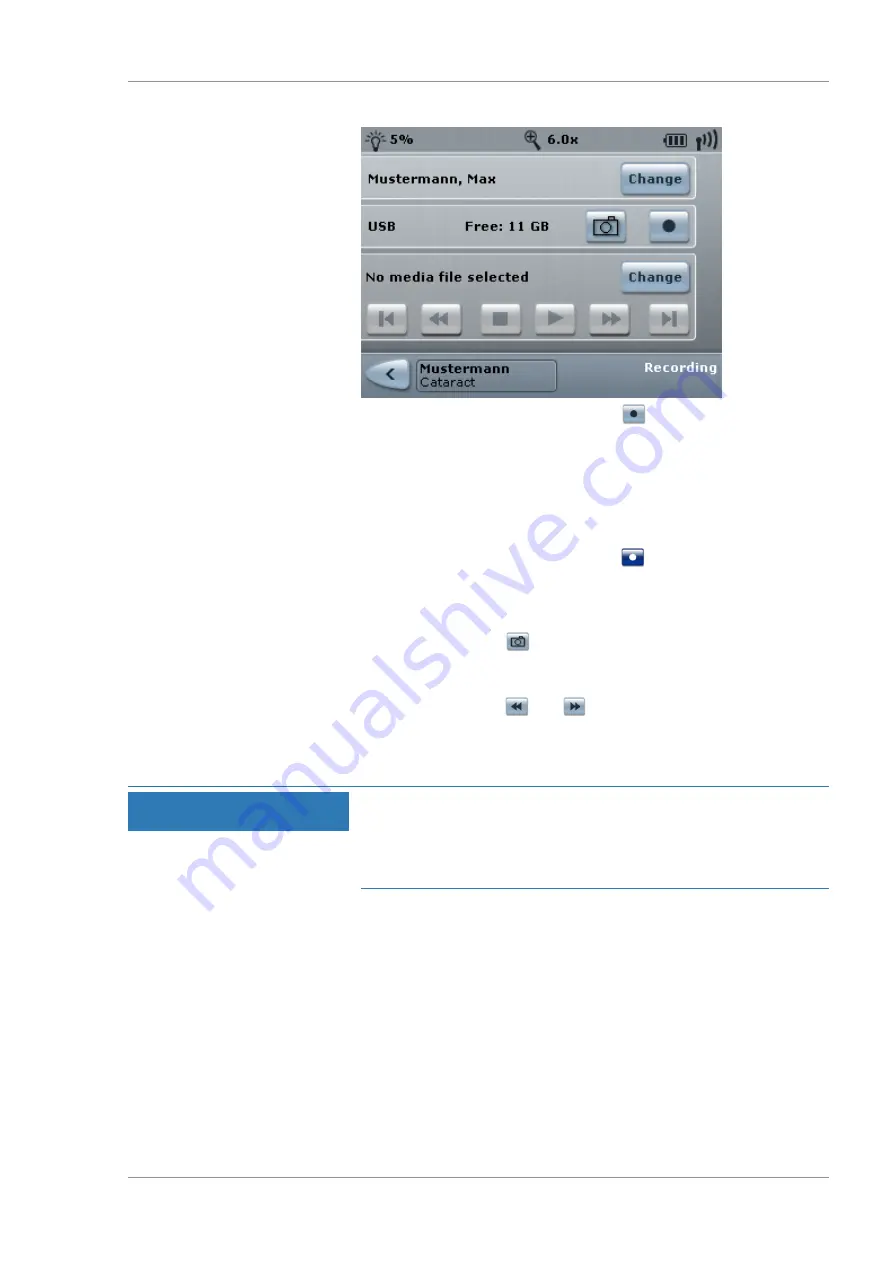
3. Start the video recording: tap the
button.
ð
"REC" will appear in the status bar. The date and time are
not displayed while video recording is in progress.
However, this information is recorded and subsequently
displayed during playback.
ð
The "Change" buttons will become deactivated.
4. Stop the video recording: tap the
button.
ð
"REC" will disappear from the status bar.
ð
The "Change" buttons will become activated again.
Tip: You can use the
button to take additional photos during
video recording. These photos can also be used as markers. During
playback of the HD video, the marked locations can be jumped to
in succession via the
and
buttons.
7.5.9.3 Taking photos
NOTE
Loss of data!
Removing a USB storage device while data is being saved may
cause the data to be lost.
u
Never remove USB storage devices while data is being saved.
Prerequisite
þ
The device includes integrated HD video and image recording.
þ
To allocate HD videos to a patient file, "Auto Delete
Mode" [
144] must be deactivated and a patient file [
must be selected.
Action
1. Open the main menu.
2. Tap the [Recording] menu button.
ð
The "Recording" menu will appear.
Summary of Contents for opmi lumera 700
Page 1: ...OPMI LUMERA 700 Software Release 3 1 Instructions for Use...
Page 10: ...Empty page for your notes...
Page 14: ...Empty page for your notes...
Page 30: ...Empty page for your notes...
Page 130: ...Empty page for your notes...
Page 200: ...Empty page for your notes...
Page 222: ...Empty page for your notes...
Page 226: ...Empty page for your notes...
Page 230: ...Empty page for your notes...
Page 235: ...Empty page for your notes...


