Chapter 5
Working with Objects
82
6
Specify the
Character Spacing
you want (this is often referred to as
kerning
). Use the
slider knob to set approximate spacing—enter a value in the text box for precise spac-
ing.
Character spacing controls horizontal spacing between characters. Use low values to
bring characters closer together—use higher values to spread them farther apart. You
cannot enter a value less than zero.
7
Select a
Justification
option to align the text in the object to the Left (
Ctrl+Alt+Shift+L
),
Center (
Ctrl+Alt+Shift+C
), or Right (
Ctrl+Alt+Shift+R
), respectively. The option applies
to all text within the object, even if only a portion of the text is selected.
8
Select the
Underlining
option (
Ctrl+U
) to underline the text characters (also see the fol-
lowing Note). PowerScript uses a fixed line width, color, spacing, and so forth for this
option. If you want more flexibility, use a line object rather than this option.
Note
You can assign
Font Size
,
Character Spacing
, and
Underlining
to an entire object, or to
specific characters within the object. If you specify these attributes for an entire text
object, it applies to all characters in the object. If you select only specific characters
within the text object, the attributes apply only to those characters. If you insert the
text cursor between two characters, character spacing applies only between the two
(no effect on underlining).
Using Word Wrap
Word Wrap instructs PowerScript to automatically adjust line lengths when you change
the size of a text object. For example, suppose you create a text object that is too wide for
the area you want it to occupy on the page. If you rescale the object to fit, the size of the
characters also scale, thereby changing character height and/or width and, possibly, dis-
torting the characters. With word wrap activated, however, the characters retain their
original size and simply readjust the line endings and text object size so that the text fits
perfectly within the object, no matter what size you make it.
To activate word wrap, select the
Word Wrap
option in the
TEXT
menu. To deactivate
word wrap, deselect the option.
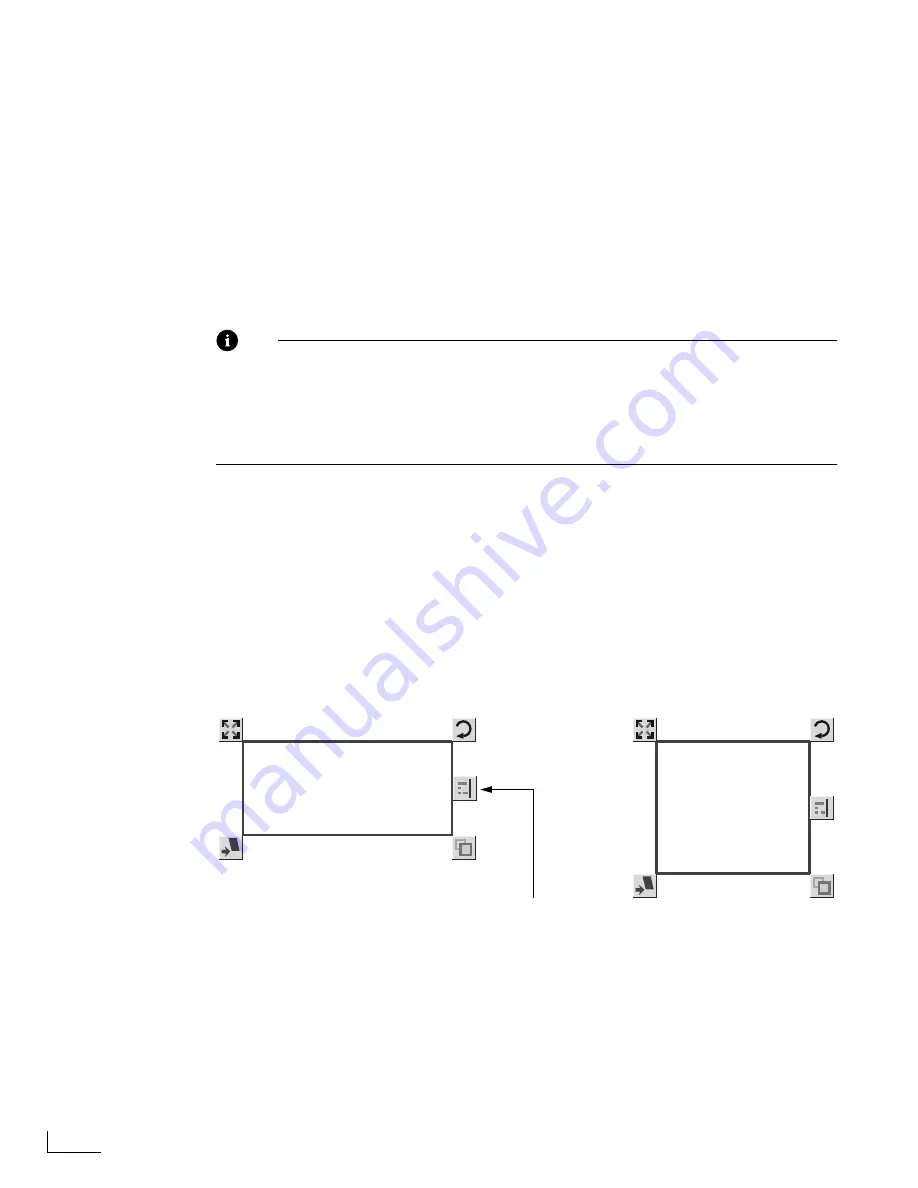
Drag the Word Wrap Handle left or
right to change the size of the Text
Object. PowerScript automatically
adjusts the vertical size of the
object and makes all lines fit
correctly.
Now is the time for all good
men to come to the aid of
the party. The quick brown
fox jumps over the lazy
dogs.
Now is the time
for all good men to
come to the aid of
the party. The
quick brown fox
jumps over the
lazy dogs.
Original Text Object
Adjusted Text Object
with Word Wrap Activated
When you select a Text Object
with the Word Wrap feature
activated, the Word Wrap Handle
appears at the right side of the
object.
Word Wrap
Handle
Using Word Wrap
Summary of Contents for PowerScript PS4000S
Page 22: ...Notes ...
Page 38: ...Notes ...
Page 72: ...Notes ...
Page 96: ...Notes ...
Page 122: ...Notes ...
Page 156: ...Notes ...
Page 174: ...Notes ...
Page 226: ...Notes ...
Page 236: ...Notes ...


