Videonics PowerScript
Aligning Objects
77
A
LIGNING
O
BJECTS
Aligning objects on a page gives the page a professional, polished appearance.
To align objects:
1
Select two or more objects to align, if not already selected.
2
Click the
Align
option on the
MAIN MENU
to display the
ALIGN
menu, or enter
Ctrl+F8
.
3
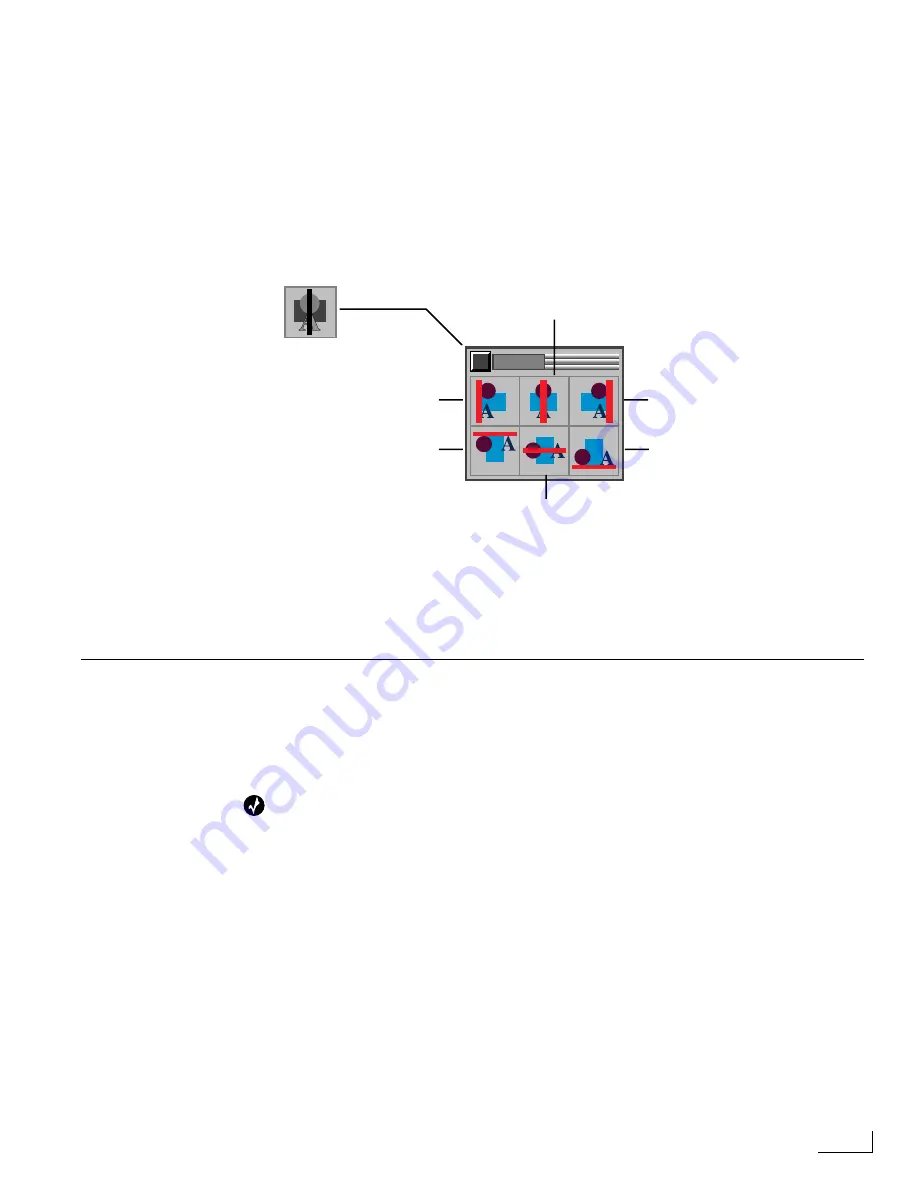
Select the alignment option or options you want in the
ALIGN
menu.
You can combine different alignment options. For example, select
Align Center
, then
Align
Middle
to align the objects directly on top of one another: select
Align Right
, then
Align
Bottoms
to align the objects at their bottom, right corner.
M
ODIFYING
O
BJECT
A
TTRIBUTES
Object attributes determine how an object appears on-screen. They include color, opacity
(or, transparency), and drop shadow. This section explains how to assign attributes to
objects. (For information about moving, rotating, skewing, and resizing objects, see
“Changing Object Orientation” on page 74.)
Tip
PowerScript provides a Styles feature that lets you apply attributes to an object using only a
single key stroke or key combination. See “Working with Styles” on page 102 for details and
further instructions.
This section begins by explaining the basic procedures for setting an object’s color (or,
fill), opacity, drop shadow, and outline. It also contains subsections devoted to changing
attributes for text and graphic objects because they have attributes that other objects do
not.
Attribute Options
As with most PowerScript functions, you assign object attributes by working with menus.
The
FILL
,
SHADOW
, and
OUTLINE
menus contain option check boxes in the upper left
corner, next to the menu close box. You must select the option when you want the object
to display the attributes you specify—deselect the check box to suppress display of the
assigned attributes.
Other Menu Controls
Most of the menus also contain special, common controls for controlling such factors as
Hue, Saturation, and Brightness. For descriptions of these controls, see “Working with
Menus and Menu Controls” on page 58.
ALIGN
Align Tops /
Ctrl+Alt+T
Align Left /
Ctrl+Alt+L
Align Center /
Ctrl+Alt+C
Align Right /
Ctrl+Alt+R
Align Bottoms /
Ctrl+Alt+B
Align Middle /
Ctrl+Alt+M
ALIGN Menu
Summary of Contents for PowerScript PS4000S
Page 22: ...Notes ...
Page 38: ...Notes ...
Page 72: ...Notes ...
Page 96: ...Notes ...
Page 122: ...Notes ...
Page 156: ...Notes ...
Page 174: ...Notes ...
Page 226: ...Notes ...
Page 236: ...Notes ...


