Assigning IP Addresses
2-9
3
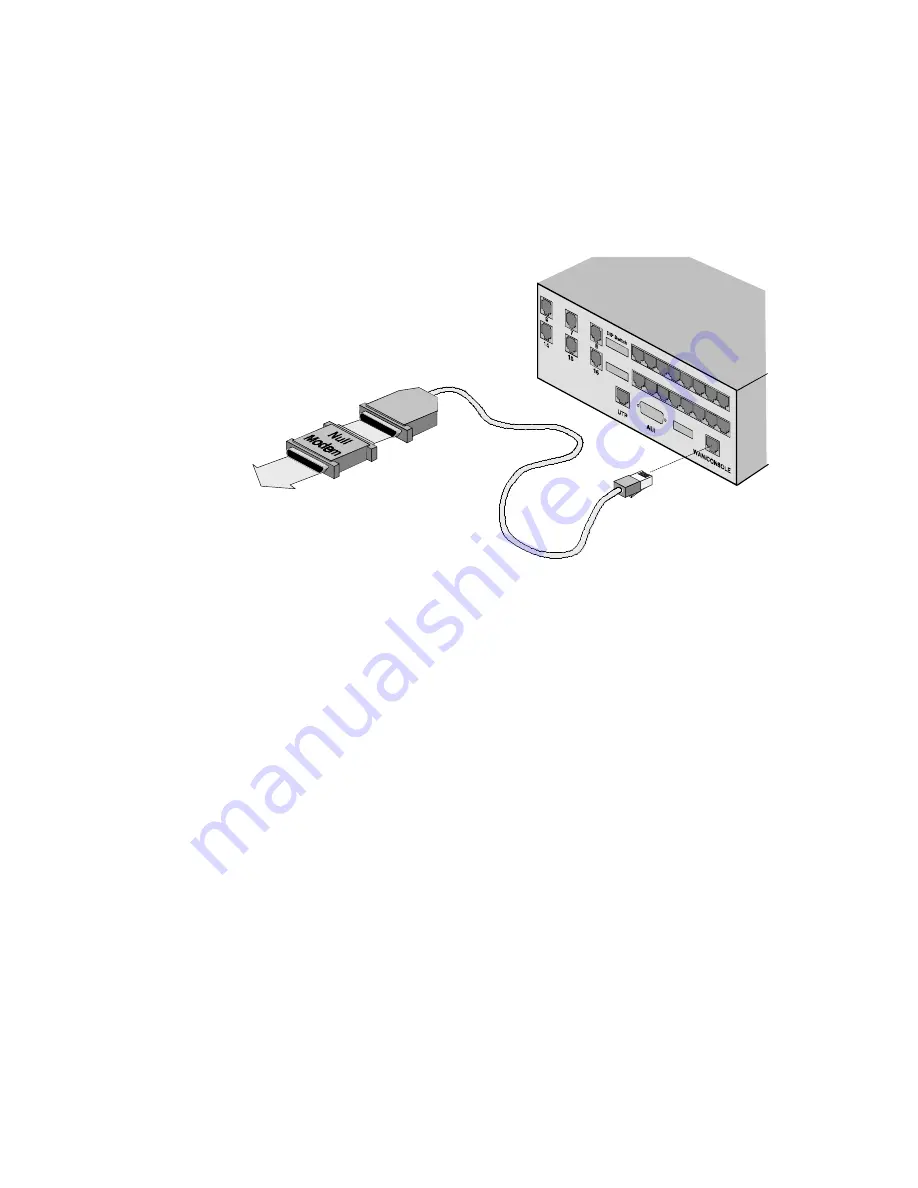
Connect the configuration console to the MP/16.
Use the
provided RJ45-to-DB-25 serial cable
with the provided null
modem adapter
(see Figure 2-6 below) to connect the MP/16
Console port to a serial port on the PC or terminal you are
using as the configuration console.
To PC or
Terminal
Figure 2-6. Connecting to the Console Port
4
Power on the MP/16.
The Run/Fail LED on the bottom row of
LEDs flashes while the MP/16 runs its self-diagnostic. After
the MP/16 has finished booting, the Run/Fail light should be
solid green.
5
Power on the configuration console.
Run the terminal
emulator (or communications program in terminal mode).
It
must be set to the same port speed that you set the Console port to in
step 2.
It must also be set for hardware flow control (CTS/RTS)
with a data format of 8-N-1.
6
Press Return.
Press Return from the configuration console.
The User Interface (UI) Main Menu should appear. If the UI
Main menu does not appear, check the following:
♦
The port speed setting in your communications software
must match the port speed on the MP/16 (set in step 2).
♦
Your communications software must be set for hardware
flow control (CTS/RTS) and a data format of 8-N-1.
Summary of Contents for MP/16
Page 4: ......
Page 12: ...1 6 Overview...
Page 36: ...2 24 Installation...
Page 150: ...D 26 AT Command Reference...
Page 162: ...E 12 Modem Testing...
Page 168: ...F 6 Warranty and Regulatory Information...
Page 178: ...G 10 Technical Specifications...


