CP390i and CPF390i
Page 63
1
2
3
4
5
6
4
2
1
6
3
5
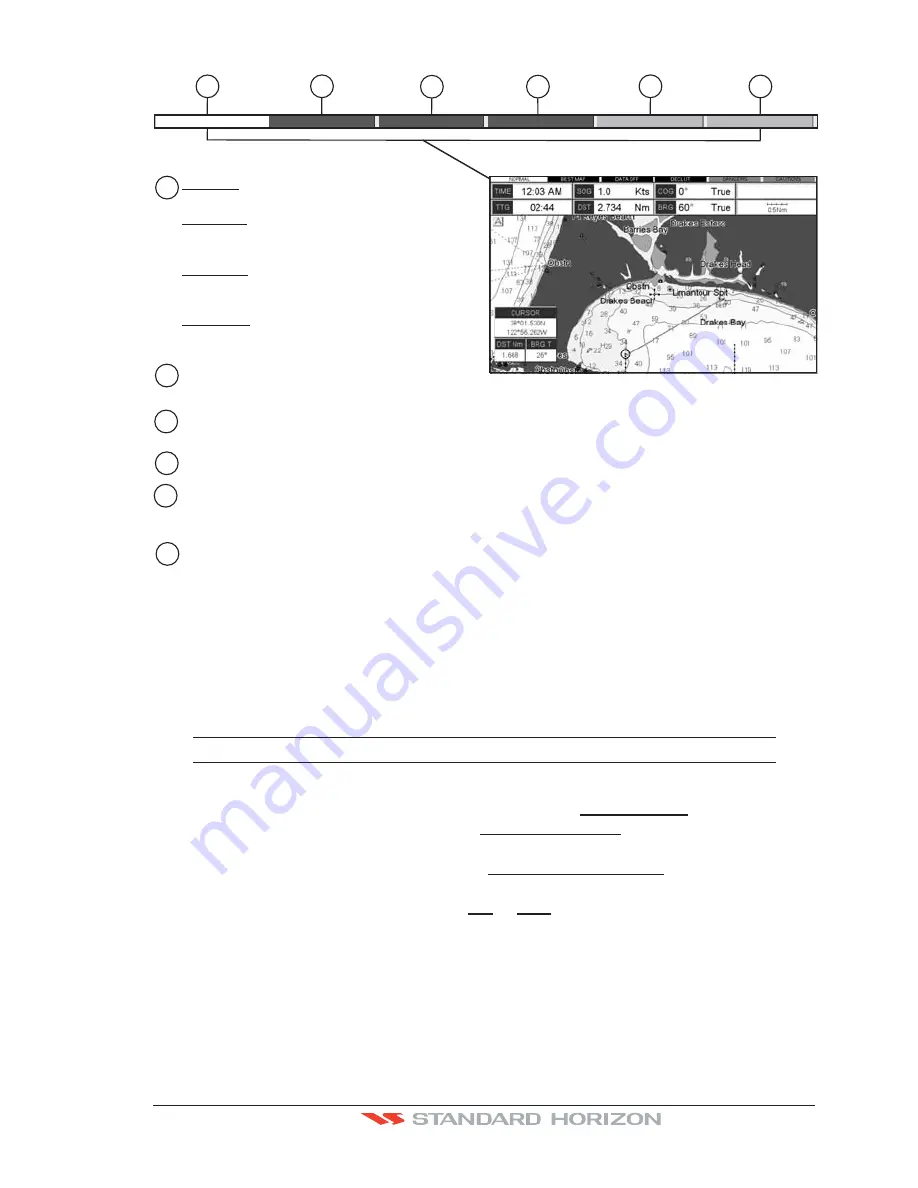
Nor
m
al:
U. Zoo
m
:
O. Zoo
m
:
No Chart:
when the chart is displayed at
normal scale.
red when the chart is under-
zoomed out more than twice normal scale,
gray otherwise.
red when the chart is over-zoomed
in more than twice normal scale, gray
otherwise.
red when the chart is zoomed in
more than twice normal scale, gray otherwise.
Red when a more detailed chart is available
under the cursor position.
Red when at least one of the following objects or layers is turned off (by the user)
Depths/soundings; Wrecks/obstructions; Tracks/routes; Attention Areas; Nav-Aids.
Displays red when clearing overlapping objects.
Red when "Guardian Technology" detects one of the following objects: Land, Intertidal, Depth
Area, Rocks, Obstructions, Shoreline Constructions, Fishing Facility, Wrecks, Dragged area,
Diffusion area, Mooring facilities, Pingos and Production installations.
Red when "Guardian Technology" detects cautionary or restricted area.
Safety Status Bar
O.ZOOM
DANGERS CAUTIONS
BEST MAP
DATA OFF DECLUT.
WAAS 3D
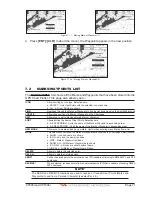
Figure 6.0.5 - Safety Status Bar
6.0.6 Satellite Imagery
This function allows to overlay the Satellite image for background chart. When it is set On,
the Palette is set to Normal to display the proper colors.
NOTE
The satellite image is only shown on 100NM, 50NM and 20NM scales.
To activate this function follow the procedure below:
1. Press
[MENU]
, move the ShuttlePoint knob to highlight
SETUP MENU
and press
[ENT]
.
2. Move the ShuttlePoint knob to highlight
MAX FUNCTIONS
and press
[ENT]
or move
the ShuttlePoint knob to the right.
3. Move the ShuttlePoint knob to highlight
SATELLITE IMAGERY
and press
[ENT]
or
move the ShuttlePoint knob to the right.
4. The menu now shows two selections,
ON
or
OFF
.
5. Move the ShuttlePoint knob to select the selection and press
[ENT]
.
6. Press
[CLR]
until the menu disappears or an easier method is to move the ShuttlePoint
knob to the left until the chart page is shown.
Summary of Contents for CP390i
Page 1: ......
Page 5: ...Page 6 CP390i and CPF390i ...
Page 15: ...Page 16 CP390i and CPF390i ...
Page 29: ...Page 30 CP390i and CPF390i ...
Page 43: ...Page 44 CP390i and CPF390i ...
Page 53: ...Page 54 CP390i and CPF390i ...
Page 67: ...Page 68 CP390i and CPF390i ...
Page 75: ...Page 76 CP390i and CPF390i ...
Page 83: ...Page 84 CP390i and CPF390i ...
Page 87: ...Page 88 CP390i and CPF390i ...
Page 109: ...Page 110 CP390i and CPF390i ...
Page 145: ...Page 146 CP390i and CPF390i Figure 17 16 C Card Restore settings ...
Page 147: ...Page 148 CP390i and CPF390i ...
Page 153: ...Page 154 CP390i and CPF390i ...
Page 157: ...Page 158 CP390i and CPF390i ...
Page 168: ......


