Page 42
CP390i and CPF390i
other modes and the depth areas are filled with the white color so different depth areas
are not easily distinguishable.
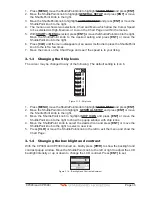
SHIP ICON
Select from a variety of ship icons that represent your vessels position on the Chart Page.
The default is Icon 6.
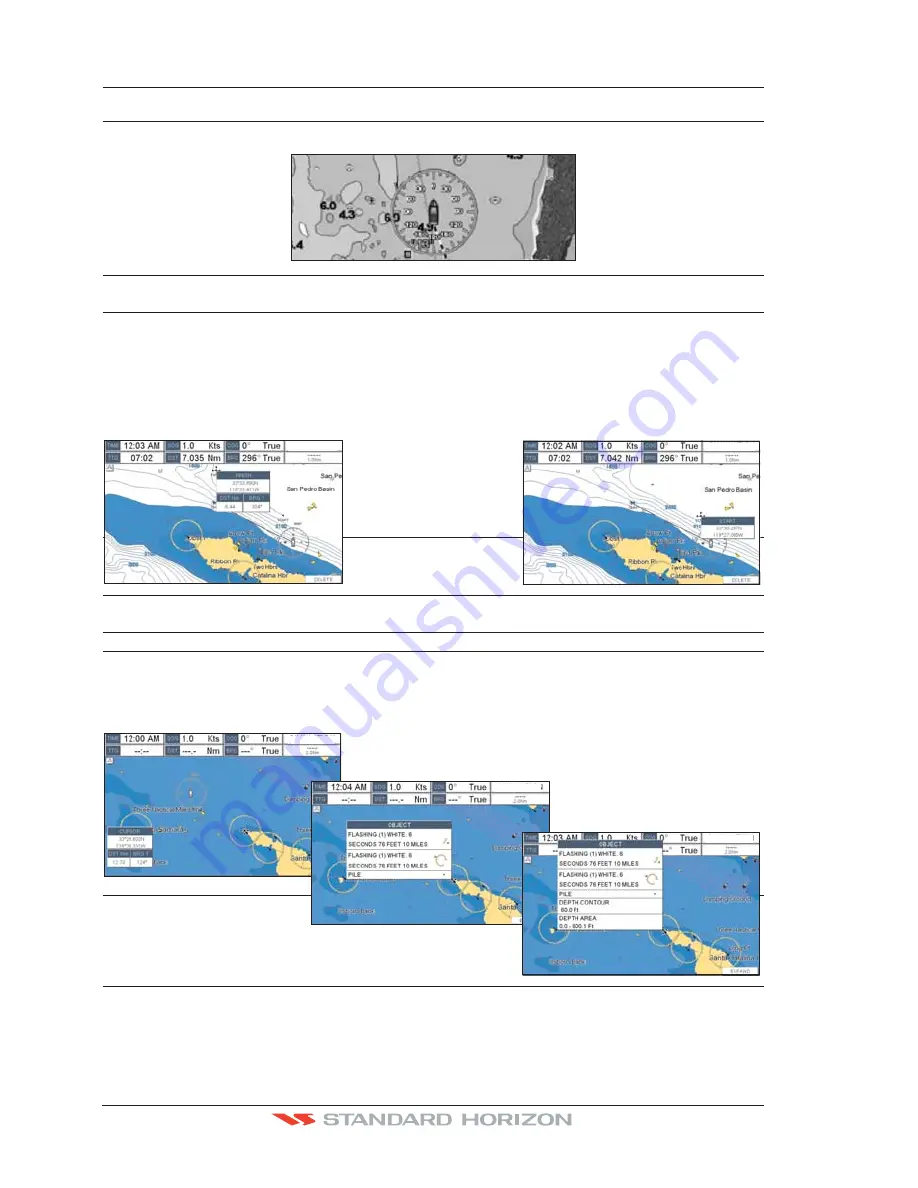
COMPASS ROSE
Allows selection of compass direction indication around ship icon. The default is On.
CURSOR SPEED
Selects the speed among
Low
,
Medium
(default) and
High
for the cursor in the CHART
page and within the MENU.
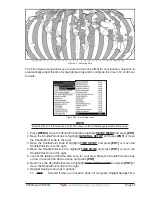
MEASURE DISTANCE
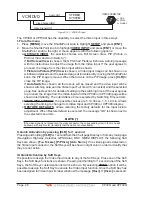
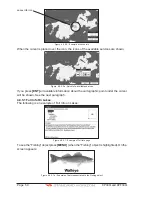
When this function is On, and the ShuttlePoint knob is moved to a location where you want
to start measuring a distance and press
[ENT]
. Move the ShuttlePoint knob to move the
cursor to a second location where you want to finish measuring a distance and press
[ENT]
. A line will appear between the Start and Finish points and a popup window will be
shown indicating the distance and bearing from the Start and Finish points. Press
[ENT]
to delete both points.
(Off is the default).
START point
FINISH point
WAAS 3D
WAAS 3D
WAAS 3D
WINDOWS SETUP
This menu selection allows the data windows to be customized on the CHART PAGE and
NAVIGATION PAGE (refer to section 12.0.0).
LANGUAGE
Allows changing the language for menus and data screens.
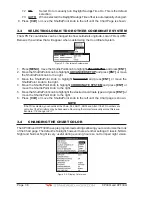
AUTO INFO
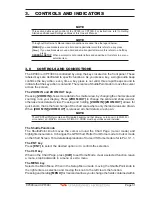
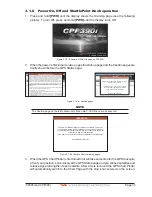
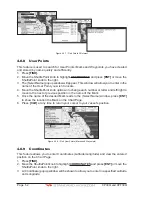
When the cursor is moved over a buoy, Mark or other item a popup window will show
information of the item. This menu item allows the window to be turned Off,
On Points
(default) or
On All
.
WAAS 3D
Auto Info OFF
Auto Info ON POINTS
Auto Info ON ALL
WAAS 3D
WAAS 3D
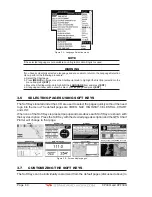
CURSOR WINDOW
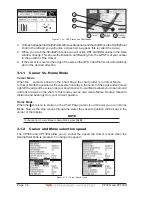
By default when the cursor is moved a window is shown with the Lat/Lon Distance and
Bearing from the vessels location to the cursor. This selection allows the window to be
turned On (default) or Off. The Cursor Window is automatically disabled when General
is set in Windows Setup option.
Summary of Contents for CP390i
Page 1: ......
Page 5: ...Page 6 CP390i and CPF390i ...
Page 15: ...Page 16 CP390i and CPF390i ...
Page 29: ...Page 30 CP390i and CPF390i ...
Page 43: ...Page 44 CP390i and CPF390i ...
Page 53: ...Page 54 CP390i and CPF390i ...
Page 67: ...Page 68 CP390i and CPF390i ...
Page 75: ...Page 76 CP390i and CPF390i ...
Page 83: ...Page 84 CP390i and CPF390i ...
Page 87: ...Page 88 CP390i and CPF390i ...
Page 109: ...Page 110 CP390i and CPF390i ...
Page 145: ...Page 146 CP390i and CPF390i Figure 17 16 C Card Restore settings ...
Page 147: ...Page 148 CP390i and CPF390i ...
Page 153: ...Page 154 CP390i and CPF390i ...
Page 157: ...Page 158 CP390i and CPF390i ...
Page 168: ......

