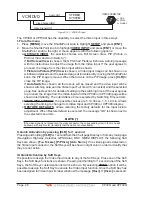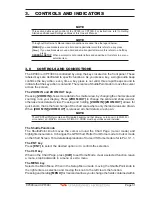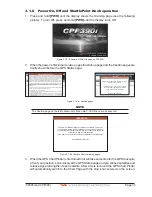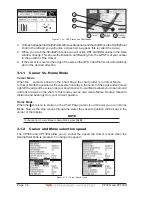
CP390i and CPF390i
Page 39
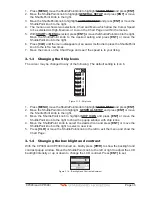
1. Press
[MENU]
, move the ShuttlePoint knob to highlight
SETUP MENU
and press
[ENT]
.
2. Move the ShuttlePoint knob to highlight
GENERAL SETUP
and press
[ENT]
or move
the ShuttlePoint knob to the right.
3. Move the ShuttlePoint knob to highlight
DISPLAY COLOR
and press
[ENT]
or move the
ShuttlePoint knob to the right.
4. A popup window will be shown with
Normal
,
Classic
,
NOAA
,
Night
and
Sunlight
. Move
the ShuttlePoint knob to the desired selection and press
[ENT]
or move the ShuttlePoint
knob to the right.
5. Press
[CLR]
or move the ShuttlePoint knob to the left to exit the menu and show the
Chart page.
3.5
SELECTING LANGUAGE
To ease operation in different countries, the software includes translation and display of the
following 16 languages:
·
English
·
Italian
·
French
·
German
·
Spanish
·
Norwegian
·
Swedish
·
Portuguese
·
Chinese (Traditional)
·
Danish
·
Dutch
·
Greek
·
Finnish
·
Russian
·
Chinese (Simplified)
·
Japanese
The translations are included in Menu descriptions, Soft Key labels and on Info Functions
to ease operation. See also Par. 6.0.7. Set the language to be displayed on menus, data
pages, warning/alarm messages, full/quick info, list of objects found by find/nearest
function, and on charts (such as place’s names and buoy’s names and so on). The selection
now includes the capability to display languages in non-Latin characters (UNICODE
format).
To select the language you want:
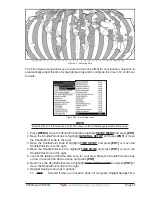
1. Press
[MENU]
, move the ShuttlePoint knob to highlight
SETUP MENU
and press
[ENT]
.
2. Move the ShuttlePoint knob to highlight
GENERAL SETUP
and press
[ENT]
or move
the ShuttlePoint knob to the right.
3. Move the ShuttlePoint knob to highlight
LANGUAGE
and press
[ENT]
or move the
ShuttlePoint knob to the right.
4. Another popup window will be shown with the available languages, move the Shuttle-
Point knob to the desired language and press
[ENT]
or move the ShuttlePoint knob to
the right.
5. Press
[CLR]
or move the ShuttlePoint knob to the left to exit the menu and show the
Chart page.
Summary of Contents for CP390i
Page 1: ......
Page 5: ...Page 6 CP390i and CPF390i ...
Page 15: ...Page 16 CP390i and CPF390i ...
Page 29: ...Page 30 CP390i and CPF390i ...
Page 43: ...Page 44 CP390i and CPF390i ...
Page 53: ...Page 54 CP390i and CPF390i ...
Page 67: ...Page 68 CP390i and CPF390i ...
Page 75: ...Page 76 CP390i and CPF390i ...
Page 83: ...Page 84 CP390i and CPF390i ...
Page 87: ...Page 88 CP390i and CPF390i ...
Page 109: ...Page 110 CP390i and CPF390i ...
Page 145: ...Page 146 CP390i and CPF390i Figure 17 16 C Card Restore settings ...
Page 147: ...Page 148 CP390i and CPF390i ...
Page 153: ...Page 154 CP390i and CPF390i ...
Page 157: ...Page 158 CP390i and CPF390i ...
Page 168: ......


