


1-37
BEFORE USING THE MACHINE
Contents
Useable card specification
Please use cards that conform to ISO 7810 ID-1/ID-2 types.
• Cards with embossing cannot be scanned.
• Cards that are hard and difficult to bend may not feed well.
• If the card surface is soiled with oils (finger oil, etc.), wipe it off first before scanning.
Originals that cannot be fed through the automatic document feeder
Do not use the following originals. Original misfeeds, and smudges may result.
• Transparency film
• Tracing paper
• Carbon paper
• Thermal paper or originals printed with thermal transfer ink ribbon
• Originals to be fed through the feeder should not be damaged, crumpled, folded, loosely pasted together, or have
cut-out holes
• Originals with multiple punched holes other than two-hole or three-hole punched paper
• Originals that have been scanned multiple times in the automatic document feeder and have become creased or folded.
• Originals that have absorbed moisture and become soft.
ID-1
ID-2
Size
2 1/8" (height) x 3 3/8" (width)
(54 mm (height) x 86 mm (width))
3" (height) x 4 1/4" (width)
(74 mm (height) x 105 mm (width))
Thickness
1/32" (0.76 mm) ± 1/64"(0.08 mm)
Material
Polyvinyl chloride (PVC) or polyvinyl acetate (PVA/PVAC)
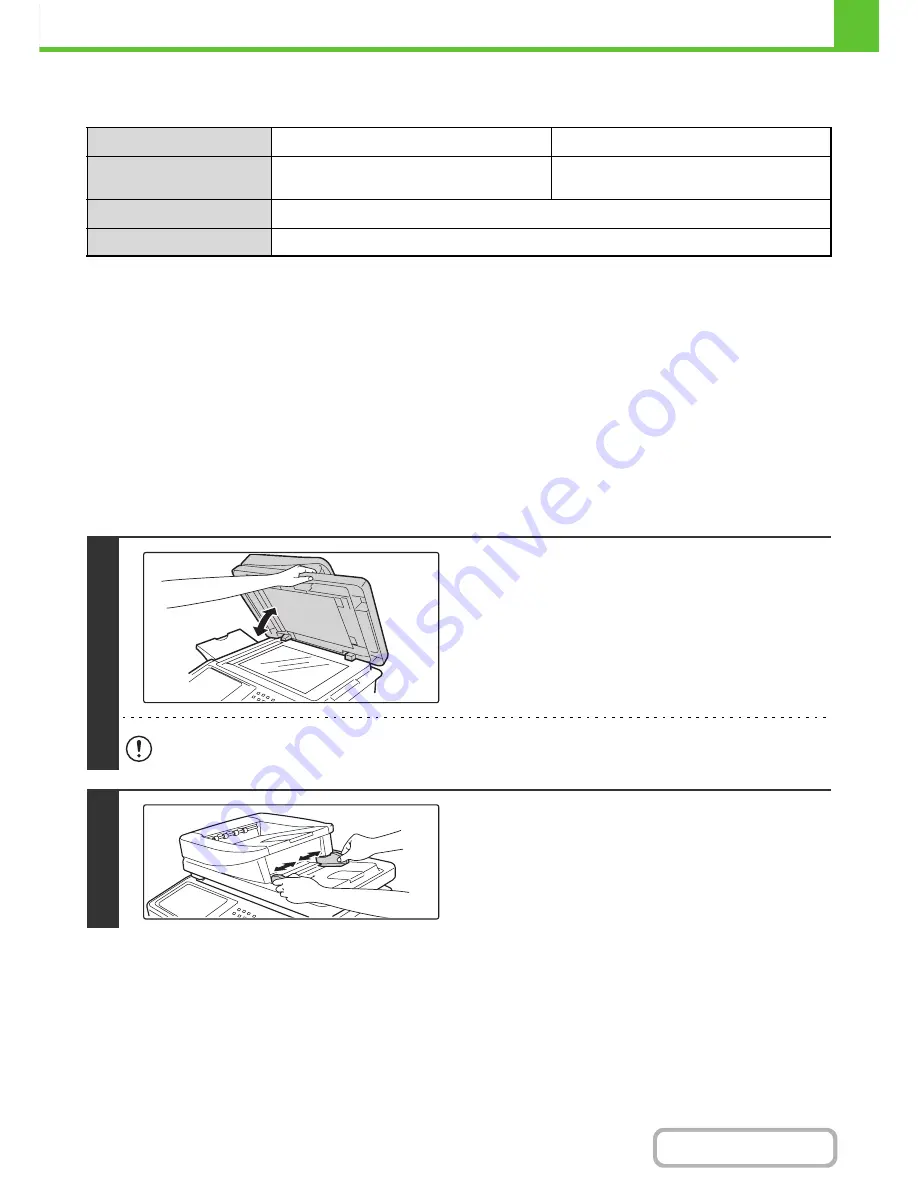
1
Make sure an original does not remain
on the document glass.
Open the automatic document feeder, make sure that an
original is not on the document glass, and then gently close the
automatic document feeder.
When closing the automatic document feeder, take care that your fingers do not become pinched.
2
Adjust the original guides to the size of
the originals.
Summary of Contents for MX-C402SC
Page 4: ...Reduce copy mistakes Print one set of copies for proofing ...
Page 6: ...Make a copy on this type of paper Envelopes and other special media Transparency film ...
Page 11: ...Conserve Print on both sides of the paper Print multiple pages on one side of the paper ...
Page 35: ...Organize my files Delete a file Delete all files Periodically delete files Change the folder ...
Page 295: ...3 19 PRINTER Contents 4 Click the Print button Printing begins ...