


5-56
SCANNER/INTERNET FAX
Contents
Specifying the original scan size (by numerical values)
When scanning a non-standard size original such as a card, follow these steps to specify the original size.
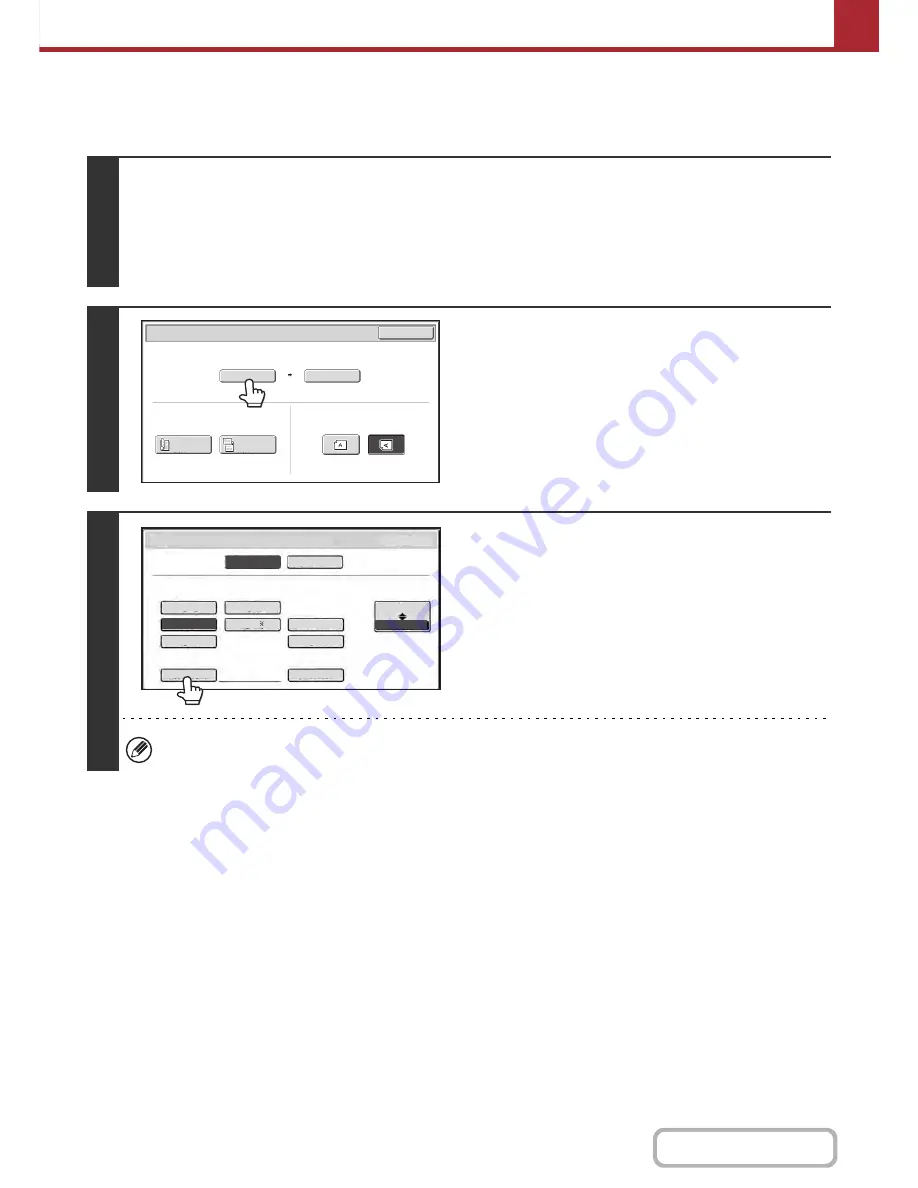
1
Select the mode and display the image settings screen.
(1) Touch the tab of the mode that you wish to use.
(2) Touch the [Original] key.
The original size set in the system settings appears to the right of the [Original] key.
☞
IMAGE SETTINGS
(page 5-52)
2
Touch the [Scan Size] key.
3
Touch the [Size Input] key.
If the [Card Size] key is touched, "X86 Y54" is set in [Size Input].
Scan/Original
OK
Auto
Scan Size
2-Sided
Tablet
2-Sided
Booklet
Send Size
100%
Image Orientation
8½x11
8
½x11
8
½x14
Scan/Original
8
½x13
Long Size
OK
Inch
AB
Size Input
8
½x13
Scan/Original
OK
Inch
AB
5½x
8
½
8
½x14
8
½x11
8
½x13
Long Size
Size Input
8
½x13
Check Size
Heavy Exit
Upper Exit
Upper Exit
Card Size
Original Exit
Place
Original Size
Summary of Contents for MX-C402SC
Page 4: ...Reduce copy mistakes Print one set of copies for proofing ...
Page 6: ...Make a copy on this type of paper Envelopes and other special media Transparency film ...
Page 11: ...Conserve Print on both sides of the paper Print multiple pages on one side of the paper ...
Page 35: ...Organize my files Delete a file Delete all files Periodically delete files Change the folder ...
Page 295: ...3 19 PRINTER Contents 4 Click the Print button Printing begins ...