


2-62
COPIER
Contents
6
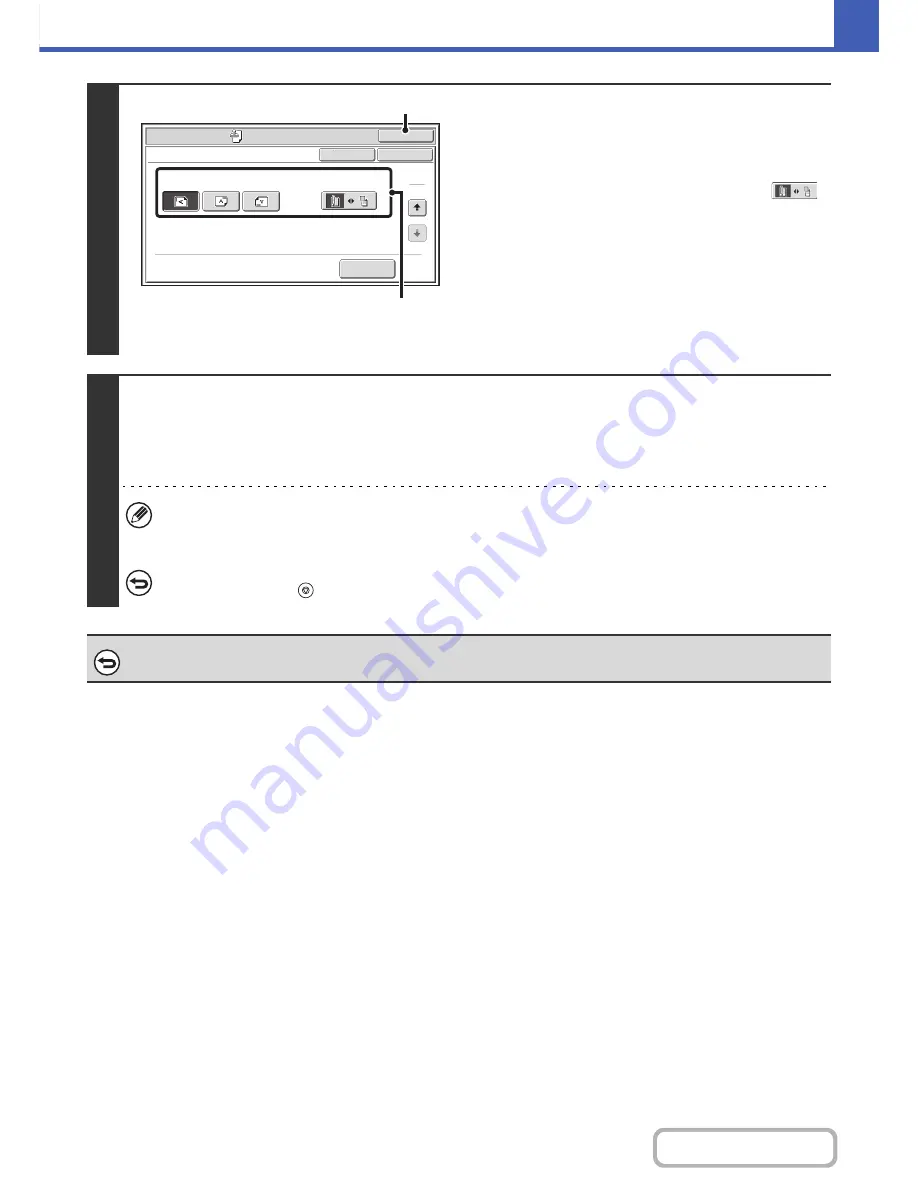
Select settings for the original.
(1) Touch the [Original Orientation] key and
specify the orientation of the placed
original.
If 2-sided originals have been placed, touch the
key and specify the binding position (booklet binding or
tablet binding) of the originals.
(2) Touch the [OK] key.
You will return to the base screen of copy mode.
To edit a stamp position or delete a stamp item, touch the
[Layout] key.
☞
CHECKING THE STAMP LAYOUT (Layout)
(page
2-74)
7
Press the [COLOR START] key or the [BLACK & WHITE START] key.
Copying will begin.
If you are using the document glass to copy multiple original pages, copying will take place as you scan each original. If you have
selected sort mode, change originals and press the [START] key. Repeat until all pages have been scanned and then touch the
[Read-End] key. (For the second original and following originals, use the same [START] key as you did for the first original.)
• If you selected printing in color, press the [COLOR START] key. Even if a color is selected, pressing the [BLACK &
WHITE START] key will print the stamp items in black and white.
• If a color print setting is selected, the copy will be counted as a full color copy even if it is black & white.
To cancel scanning and copying...
Press the [STOP] key (
).
To cancel Stamp...
Touch the [Cancel] key in the screen of step 3.
Special Modes
OK
OK
Stamp
Cancel
Original Orientation
2-Sided Original Type
2
2
Layout
(1)
(2)
Summary of Contents for MX-C402SC
Page 4: ...Reduce copy mistakes Print one set of copies for proofing ...
Page 6: ...Make a copy on this type of paper Envelopes and other special media Transparency film ...
Page 11: ...Conserve Print on both sides of the paper Print multiple pages on one side of the paper ...
Page 35: ...Organize my files Delete a file Delete all files Periodically delete files Change the folder ...
Page 295: ...3 19 PRINTER Contents 4 Click the Print button Printing begins ...