


5-79
SCANNER/INTERNET FAX
Contents
4
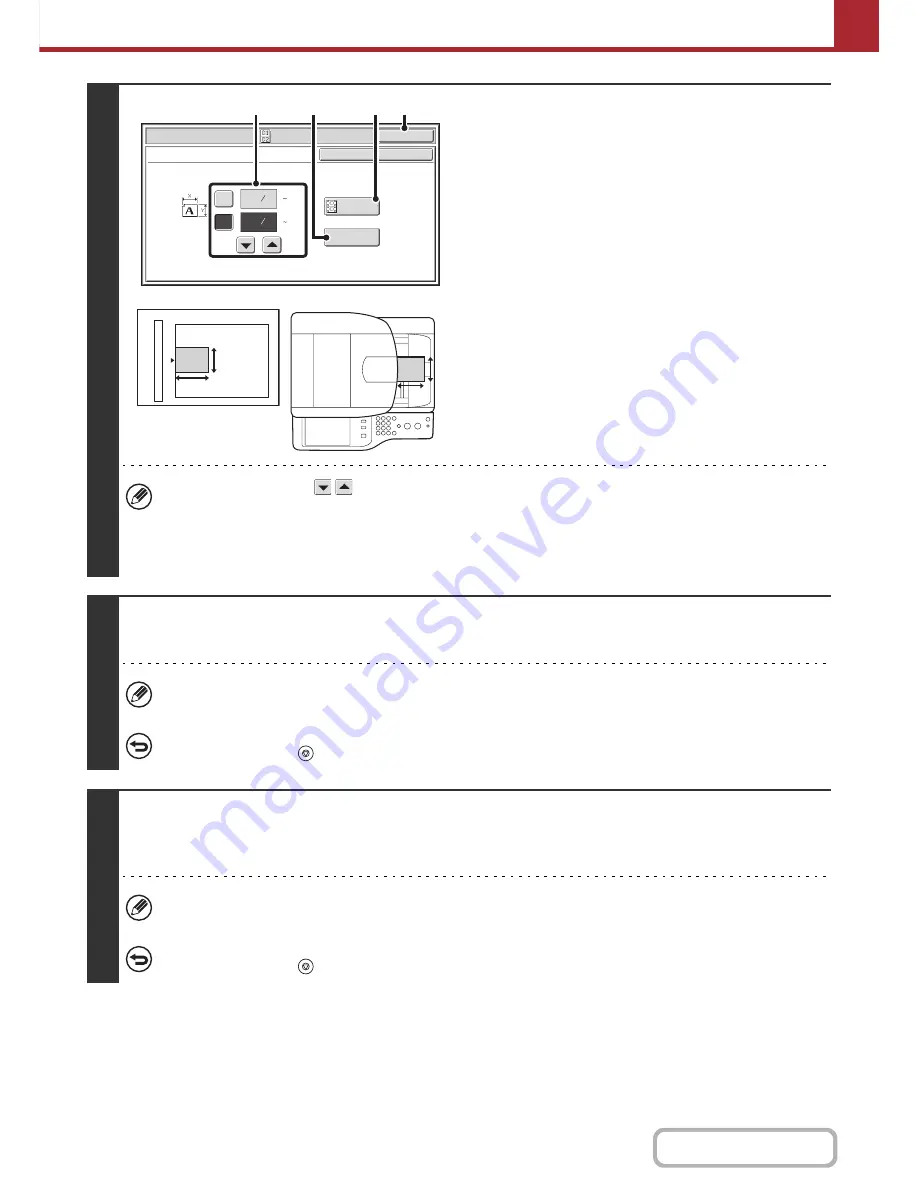
Specify the original size.
(1) Enter the original size.
• Touch the X (width) numeric value display key and
enter the width.
• Touch the Y (height) numeric value display key and
enter the height.
(A) To return the original size to the default size, touch the
[Size Reset] key.
(B) To automatically enlarge or reduce the image to fit the
send size, touch the [Fit to Send Size] key. If you wish
to scan the original at the entered original size, there
is no need to touch this key.
(2) Touch the [OK] key.
• You can also touch the
keys to change the number.
• The send size will be selected automatically based on the entered original size.
• After selecting Card Shot, you can touch the [Original] key in the base screen to change the original scan size or the
send size. In this case, touch the [Scan Size] key to display the screen for this procedure. For the procedure for
setting the send size, see "
Specifying the send size of the image
" (page 5-58).
5
Press the [COLOR START] key or the [BLACK & WHITE START] key to scan the
front side of the card.
If the destination is an Internet fax destination, press the [BLACK & WHITE START] key.
To cancel scanning...
Press the [STOP] key (
) to cancel the operation.
6
Turn the card over and press the [COLOR START] key or the [BLACK & WHITE
START] key to scan the reverse side of the card.
Press the same [START] key that was used to scan the front side.
Before scanning the back of the card, you can touch the [Configure] key in the touch panel to change the exposure.
To cancel scanning...
Press the [STOP] key (
) to cancel the operation.
Scan/Special Modes
OK
Card Shot
(1 8 1/2)
inch
(1 8 1/2)
inch
OK
Cancel
Fit to
Send Size
Size Reset
X
Y
3
8
3
2
8
1
(1)
(B)
(2)
(A)
X
Y
X
Y
Summary of Contents for MX-C402SC
Page 4: ...Reduce copy mistakes Print one set of copies for proofing ...
Page 6: ...Make a copy on this type of paper Envelopes and other special media Transparency film ...
Page 11: ...Conserve Print on both sides of the paper Print multiple pages on one side of the paper ...
Page 35: ...Organize my files Delete a file Delete all files Periodically delete files Change the folder ...
Page 295: ...3 19 PRINTER Contents 4 Click the Print button Printing begins ...