5-1
Degree of Match Inspection
5
Chapter 5: Degree of Match Inspection
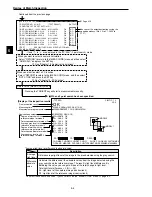
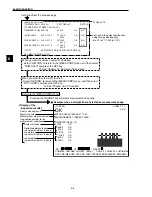
- Checking sequence
1
A gray search for the reference image for positioning is made.
2
After the position of the reference image for checking is corrected based on
the coordinates of the reference image for positioning found in step
1
, the
degree of match is determined.
3
If the degree of match of the reference image for checking is low, the label is
regarded as applied incorrectly.
SERIAL NO.
8F053G26
MODEL
IV-S30
SERIAL NO.
8F053G26
MODEL
IV
-
S30
Purpose
Applications
Examples
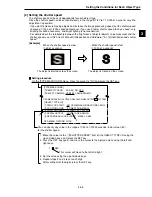
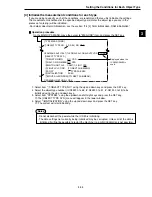
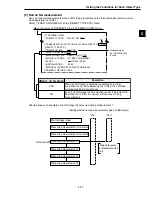
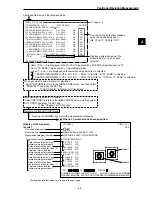
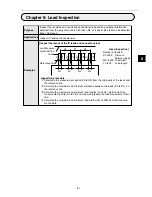
The gray search function is capable of finding the differences between the non-
defective reference image and the image to be inspected evaluating the degree
of match. (The acceptability of the workpiece is evaluated based on its level of
similarity to the reference model.)
Checking for misalignment of labels, checking for entry of wrong parts, checking
that electronic components have been precisely mounted on PC boards,
checking for misprints, checking for missing metallic parts, such as terminals,
and simple inspection of lettering
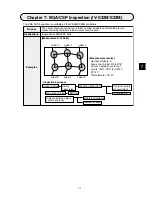
[Checking for label misalignment on package]
Reference
image for
positioning
Search area
for positioning
Reference image
for checking
Reference
image for
positioning
Search area
for positioning
Reference image
for checking
ç
Acceptable application of label
ç
Unacceptable application of label
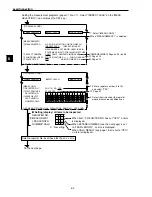
[Measurement results]
- Degree of match compared with the reference image
- Detected coordinates (X/Y) of the measurement image.
- Light level in the measured image (average light
level/absolute value of difference)

