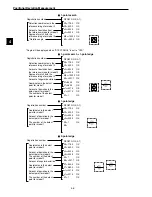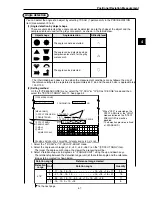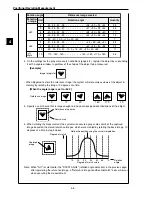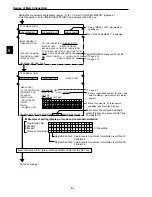
Setting Measurement Conditions
3-38
3
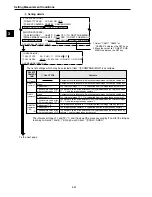
[7] Window group move
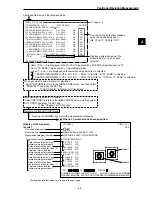
All the window positions set in the measurement programs for the same object type number can be
shifted horizontally by a specified amount as a group.
[Example of use] Shift the coordinate positions used as data for another object type.
(After copying the data between object types, move the windows as a group.)
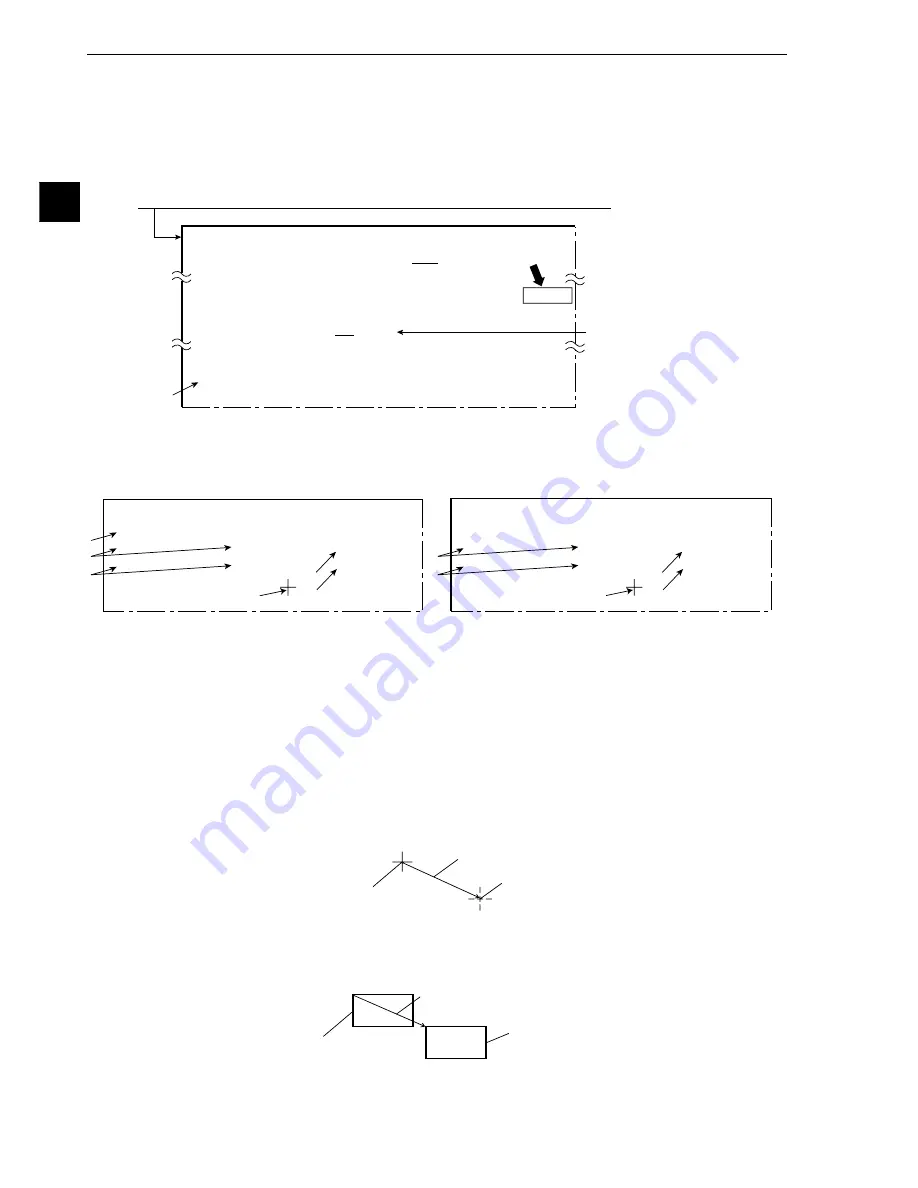
To set the amount, use "
7
MOVE ALL WINDOW" in the [OBJECT TYPE SYS.] menu.
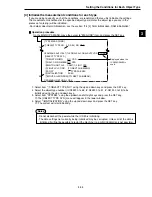
1. Move the cursor to "
7
MOVE ALL WINDOW" using the up and down keys and press the SET
key.
-
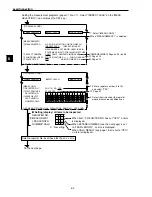
The "MOVE ALL WINDOW" menu will be displayed.
The display items may vary with the camera selection (page 3-3).
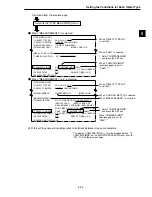
2. Select "SELECT CAMERA" using the up and down keys and press the SET key. Select "CAM1"
or "CAM2" using the left and right keys and press the SET key. (When the camera selection is set
to "CAM1&2," assign a camera number to move as a group.)
3. Select "STORE COORD POSI" (register the coordinates) using the up and down keys and press
the SET key. Select "MOVE" using the left and right keys and press the SET key.
4. Move the cursor (solid line) to the original coordinates before the move using the up, down, left,
and right keys, and press the SET key.
5. Select "STORE COORD POSI" using the left and right keys, and press the SET key. After that
press the ESC key.
-
The coordinates before the move are now registered.
6. Select "MOVE ALL WINDOW" using the up and down keys and press the SET key. Select
"MOVE" using the left and right keys and press the SET key.
7. Move the cursor (dotted line) to the new coordinates you are moving to use the up, down, left, and
right keys and press the SET key.
8. Select "EXEC" (execute) using the left and right keys and press the SET key.
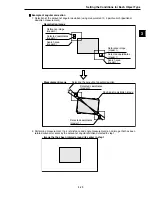
-
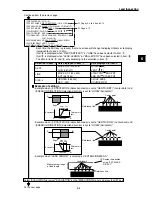
All the windows registered to the same object type will be shifted horizontally at the same time
by the distance between the original coordinates to the new coordinates. After the move is
complete, a "Window group move is complete" message will be displayed.
- When some part of the window to be moved will move outside of the image display area, the
"Out of range" message will be displayed together with the measurement number and regis-
ter number. In this case, select "Continue" or "Halt."
If "Continue" is selected, the window will be shifted to the limit within the image display area.
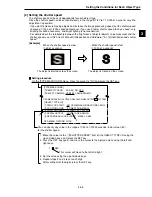
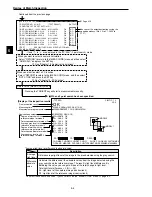
Select "SYSTEM" on the [TYPE MEAS COND] menu and press the SET key.
[TYPE MEAS COND]
[OBJECT TYPE SYS.]
1
OBJECT TYPE NO.
00(0~63) NO YES
OPS-MENU SAVE LOCK TITLE FINAL-CALC FINAL-OUTPUT I/O SYSTEM
OPS-MENU RETURN LOCK
1
REGST NG IMG NO YES
6
INITIALIZATION EXEC
7
MOVE ALL WINDOW (TO NEXT SUB-MENU)
1
When the
Displayed when
the IV-S32M/S33M
is used.
[MOVE ALL WINDOW]
1
SELECT CAMERA CAM1 CAM2
2
STORE COORD POSI MOVE(256,240) COORDINATES STO
RED
3
MOVE ALL WINDOW MOVE(256,240) EXEC
OPS-MENU RETURN LOCK
●
When "CAM1&2" is selected.
2
4
5
8
5
8
3
6
3
6
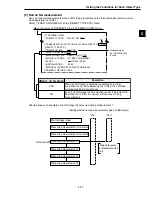
[MOVE ALL WINDOW]
1
STORE COORD POSI MOVE(256,240) COORDINATES STO
RED
2
MOVE ALL WINDOW MOVE(256,240) EXEC
OPS-MENU RETURN LOCK
●
When "CAM1&NG-IMG" is selected.
4
Coordinates of
the original
Distance to
move A
Coordinates
of the new
Original window
Distance to move A
New window

